

The Barracuda SecureEdge Manager allows administrators to create local users and groups via the Identity Management. A local user can be added to the Access > Enrolled Users page even when no directory exists. To add an enrolled user, you must configure an identity provider, such as Email. With SecureEdge Identity Management, you can do the following:
You can add a local user/group without an existing user directory.
You can add a local user without a group association, which means you need to provide only a name and an email address. However, if you want to associate a local user to a specific local group, you must first create this local group.
A local user is created as a member of a local group. On the Users page, you can see the group association of a specific user.
On the Groups page, all enrolled group members are displayed.
You can edit or remove an existing local user or group.
Local User
Create a Local User
Go to https://se.barracudanetworks.com and log in with your existing Barracuda Cloud Control account.
In the left menu, click the Tenants/Workspaces icon and select the workspace you want to configure a local user for.
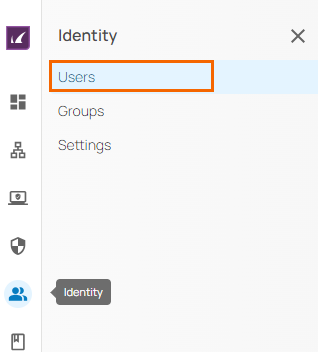
In the left menu, click Identity > Users.
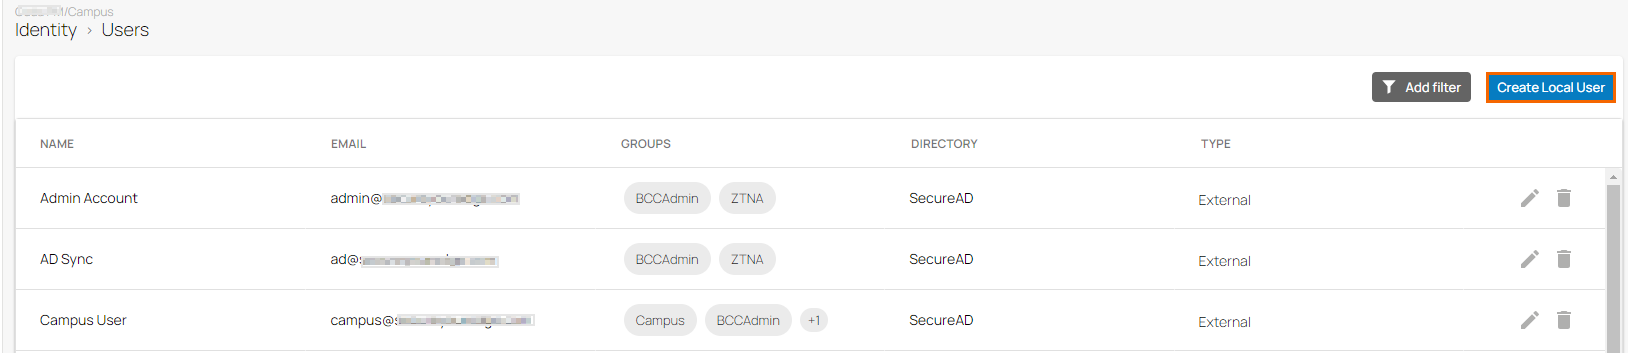
The Users page opens. Click Create Local User.
The Create Local User page opens. Specify the values for the following:
Name – Enter the name of the user.
Email – Enter the email address.
Groups – Select the groups from the drop-down menu. Note: You must first create a local group.
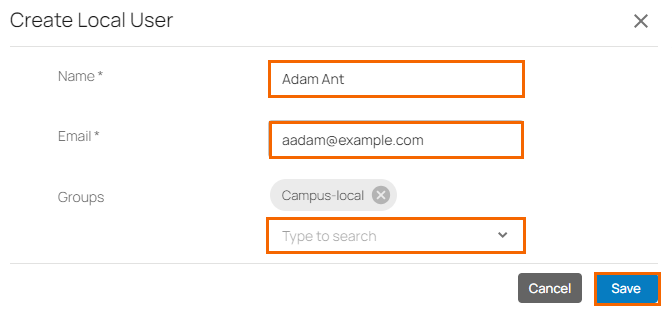
Click Save.
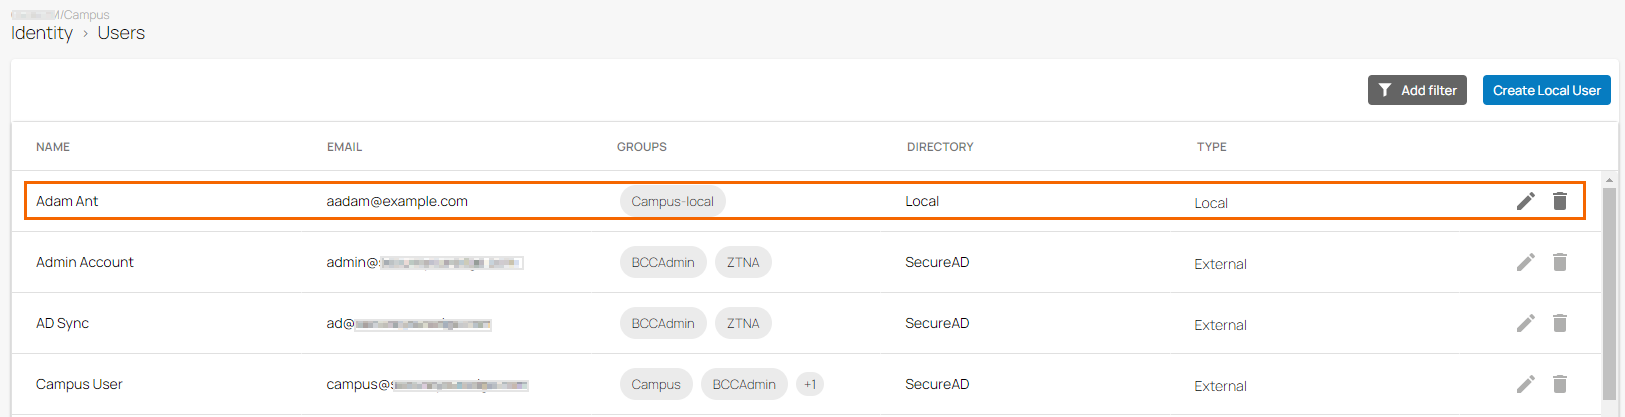
After configuration is complete, you can see that a new user has been added on the Users page.
Edit an Existing Local User
Go to https://se.barracudanetworks.com and log in with your existing Barracuda Cloud Control account.
In the left menu, click the Tenants/Workspaces icon and select the workspace you want to edit a local user for.
Go to Identity > Users.
The Users window opens. Click on the pencil icon next to the user you want to edit.

The Edit Local User window opens. Edit the value you are interested in.
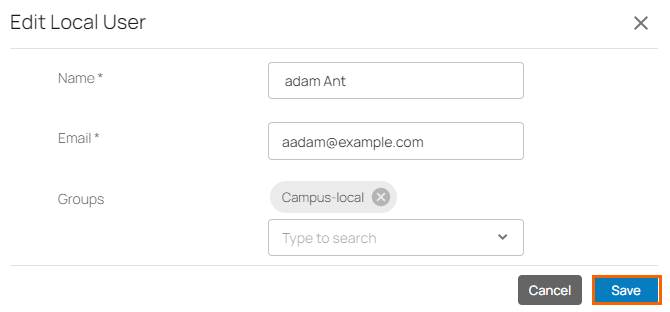
Click Save.
Remove an Existing Local User
Go to https://se.barracudanetworks.com and log in with your existing Barracuda Cloud Control account.
In the left menu, click the Tenants/Workspaces icon and select the workspace you want to remove a local user for.
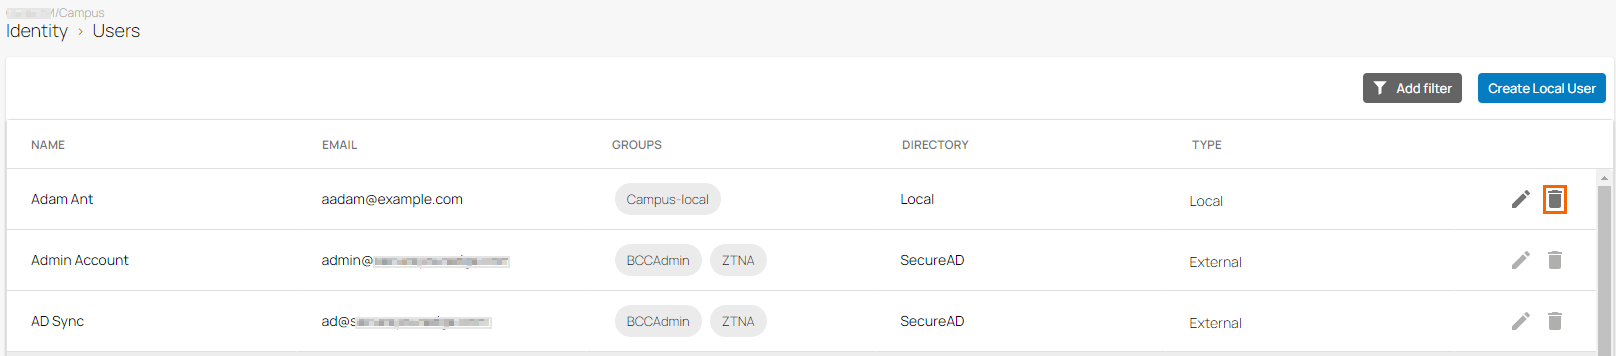
Go to Identity > Users.
The Users window opens. Click on the trash can icon next to the local user you want to remove.
The Delete User window opens.
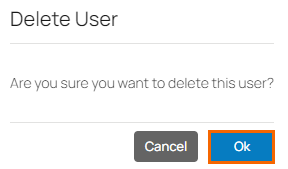
Click OK to confirm.
Local Group
Create a Local Group
Go to https://se.barracudanetworks.com and log in with your existing Barracuda Cloud Control account.
In the left menu, click the Tenants/Workspaces icon and select the workspace you want to configure a local group for.
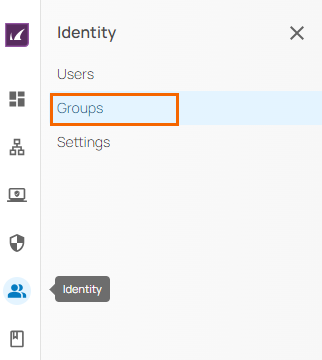
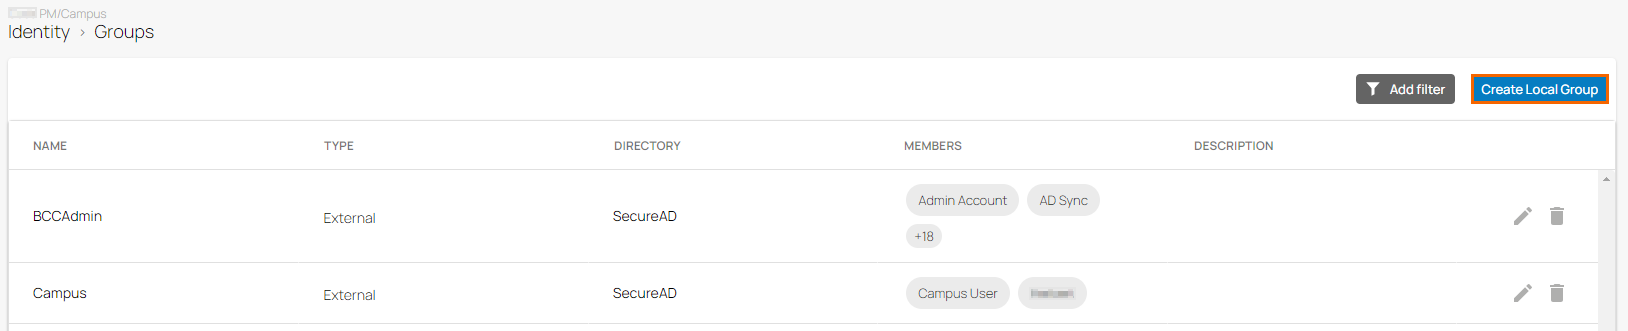
In the left menu, click Identity > Groups.
The Groups page opens. Click Create Local Group.
The Create Local Group page opens. Specify the values for the following:
Name – Enter the name of the group.
Description – Enter a brief description.
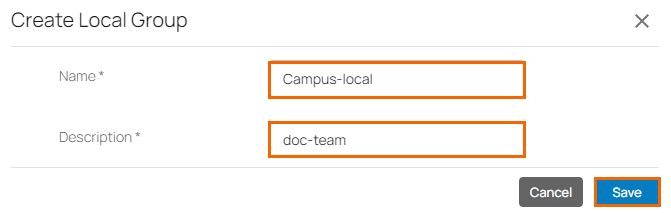
Click Save.
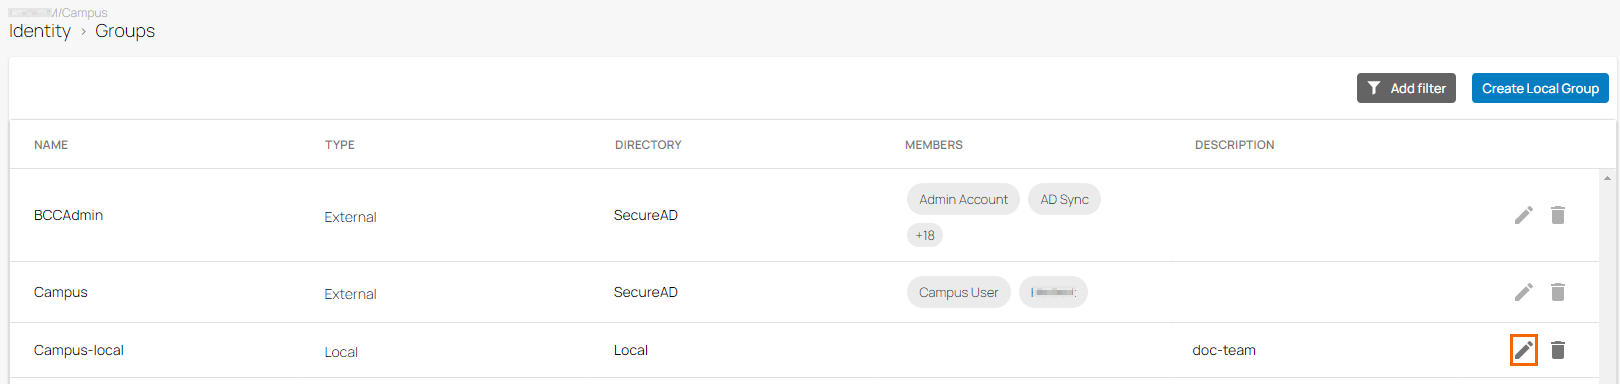
After configuration is complete, you can see that a new group has been added on the Groups page.

Edit an Existing Local Group
Go to https://se.barracudanetworks.com and log in with your existing Barracuda Cloud Control account.
In the left menu, click the Tenants/Workspaces icon and select the workspace you want to edit a local group for.
Go to Identity > Groups.
The Groups window opens. Click on the pencil icon next to the user you want to edit.
The Edit Local Group window opens. Edit the value you are interested in.
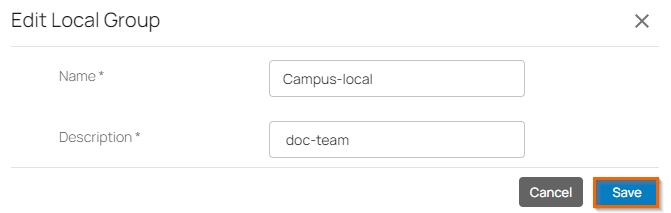
Click Save.
Remove an Existing Local Group
Go to https://se.barracudanetworks.com and log in with your existing Barracuda Cloud Control account.
In the left menu, click the Tenants/Workspaces icon and select the workspace you want to remove a local group for.
Go to Identity > Groups.
The Groups window opens. Click on the trash can icon next to the local group you want to remove.

The Delete Group window opens.
Click OK to confirm.