

To configure Okta for a SCIM directory, you must first create a SCIM user directory via the SecureEdge Manager. You must copy the generated values of a SCIM endpoint and a primary/secondary token and use them in the provider SCIM setup. This article also covers the configuration of the Okta SCIM and includes how to create a SCIM 2.0 test app (header auth) application on Okta with user/group provisioning and assign the users or groups for immediate sync of the SCIM user directory on the Identity > Settings page.
Step 1 Configure SCIM
Go to https://se.barracudanetworks.com and log in with your existing Barracuda Cloud Control account.
In the left menu, click the Tenants/Workspaces icon and select the workspace you want to configure the Okta user directory for.
In the left menu, click Identity > Settings.
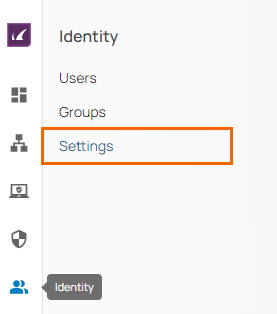
The Settings page opens.
In the User Directories section, click Add User Directory and select SCIM from the user directory drop-down menu.
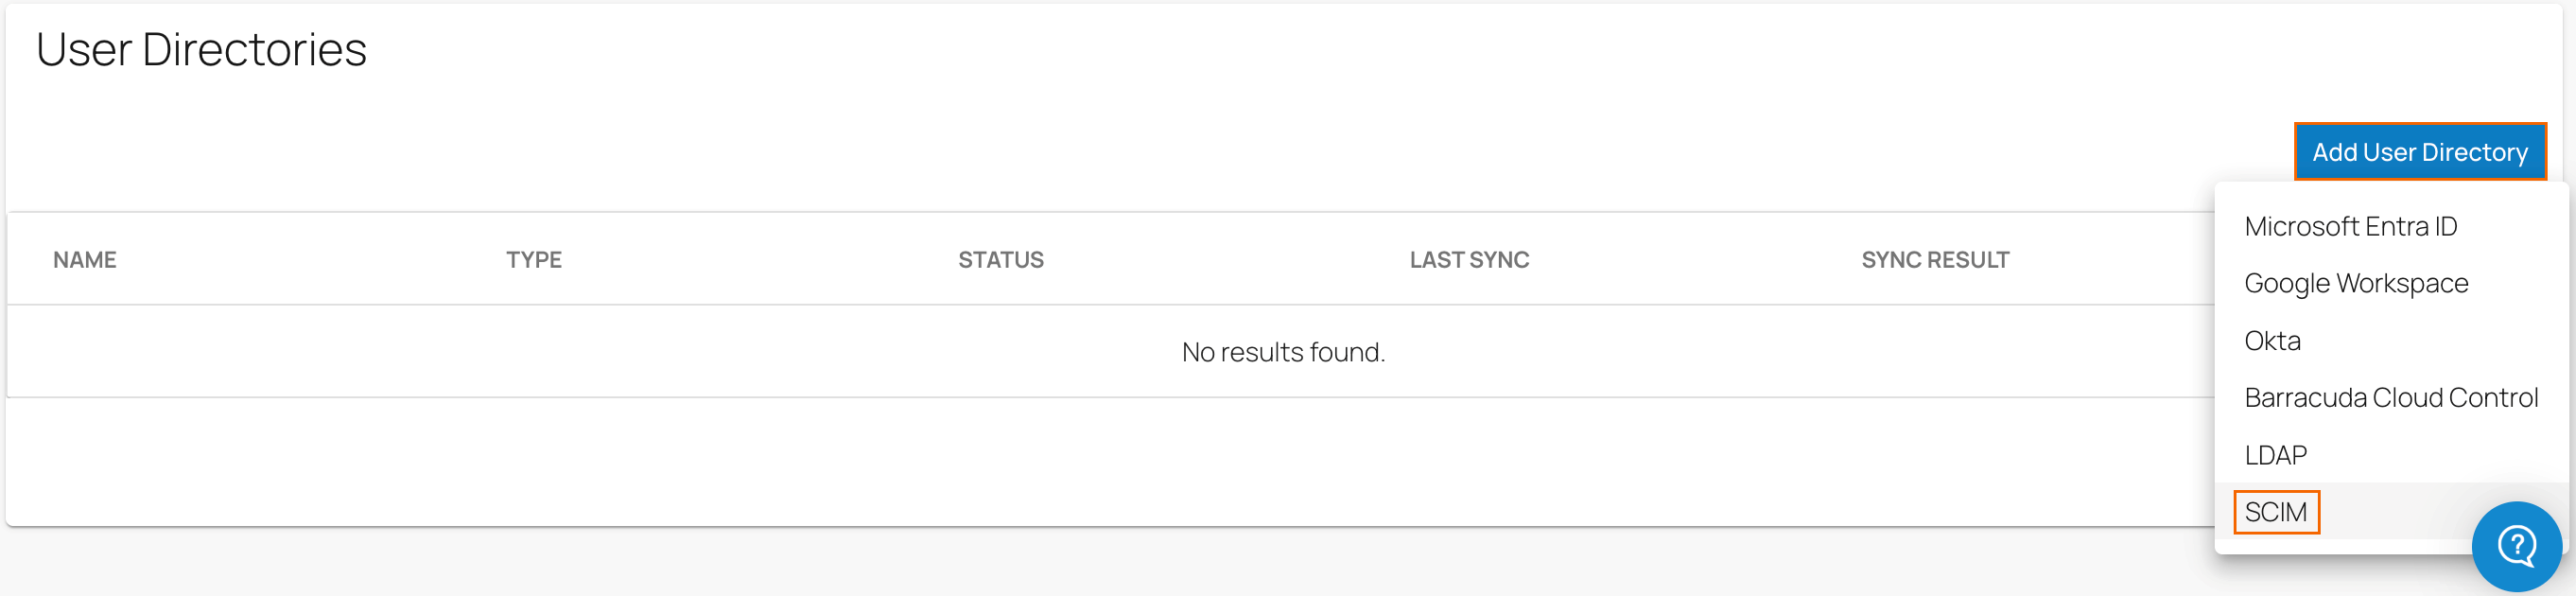
The Add User Directory page opens.
Under User Directory Info tab, specify the values for the following:
Display Name – Enter display name.
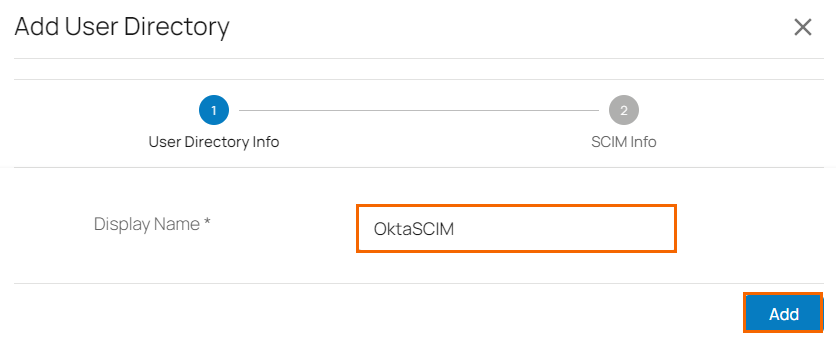
Click Add.
You can see the SCIM user directory endpoint and primary / secondary tokens are displayed. You can use these values in the provider SCIM setup.
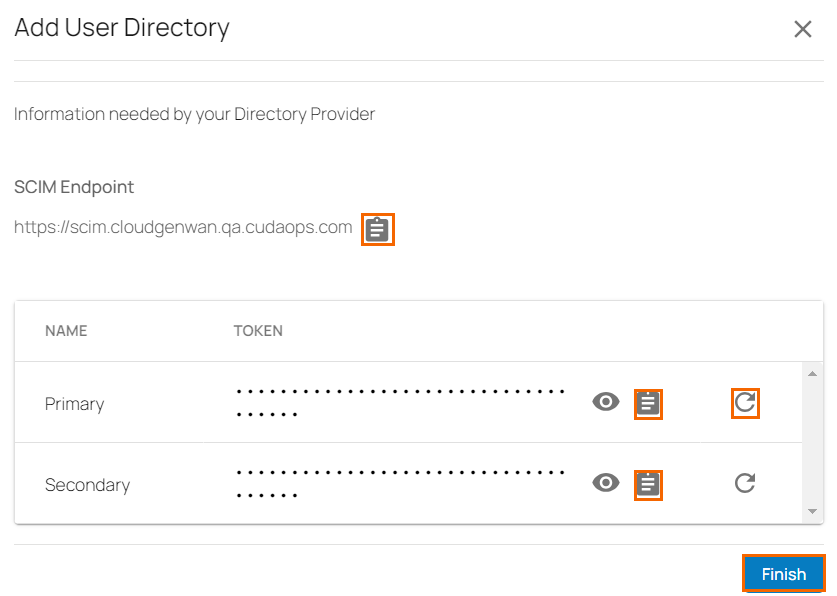
Click on the clipboard icon to copy and paste the token to a text file. Note: You can regenerate these tokens by clicking on the rotate icon.
Click Finish.
In the User Directories table, a new SCIM user directory has been added. Under the fieldname STATUS, you can see that the STATUS is shown as pending. The directory sync may take a few minutes.

To configure Okta for the SCIM user directory, go to Step 2.
After the directory sync is completed, verify that in the User Directories table, under the fieldname STATUS, the text has changed to Completed with a green check mark. In addition, verify that you see all SCIM directory users and groups on the respective Identity > Users and Identity > Groups pages.
Step 2 Configure the SCIM 2.0 Test App (Header Auth) Application
Use the following steps to create a SCIM 2.0 test app (header auth) application on Okta with user/group provisioning and to assign users/groups for immediate sync of the SCIM user directory on the Identity > Settings page.
Go to the Okta Admin Dashboard.
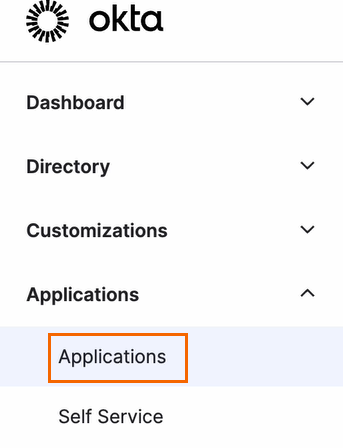
Expand the Applications menu on the left and select the Applications.
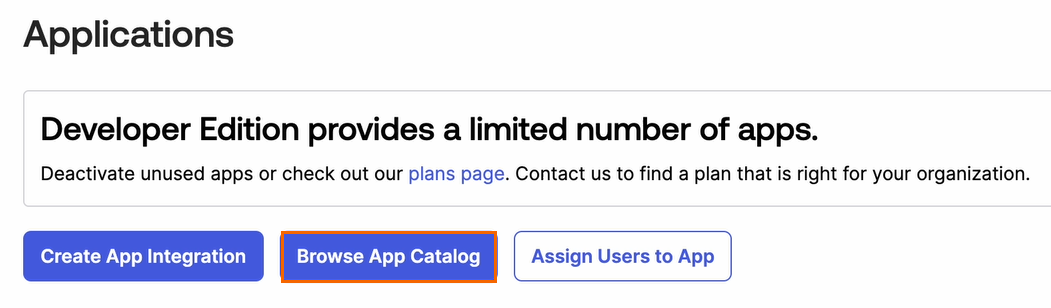
The Applications page opens. Click Browse App Catalog.
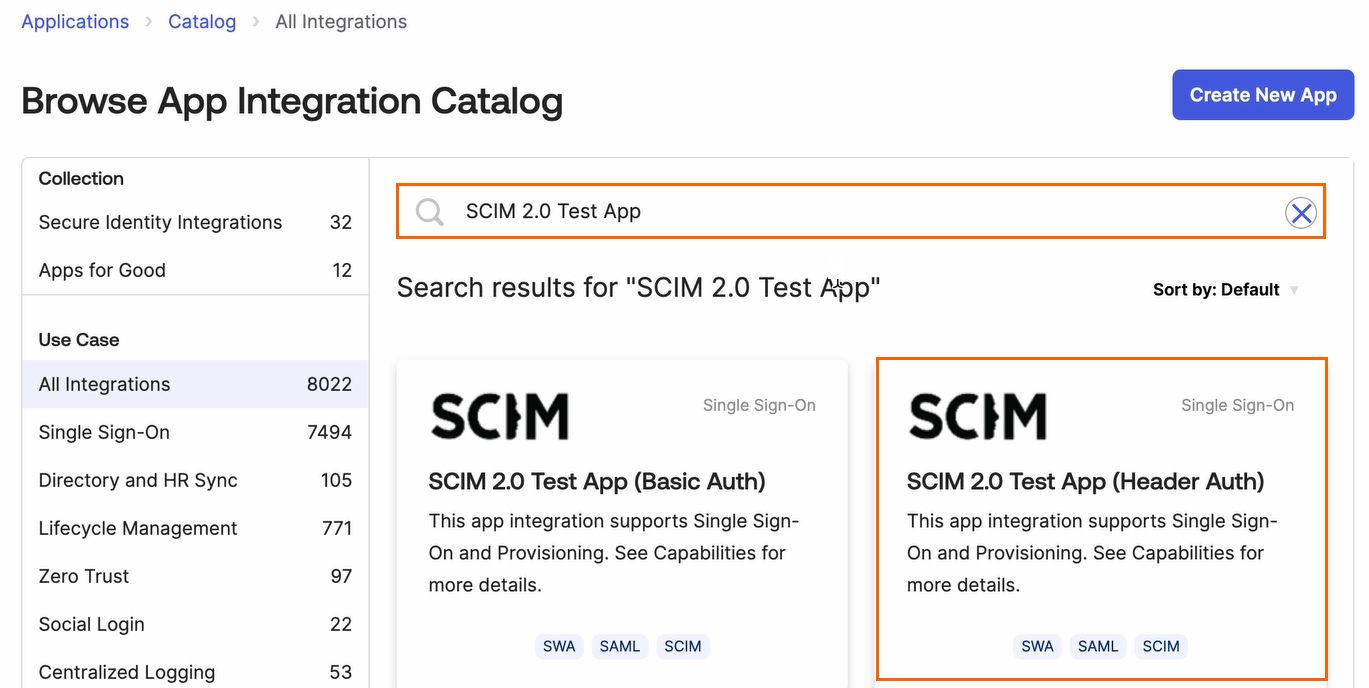
Search for SCIM 2.0 Test App and select SCIM 2.0 Test App (Header Auth).
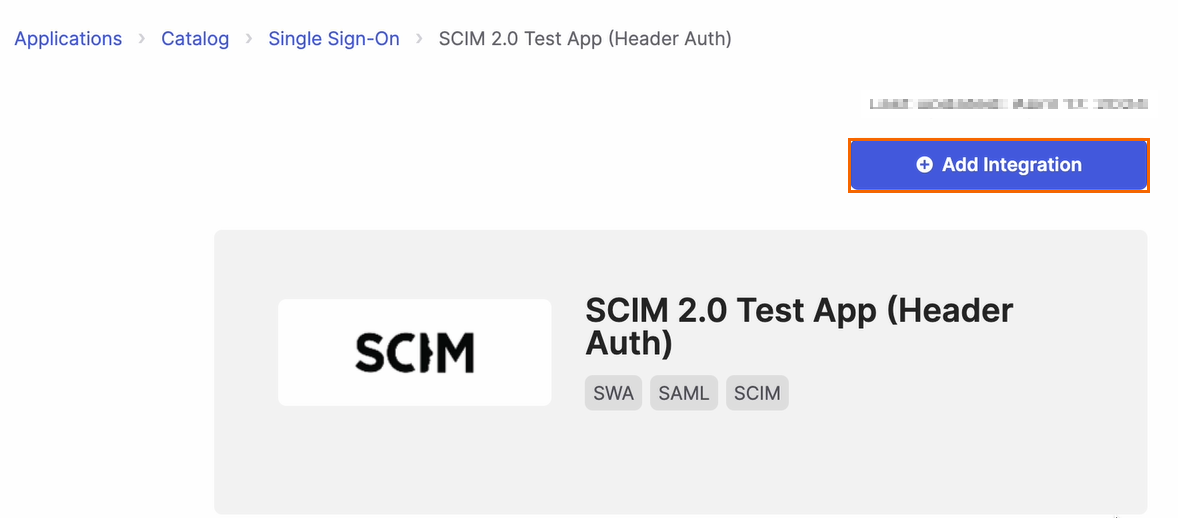
Click Add Integration.
The Add SCIM 2.0 Test App (Header Auth) page opens. Enter a label for Application label, e.g.,
SCIM 2.0 Test App (Header Auth) sample.
Click Next.
In the Sign-On Options tab, under Sign on methods specify values for the following:
SAML 2.0 – Select SAML 2.0.
Secure Web Authentication – Select Secure Web Authentication .
Under the Credentials Details section, set Application username format to Email.
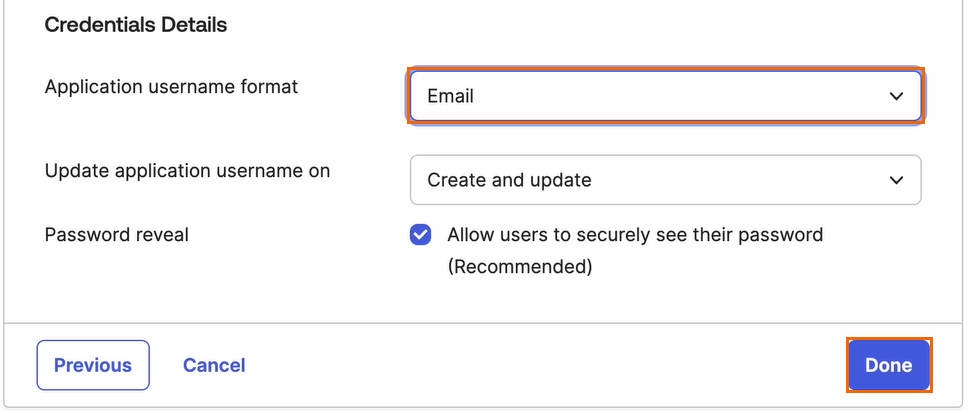
Click Done.
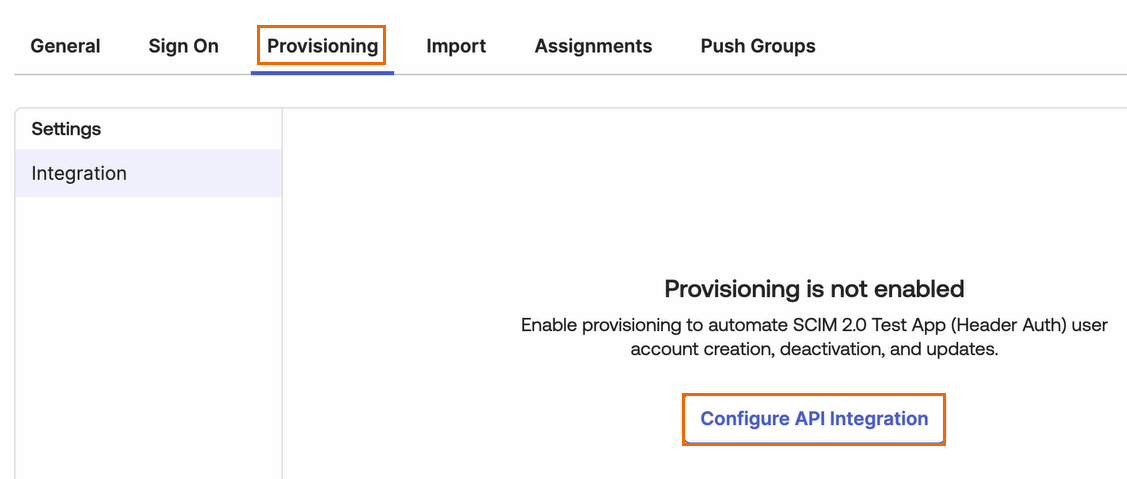
Under Provisioning, click Configure API Integration.
Select Enable API integration and specify values for the following:
Base URL – Enter the base URL. Enter the SCIM Endpoint you retrieved in Step 1.
API Token – Enter the API token from Identity Management. Note: You can enter either the primary or secondary token you retrieved in Step 1. The token format is Bearer <TOKEN>, for example:
Bearer 3eb07061-4a60-43f2-b20c-d7e0652f474c.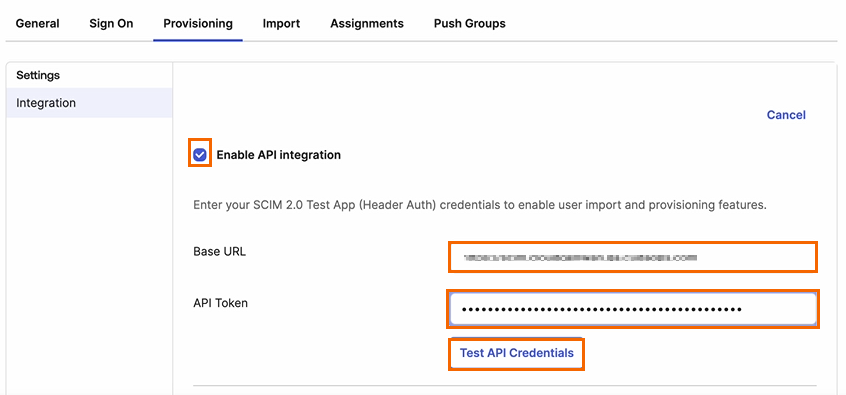
To test the credentials, click Test API Credentials.
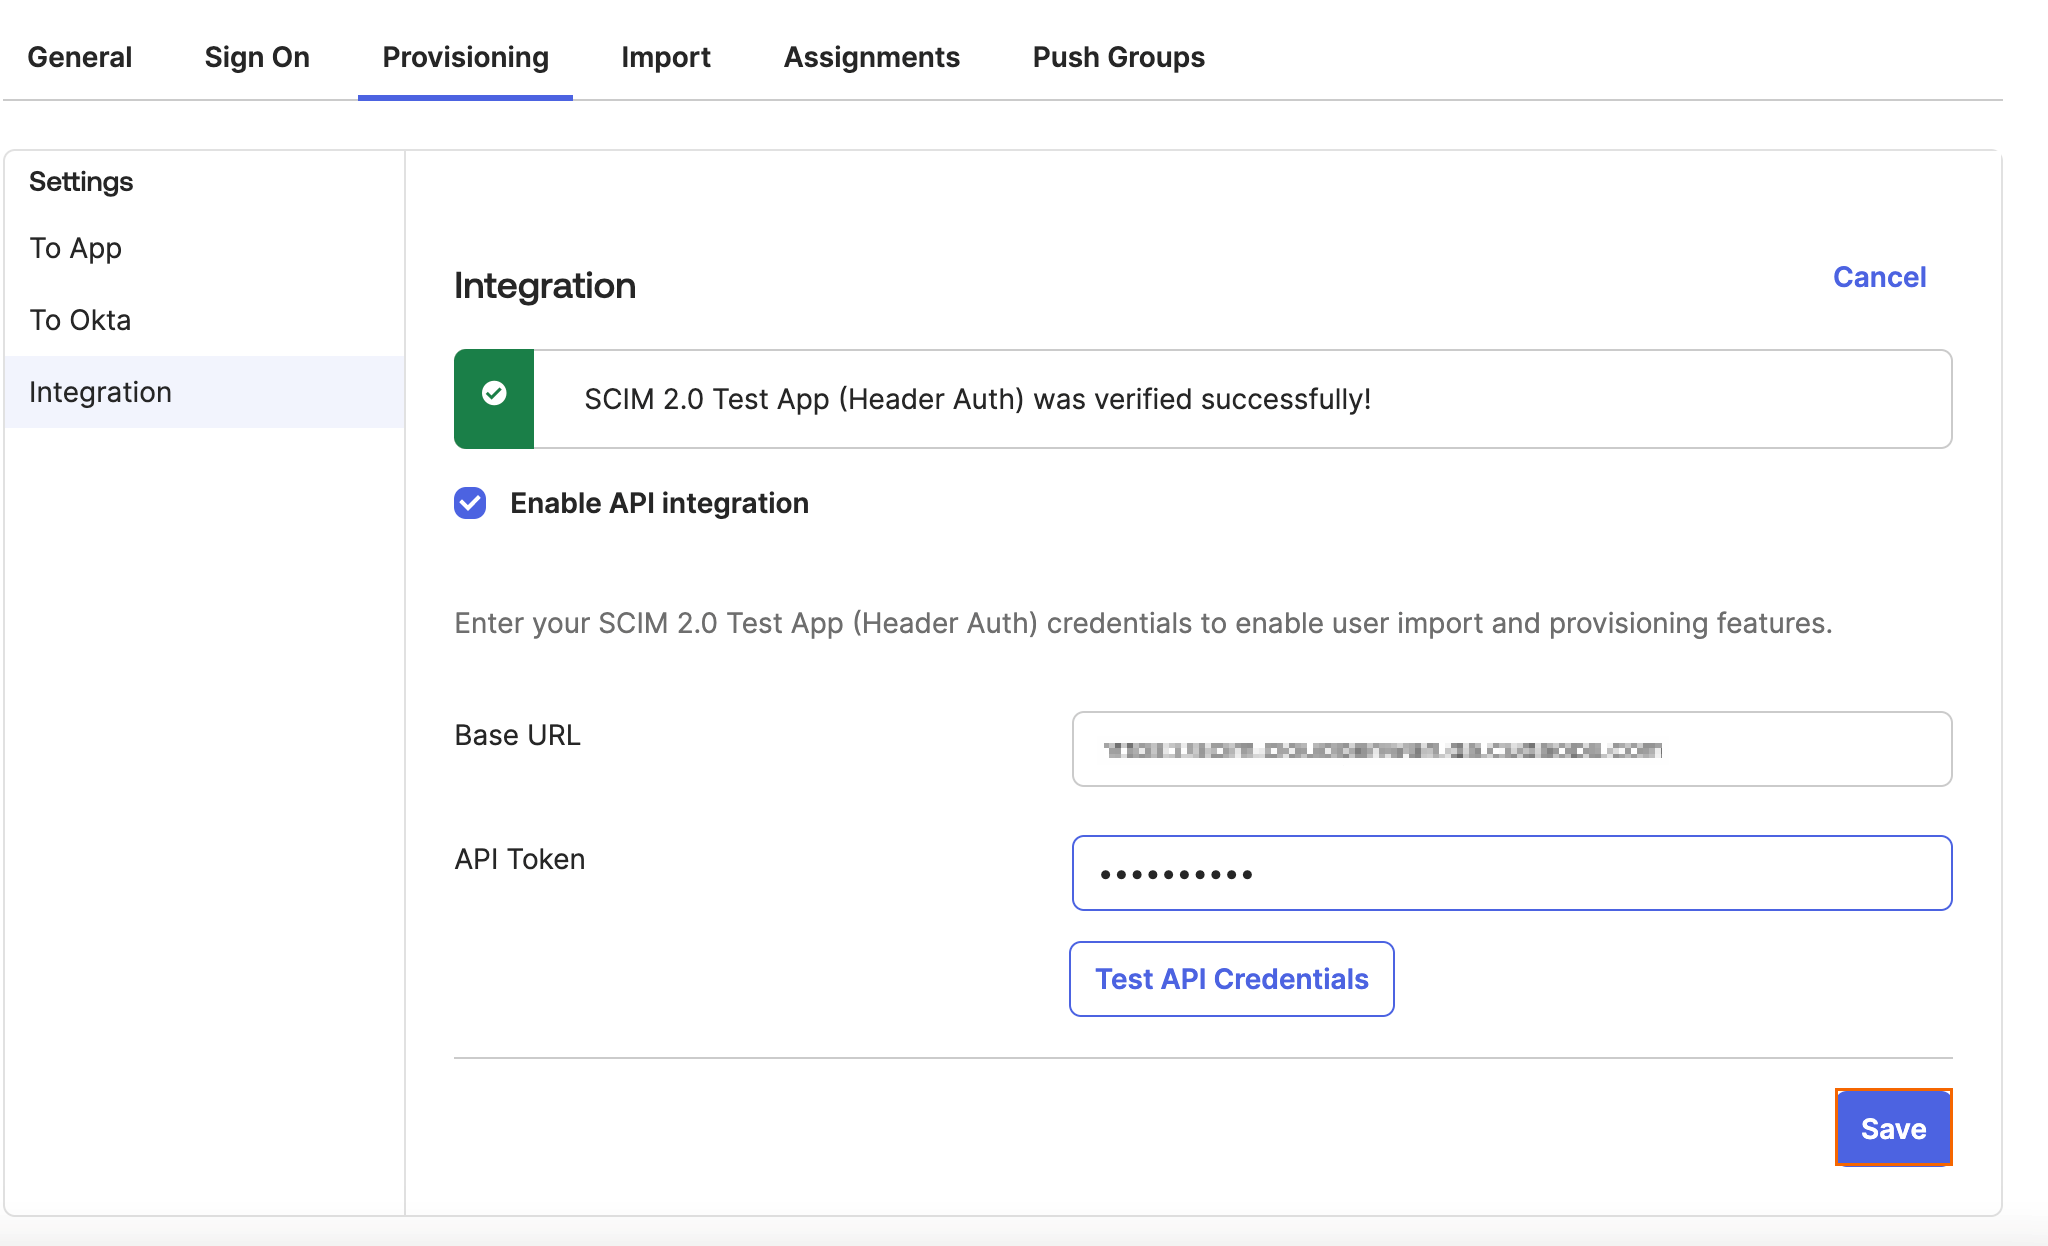
Verify it is successful and click Save.
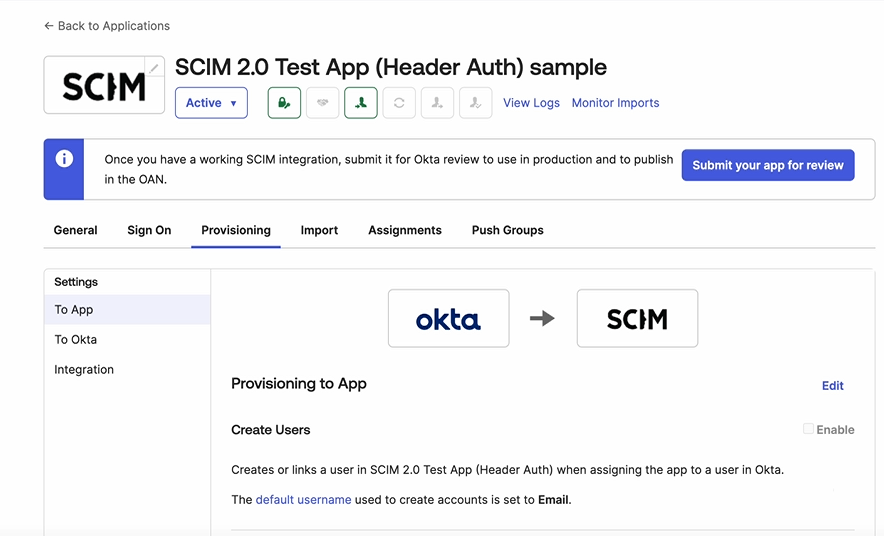
Under the Provisioning To App section, click Edit. You can do the following:
You can enable Create Users, Update User Attributes, and Deactivate Users. Click Save.
After provisioning, you must assign users or groups to the app. To assign users or groups, you can now proceed with Step 3 (Users) or Step 4 (Groups).
Step 3 Users Provisioning
There are different ways to assign users to your application. Three methods are explained below.
Method 1
To assign the users to be synced, do the following:
Go to your Application you created in Step 1.
Under Assignments, click Assign and select Assign to people from the drop-down menu.
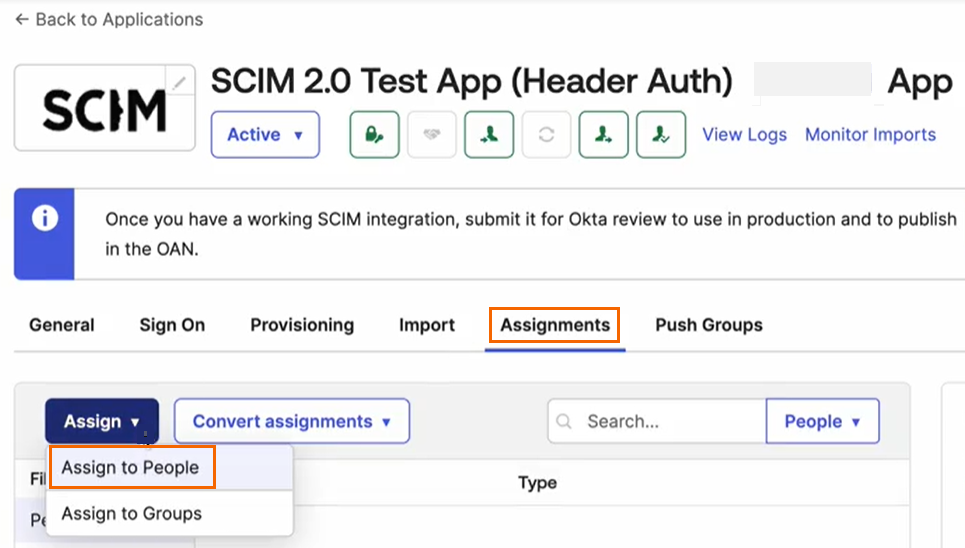
The Assign SCIM 2.0 Test App (Header Auth) App to People page opens.
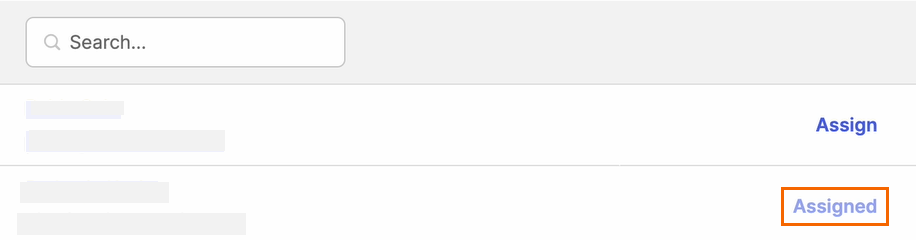
You can either search for the user or select the existing user. Click Assign next to the selected user.

You can check or update the user credentials. Scroll down to the bottom of the page, and click Save and Go Back.
Verify that the status of the added user has changed to Assigned.
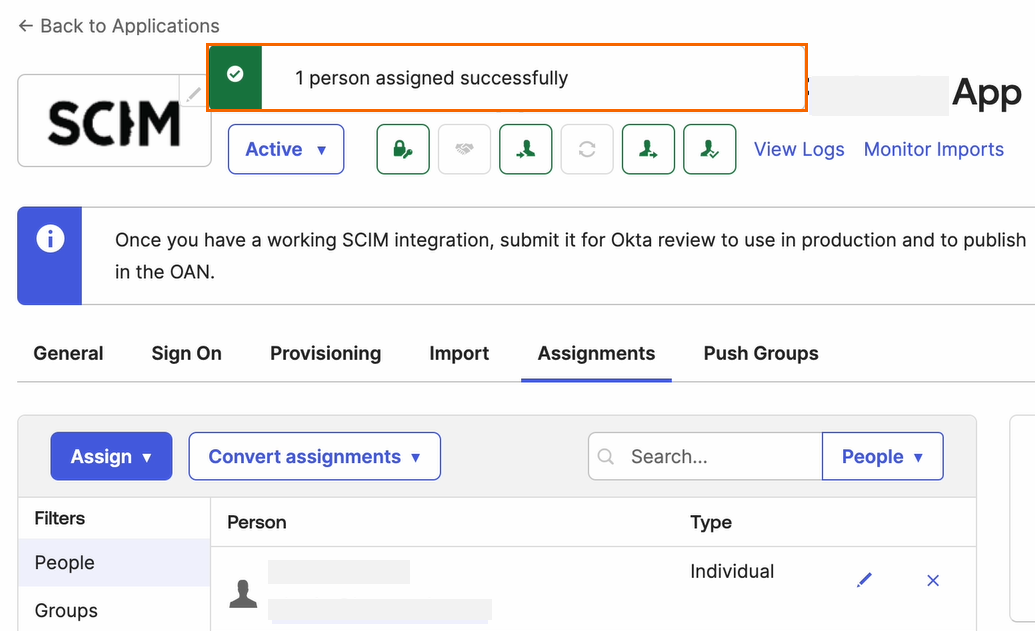
Click Done.
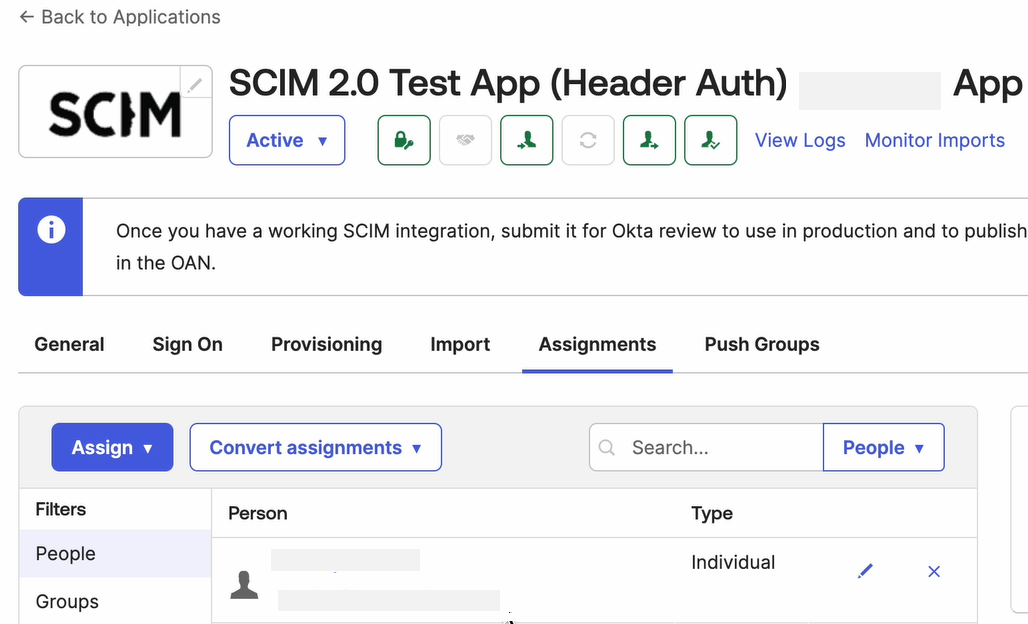
Under your Application in the Assignments tab, you can see the new user has been added successfully.
Method 2
Go to the Okta Admin Dashboard.
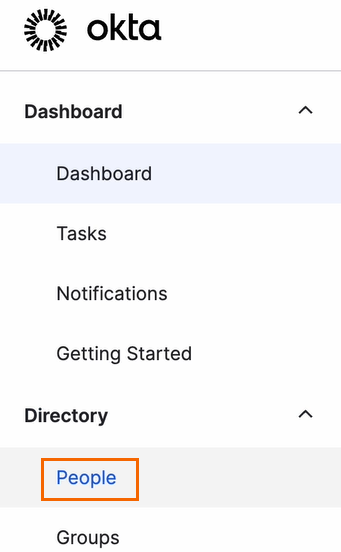
Expand the Directory menu on the left and select the People.
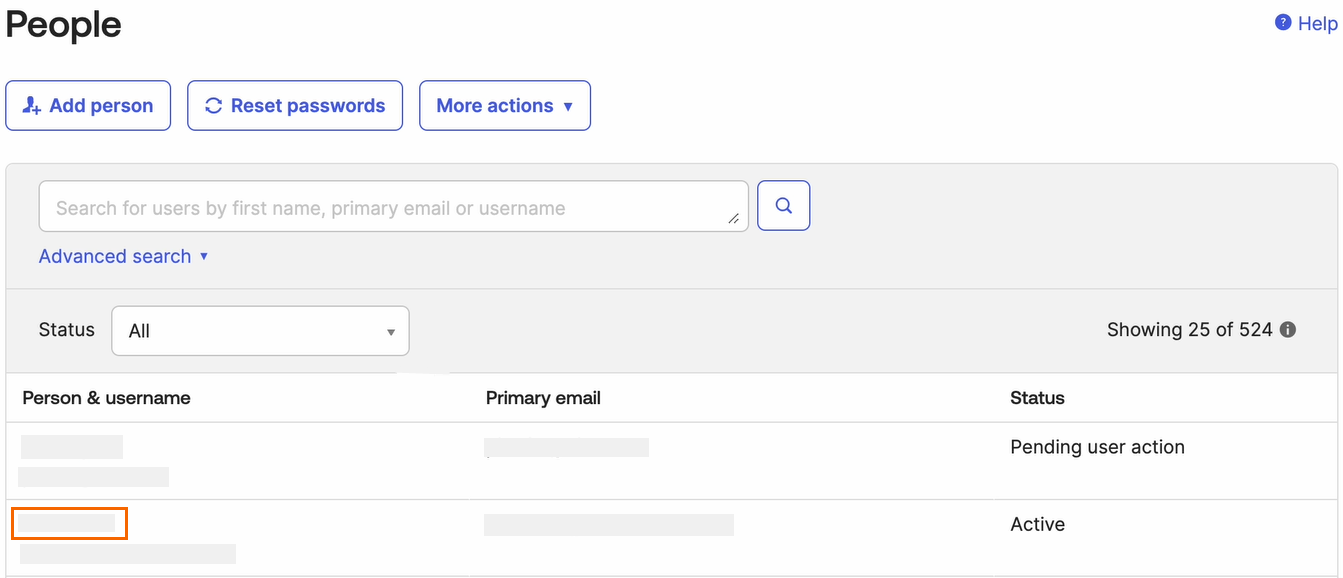
The People page opens. Under the Person & username column, click on <User Name>.
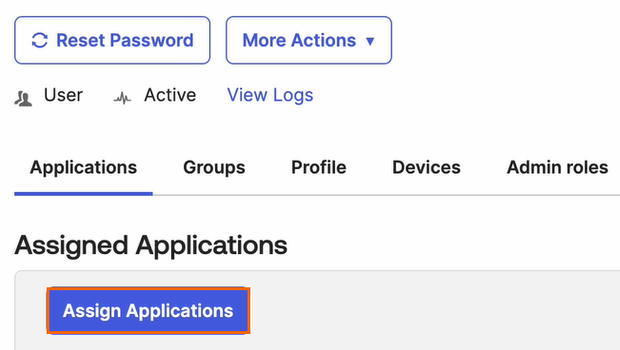
The selected <User Name > page opens. Click Assign Applications.
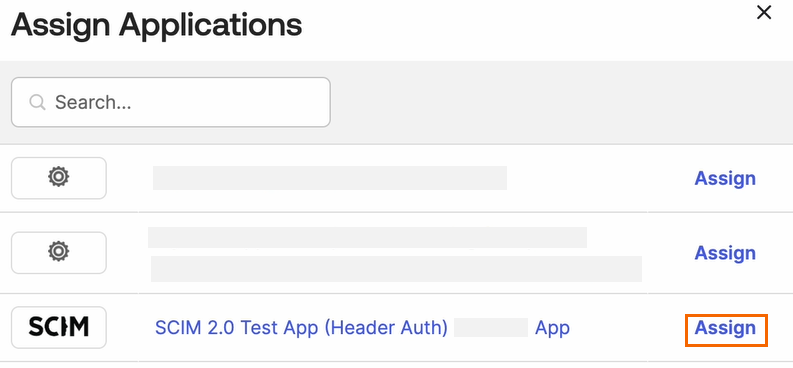
The Assign Applications page opens. Select your Application you created in Step 1, and click Assign.
You can check or update the user credentials. Scroll down to the bottom of the page, and click Save and Go Back.
Click Done.
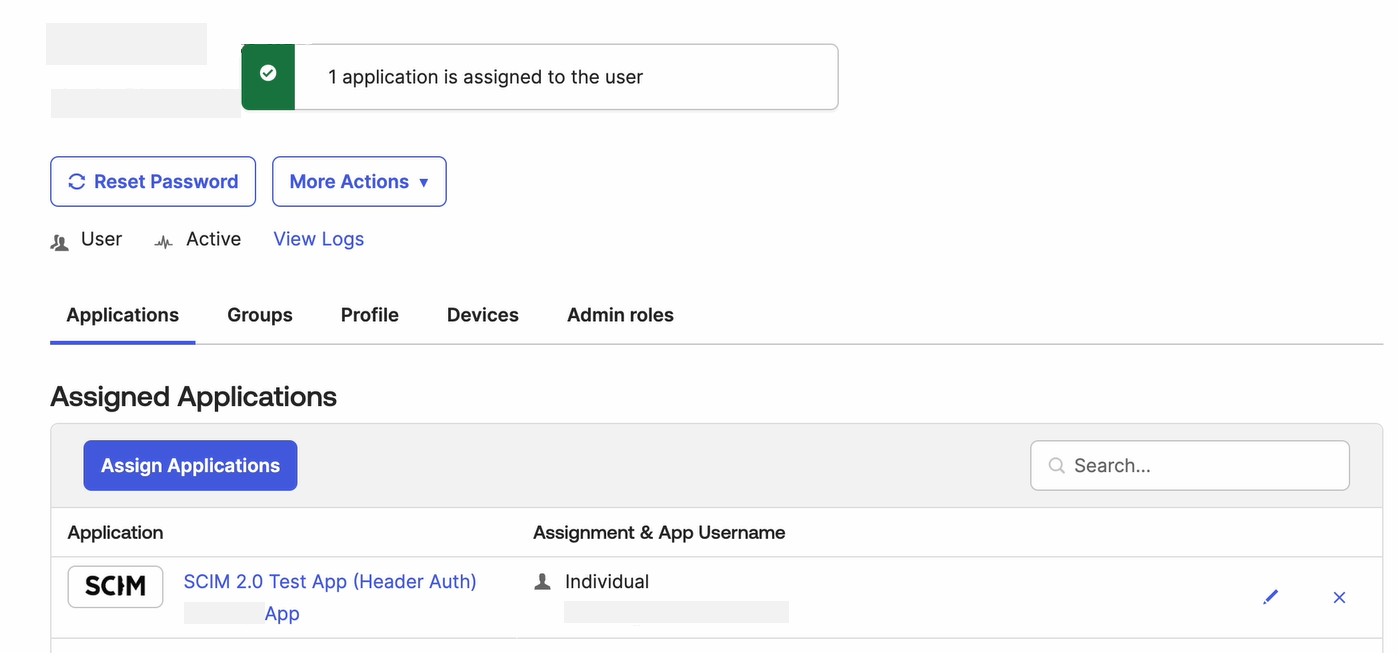
In the selected <User Name> page under the Applications tab, you can see the new application has been assigned successfully.
Method 3
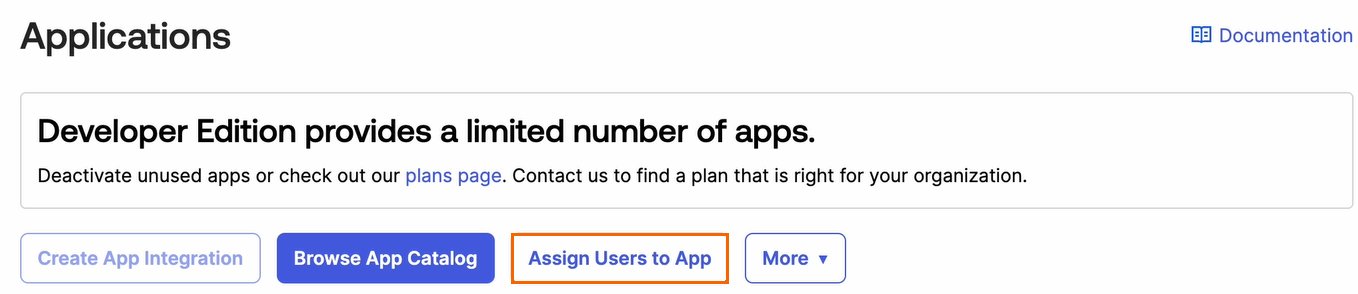
Expand the Applications menu on the left and select the Applications.
The Applications page opens. Click Assign Users to App.
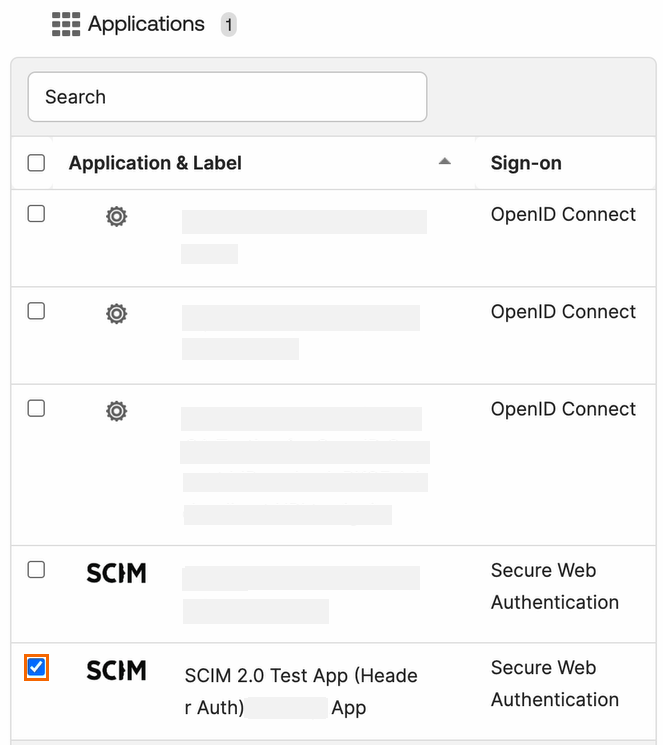
Under the Applications section, select your application you created in Step 1.
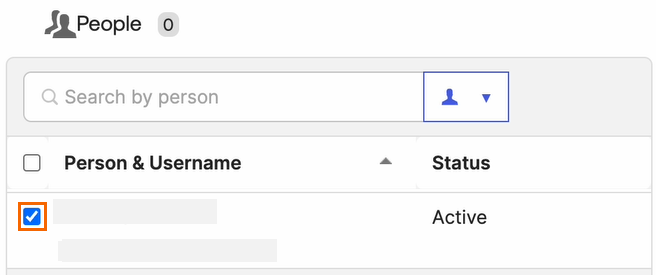
Under the People section, select the user and click Next.
Verify your user-specific attributes. Click Confirm Assignments.
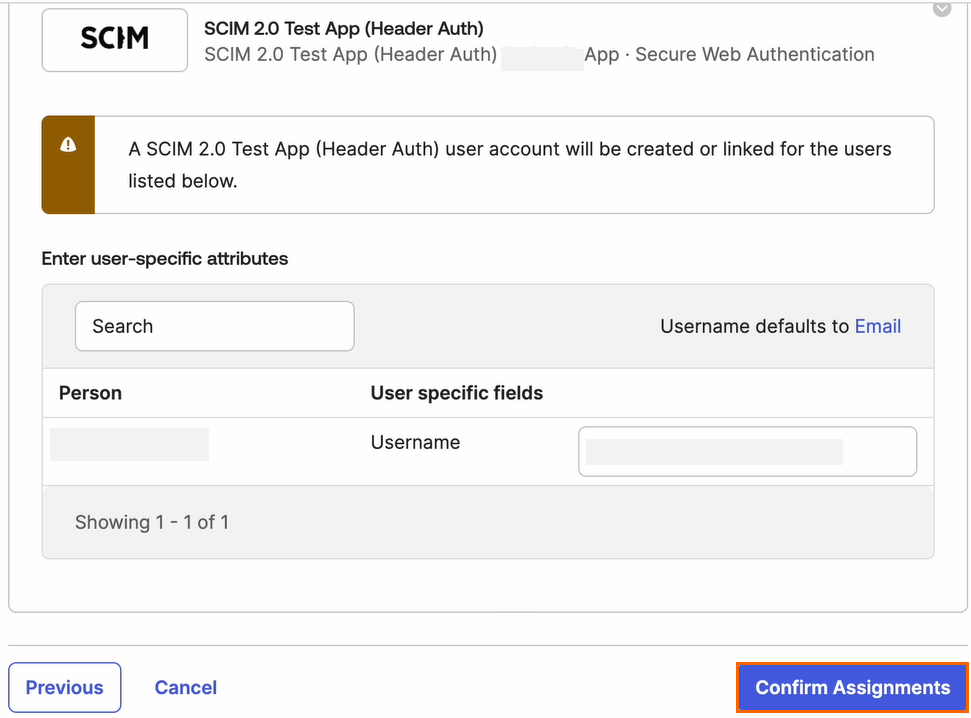
Under your Application in the Assignments tab, you can see the new user has been added successfully.
Step 4 Groups Provisioning
There are different ways to assign groups to your application.
Method 1
To assign groups to be synced, do the following:
Go to your Application you created in Step 1.
Under Assignments, click Assign and select Assign to Groups from the drop-down menu.
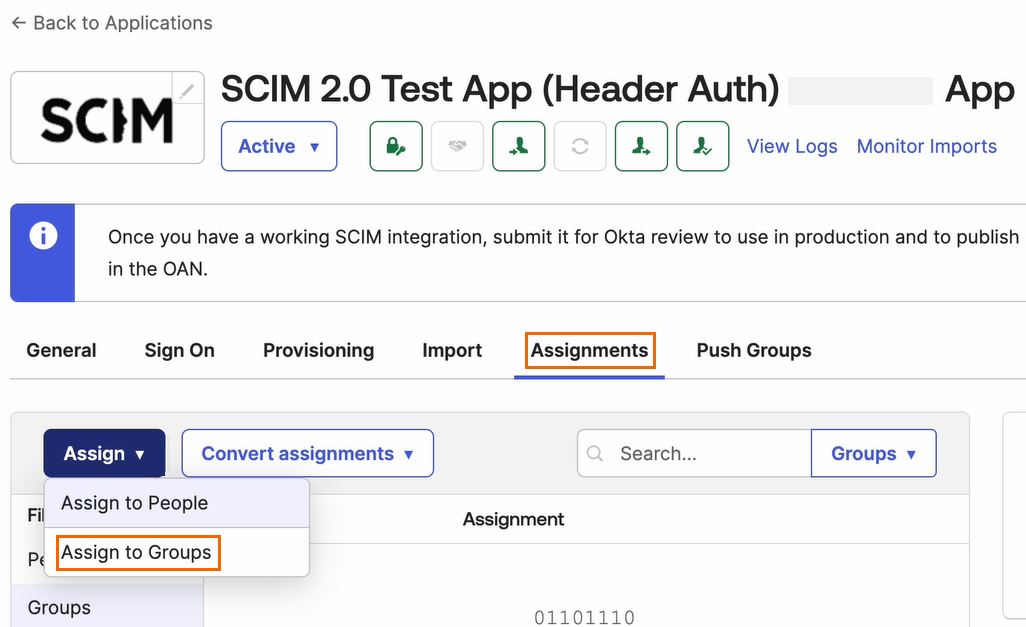
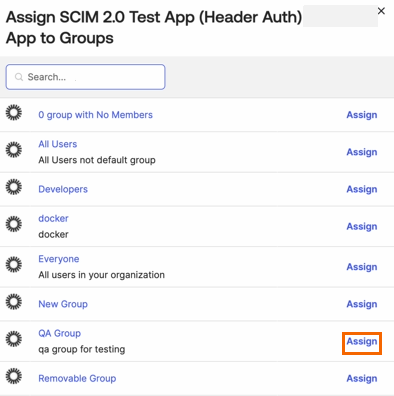
The Assign SCIM 2.0 Test App (Header Auth) App to Groups page opens.
You can either search for the group or select the existing group. Click Assign next to the selected group.
You can check or update the group attributes. Attributes you set will apply to all users in this group. Scroll down to the bottom of the page and click Save and Go Back.
Verify that the status of the added group has changed to Assigned.
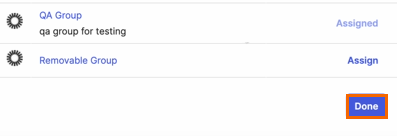
Click Done.
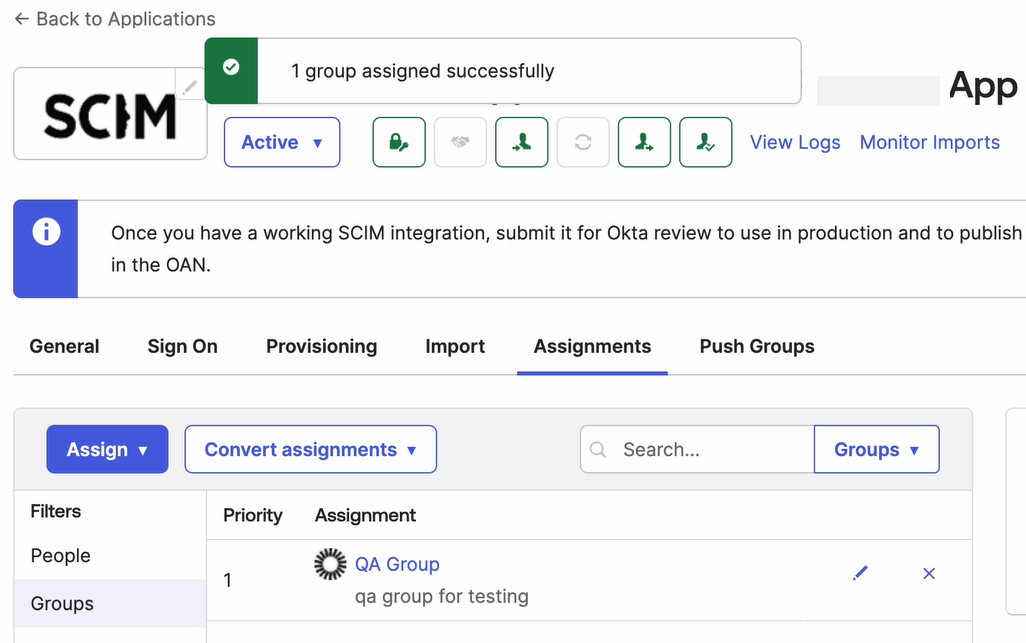
Under your Application in the Assignments tab, you can see the new group has been added successfully.
Method 2
Go to the Okta Admin Dashboard.
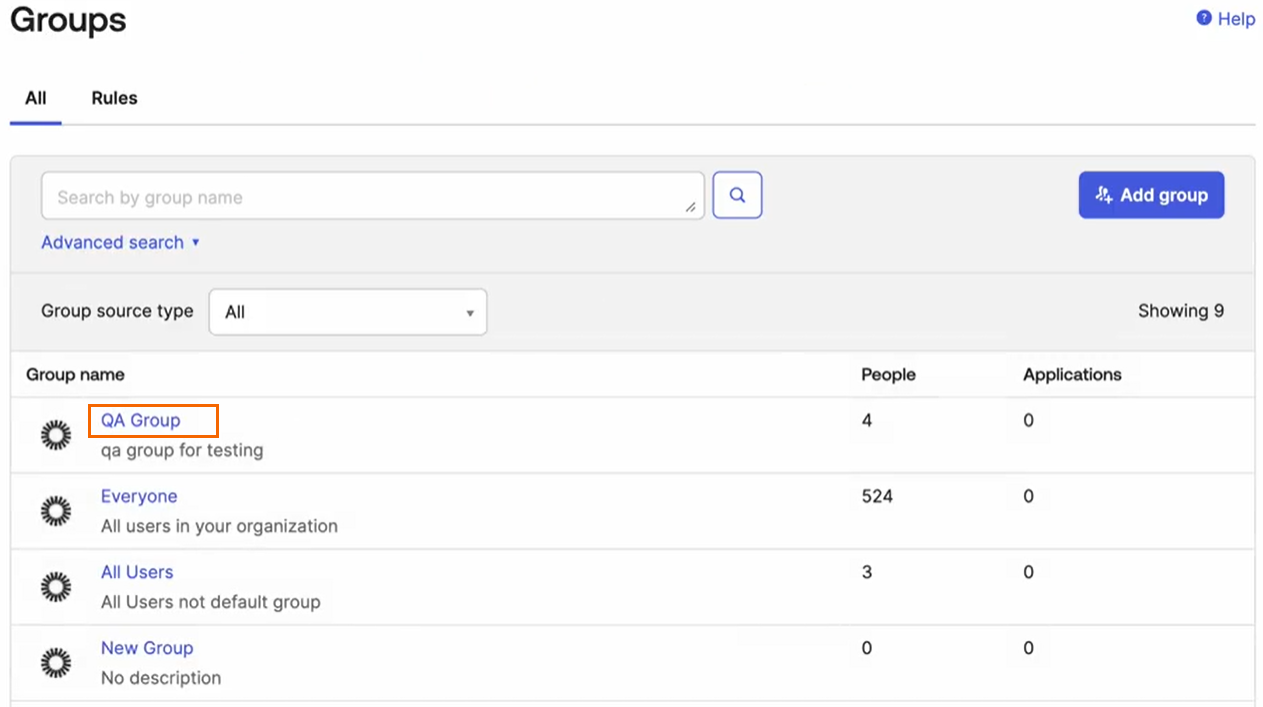
Expand the Directory menu on the left, and select the Groups.
The Groups page opens. Click on <Group Name>, e.g., QA Group.
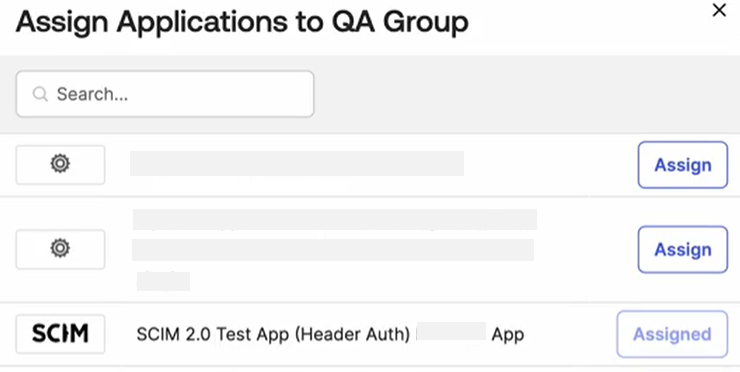
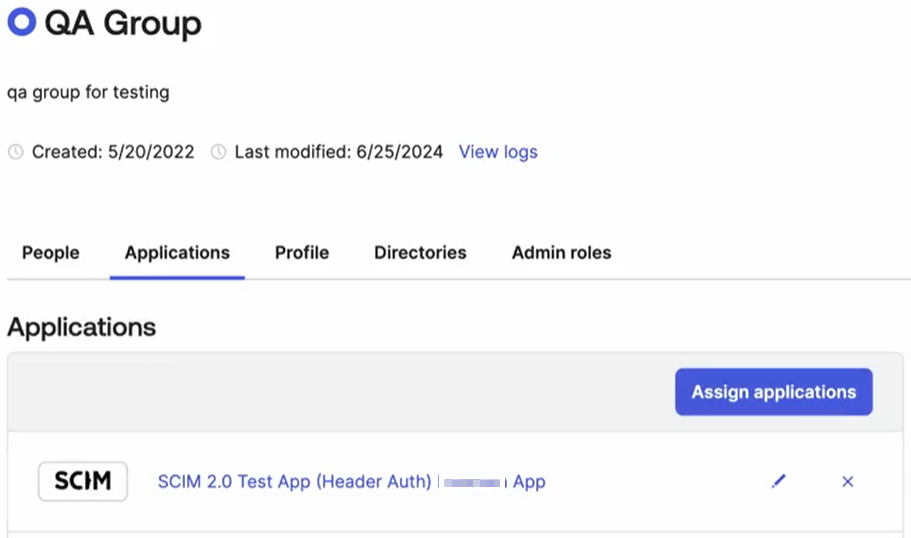
The selected <Group Name > page opens. Select Applications and click Assign applications.

The Assign Applications to <Name of Group> page opens. Select your Application you created in Step 1 and click Assign.
You can check or update the group attributes. Attributes you set will apply to all users in this group. Scroll down to the bottom of the page and click Save and Go Back.
Verify that the status of the added group has changed to Assigned.
Click Done.
Under the selected <Group Name> page in the Applications tab, you can see the new application has been assigned successfully.
Method 3 - Group Assignment Using Push Groups
Before you begin assigning Push Groups, you must first run either Method 1 or Method 2 and then proceed with Method 3.
To configure a SCIM 2.0 test app (header auth) application on Okta with push groups for instant sync of the SCIM user directory on the Identity > Settings page:
Expand the Applications menu on the left and select the Applications.
The Applications page opens. Select your application you created in Step 1.
Under your application, click Push Groups.
The Push Groups to SCIM 2.0 Test App (Header Auth) page opens.
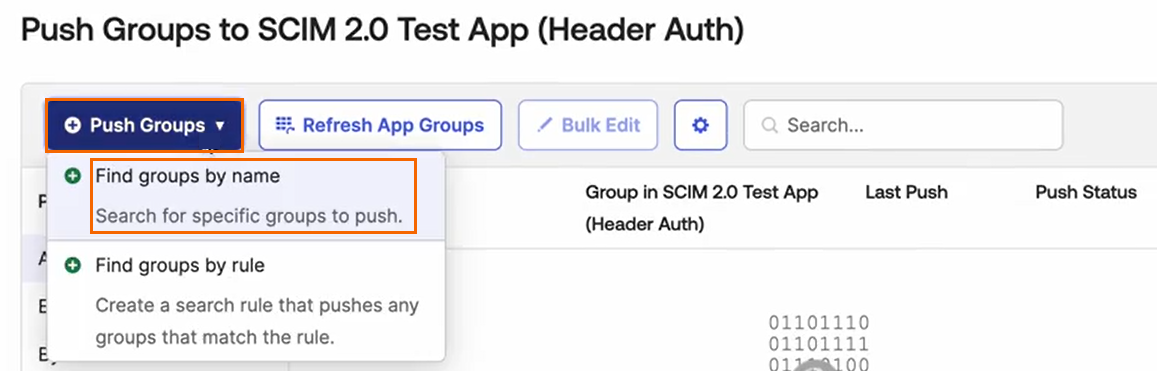
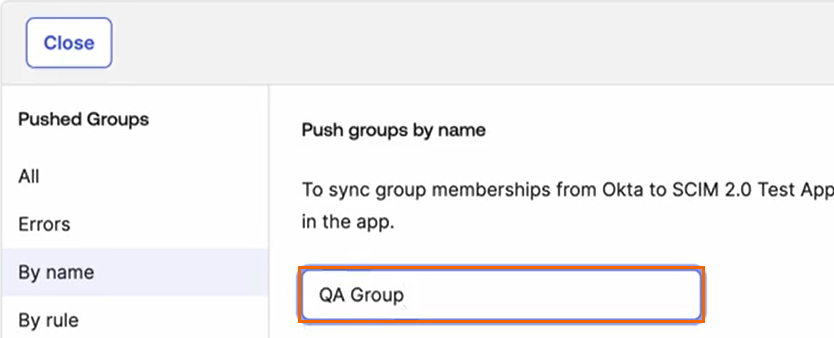
Enter a group to push. For example, in this case QA Group. Click Save.
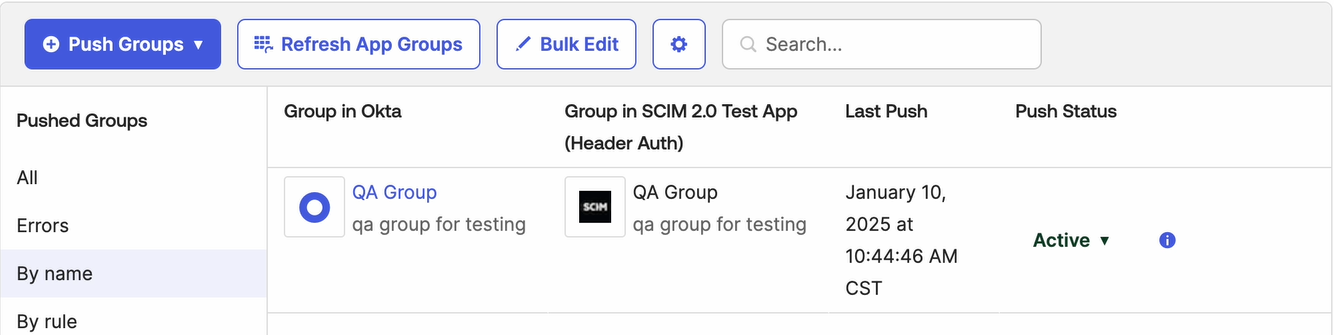
For the selected group, you can see Push Status is shown as Pushing.

After the directory sync is completed, you can see that the Push Status now displays as Active.
In addition, you can verify the status of the automatic group assignment in SecureEdge.
Go to https://se.barracudanetworks.com and log in with your existing Barracuda Cloud Control account.
In the left menu, click the Tenants/Workspaces icon and select the workspace you have configured the Okta user directory for.
Go to Identity > Settings.
After the directory sync is completed, verify that in the User Directories table, under the fieldname STATUS, the text has changed to Completed with a green check mark and one group synced.

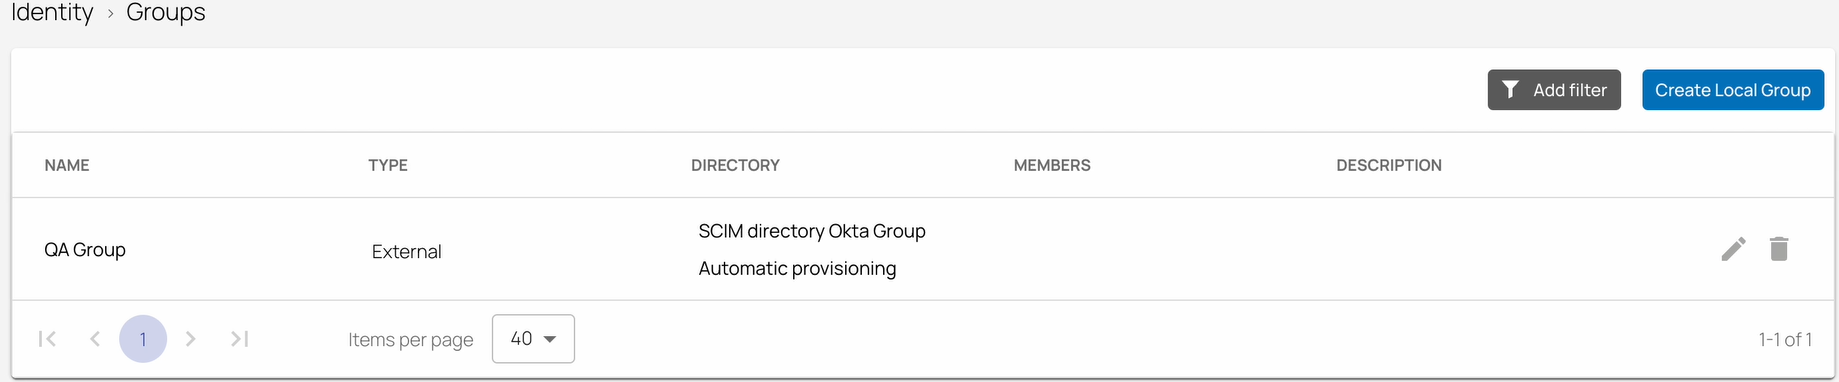
Verify that you see Okta Directory users and groups on the respective Identity > Users and Identity > Groups pages.
On the Identity > Groups page, you can see a new group has been added successfully.
On the Identity > Users page, you can see a new user has been added successfully.
