

This article refers to the Barracuda PST Enterprise version 5.2 or higher. Before installing Barracuda PST Enterprise, you must first complete Step 1 - System Requirements.
This article describes how to install the PST Enterprise core components and the Copy Agent server (if required, to facilitate copying PST files from client machines to a central server). Run the installation on the server designated to host the PST Enterprise website. If you receive an alert that a prerequisite is not installed, go back and install the prerequisite.
Download the Barracuda PST Enterprise Installation Package to your server.
For Office 365 (Exchange Online-Only or Hybrid) Deployments
If you intend to use Barracuda PST Enterprise with Office 365, it is recommended you complete the following steps prior to installation.
- Create the PST Enterprise service account in Active Directory and ensure this account is synchronised to Office 365. You should carefully note the requirements for this account as specified in the Office 365 Deployments section of Step 1 - System Requirements, in particular the domain suffix.
- Log in to a server where PowerShell v2 is installed with an account authorized to use PowerShell.
- Launch PowerShell (Start > All Programs > Accessories > Windows PowerShell > Windows PowerShell).
- Run the following command:
Set-ExecutionPolicy Unrestricted - Click Y to confirm the change, and then run the following command:
$UserCredential = Get-Credential When prompted, enter the username and password for the Exchange Online administrator account, and then run the following command:
$PSSession = New-PSSession -ConfigurationName Microsoft.Exchange -ConnectionUri https://outlook.office365.com/powershell-liveid/ -Credential $UserCredential -Authentication Basic –AllowRedirection- Warnings display; this is expected. Run the following command:
Import-PSSession $PSSession - Warnings display; this is expected. Run the following command:
Get-Mailbox | Add-MailboxPermission –User PSTEnterpriseAdmin -AccessRights FullAccess –AutoMapping $false
where PSTEnterpriseServiceAccount is the name of the PST Enterprise Service Account you have created.
The PST Enterprise Administrative account will now have full access to the mailboxes hosted online. This is required in order to obtain mailbox data using Exchange Autodiscover.
Now proceed with the next section to install PST Enterprise.
Installation Process for all Environments
To run the installation process,
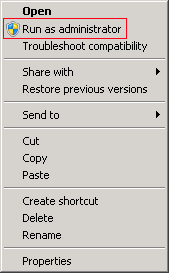
- On the PST Enterprise server, right-click PSTEnterprise.<version>.exe, and click Run as administrator:
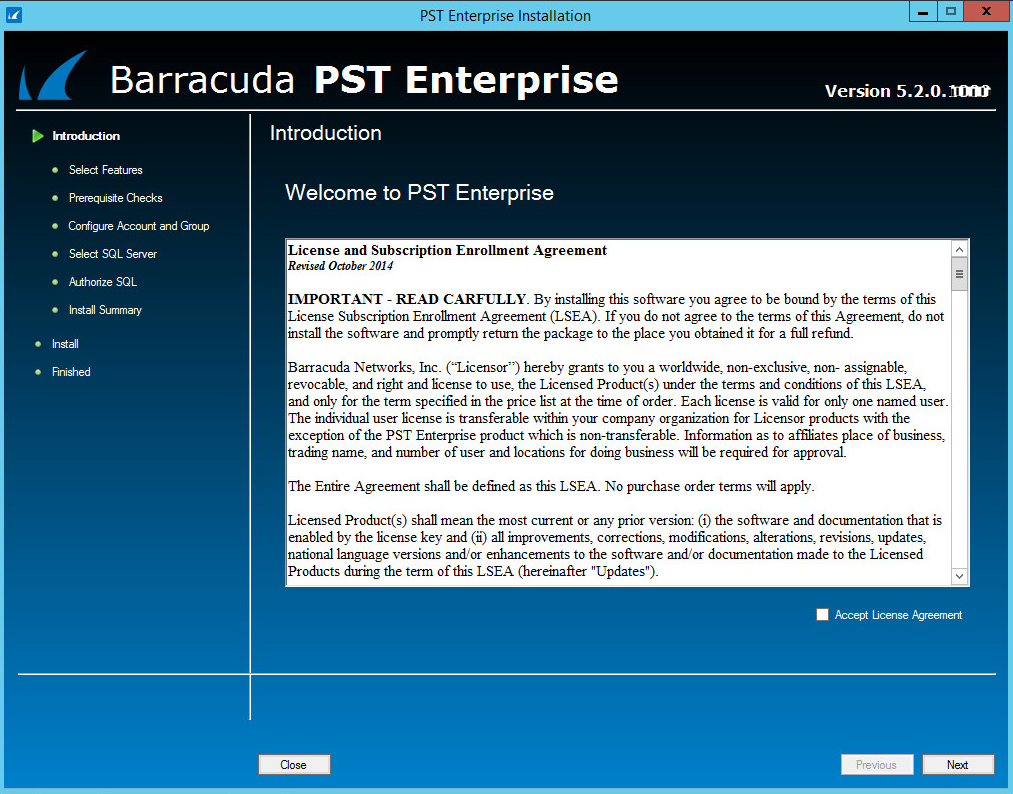
- The installation wizard launches and the License Agreement page displays. Read the license, select I accept the terms in the license agreement if you agree, and click Next to proceed:
- Use the Select Features page to specify the components you want to install:
Main website, client and Self Service website – Core Barracuda PST Enterprise components; this component is mandatory.
Copy Agent – the Copy Agent services; this component is optional and only required if you wish to copy or move PST files on disk. It can be installed on the PST Enterprise server, or any other dedicated machines.
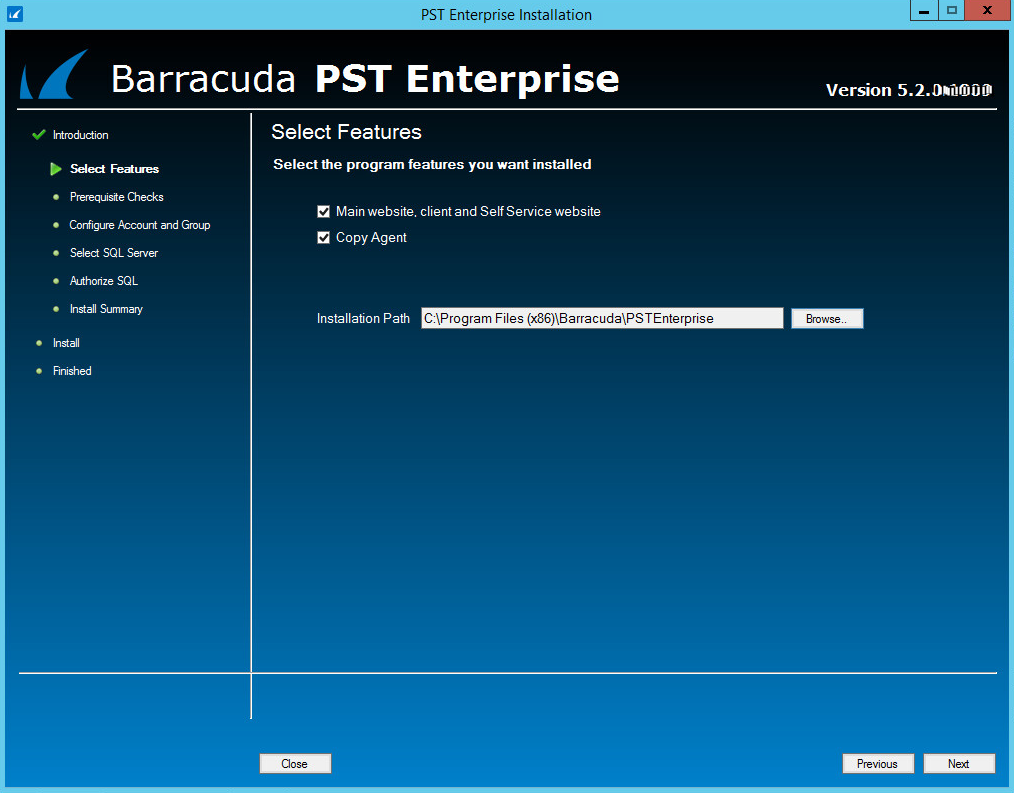
- By default, the installation directory is set to C:\Program Files (x86)\Barracuda\PSTEnterprise. To modify the installation directory, click Browse, and then navigate to the desired directory. Click Next.
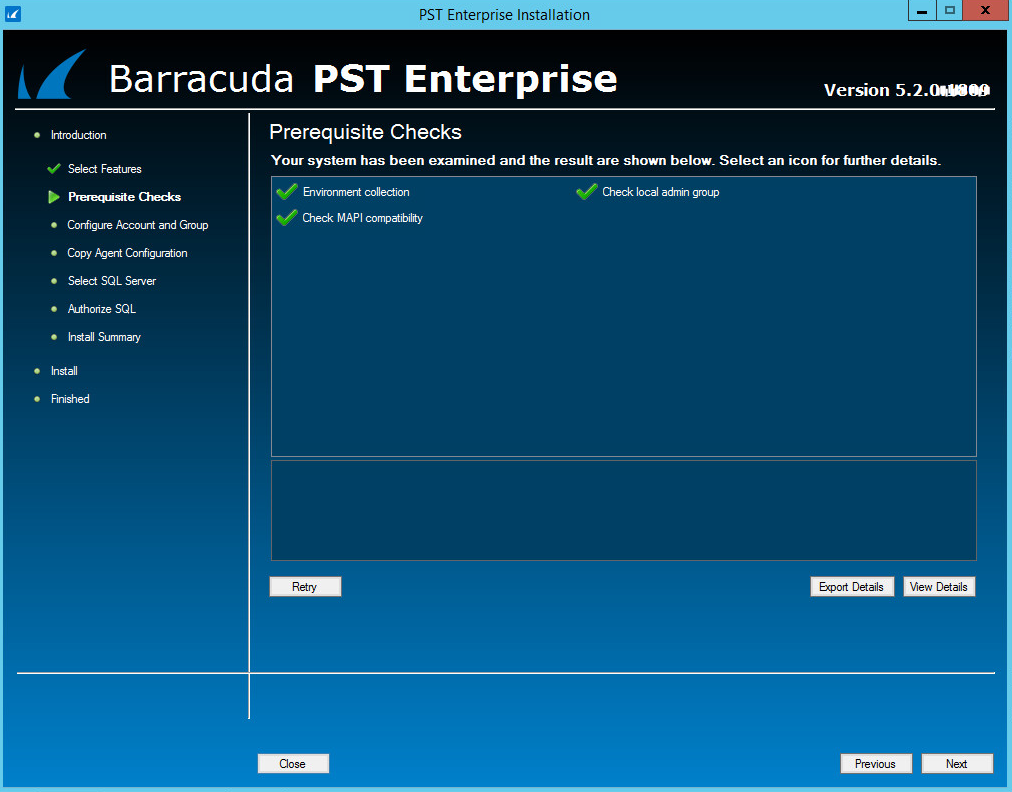
The Deployment Analyzer completes the prerequisite checks. If there are any warnings or failures, you must click View Details and correct the errors before you can continue. Click Next.
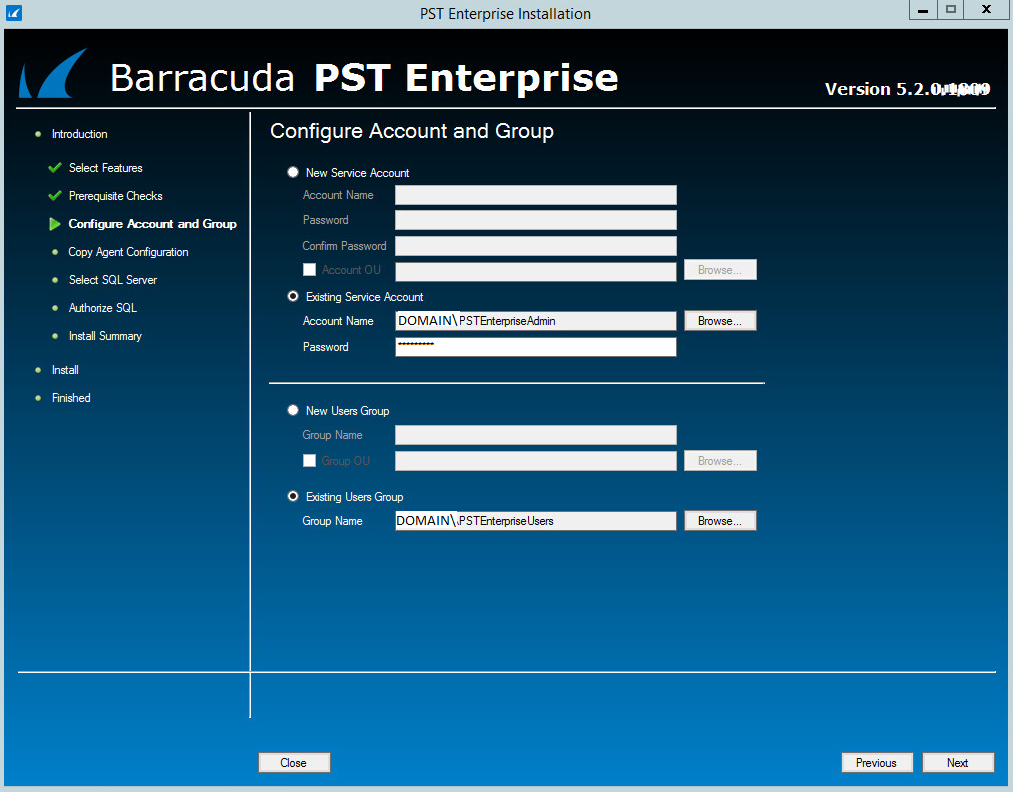
Click OK. On the Configure Account and Group page, enter the PST Enterprise Service account and User group details. You can choose to create a new account and/or security group using the installer, or selected an existing account or group:
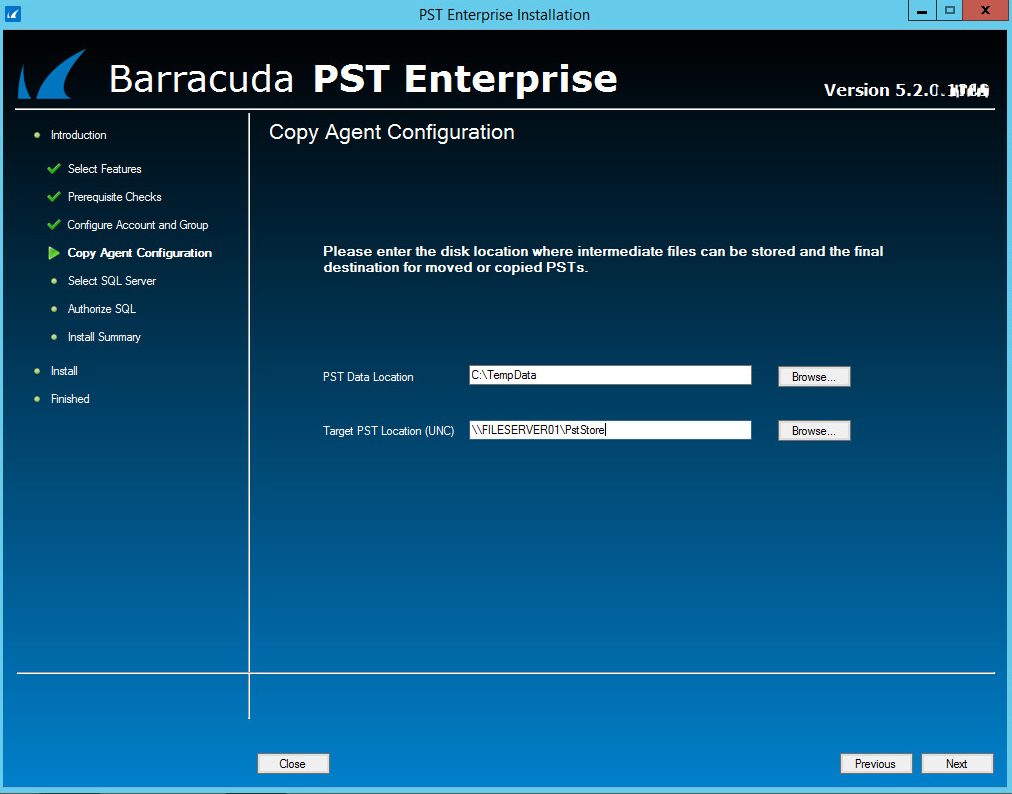
- If you have selected the Copy Agent component for installation, you are prompted to specify the PST Data location and the Target PST location:
- PST Enterprise Server – If you are not installing on the PST Enterprise server itself, you are prompted to enter the name of the server where you installed the PST Enterprise application.
- PST Data Location – Enter the path or click Browse to specify a local directory on the PST Enterprise Copy Agent server. For example, C:\TempData. This directory is used to hold temporary data when PST files are copied or moved.
- Target PST Location (UNC) – Enter or click Browse to specify the UNC path to the target location where PSTs are to be copied and moved. This is used by the PST Enterprise Copy Agent to store the final PSTs after processing, for example \\FILESERVER01\PstStore.
- Click Next. The Select SQL Server page displays. You should now choose the desired configuration:
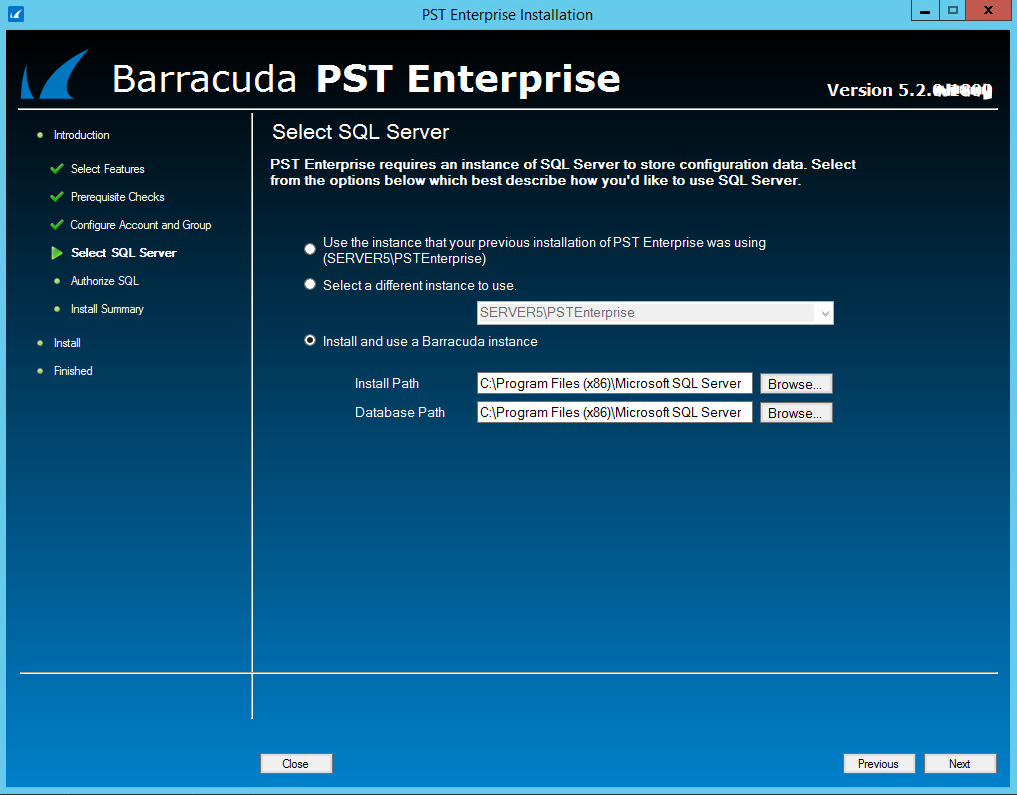
Select a different instance to use – Select this option to select a SQL Server instance on another server.
- Type in the field or click the drop-down menu to select a SQL Server instance on another server (the SQL Browser service must be running for the instance to be visible).
- If the user running the installer does not have sufficient rights to log in to the specified instance, you are prompted to enter the SQL administrator credentials. See SQL Database Permissions for more information on the required rights.
- Install and use a Barracuda instance – Select this option if you used the pre-installer to install a SQL Express 2008 R2 instance on the PST Enterprise server. You can specify the installation and database directories for the SQL Server installation by clicking Browse in Install Path and Database Path.
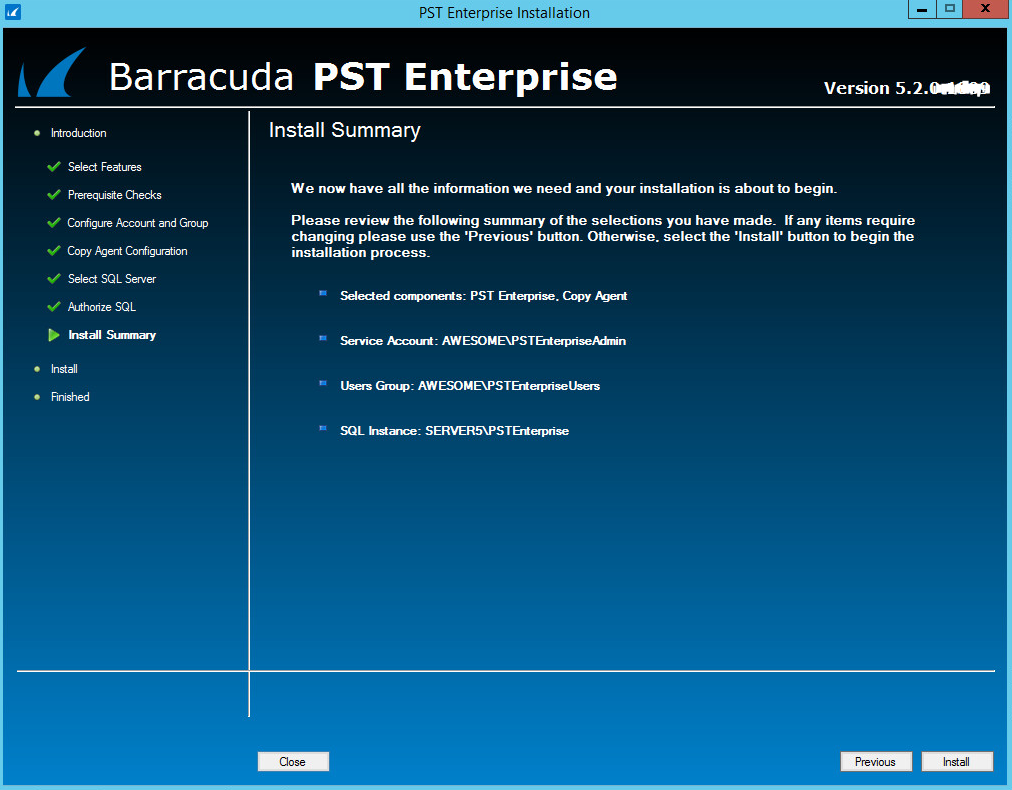
- Click Next and the Install Summary page displays the entered configuration. Click Install to start the installation:
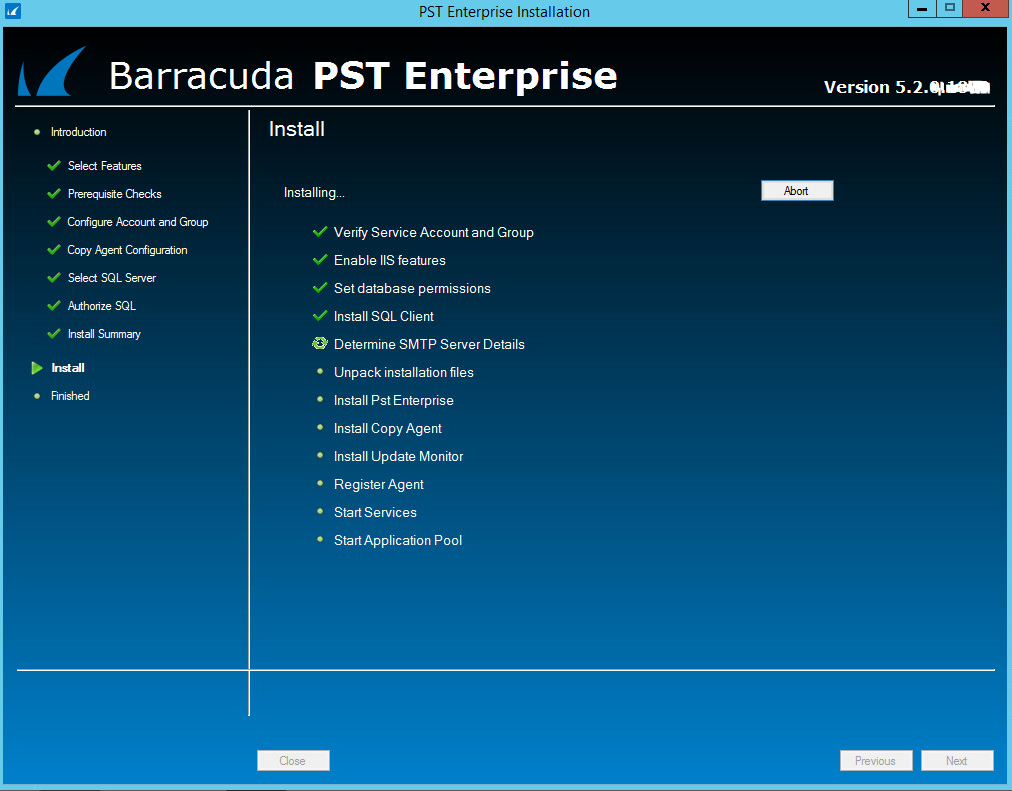
- While the installation is running, the progress displays:
- When the installation is complete, click Finished to close the installer. Any errors or warnings display on the status screen; click on the displayed link for advice on resolving any issues.
- if required, click Save Logs to save a copy of the installation logging to C:\PSTEnterpriseInstallLogs.

- if required, click Save Logs to save a copy of the installation logging to C:\PSTEnterpriseInstallLogs.
To launch the PST Enterprise administration website, go to Start > All Programs > PST Enterprise.
Continue with Step 3 - Set Up Barracuda PST Enterpriseto configure PST Enterprise and deploy the PST Enterprise Client and (optionally) additional Copy Agent servers.