

Barracuda Managed Vulnerability Security includes the Security Console and the Scan Engine. To install Barracuda Managed Vulnerability Security, do the following:
Install the Security Console
Install the Scan Engine
To install the Security Console
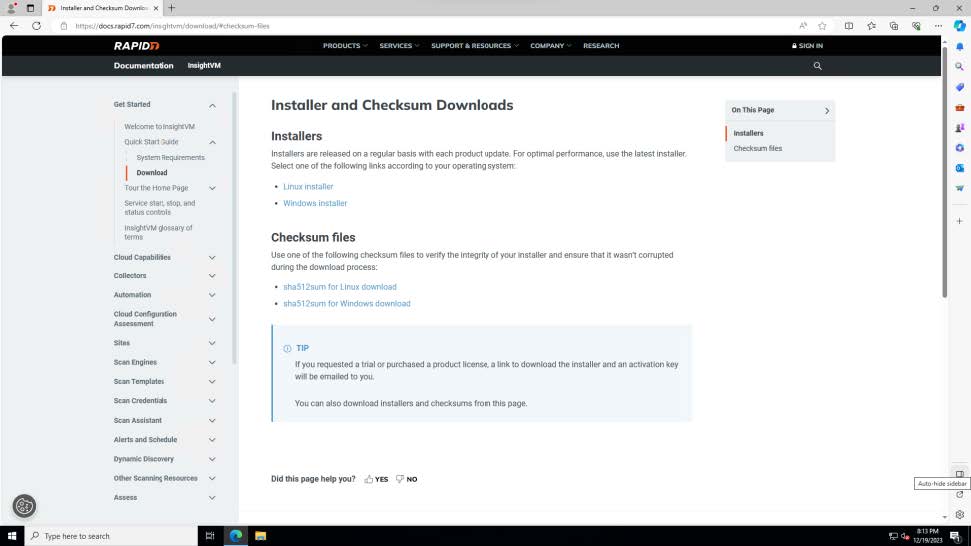
In a browser, navigate to Installer and Checksum Downloads | InsightVM Documentation.
Click one of the following links to download the Security Console installation file:
Linux installer
Windows installer
Navigate to the folder where you downloaded the Security Console installation file, then run the installation file.
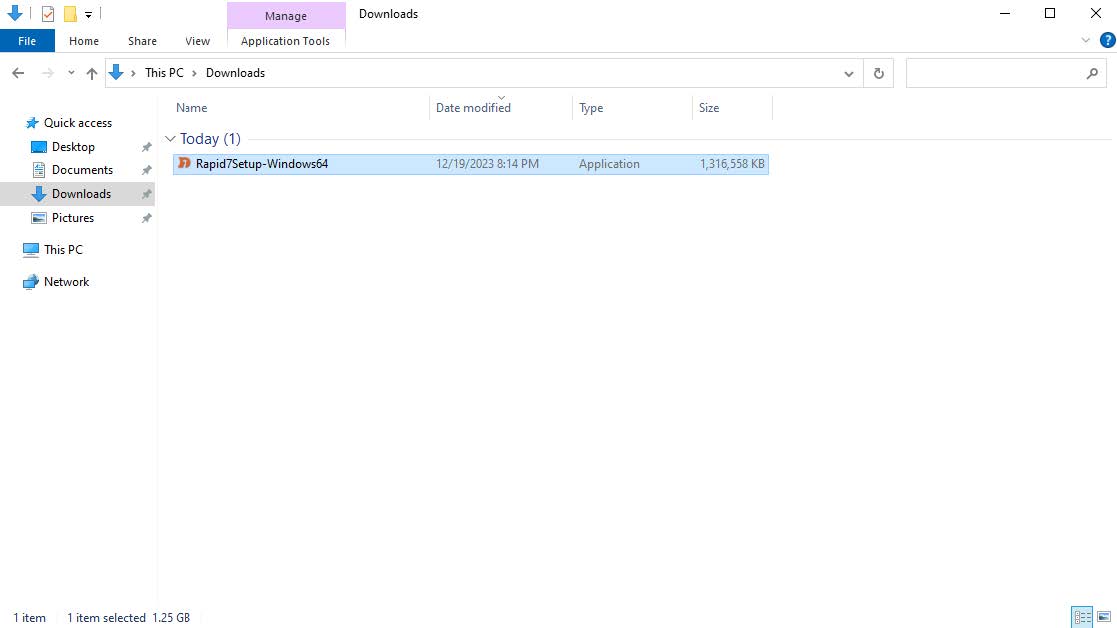
NOTE Don’t delete the application installer. You will use it again in the next procedure to install the Scan Engine.
The installation wizard starts.
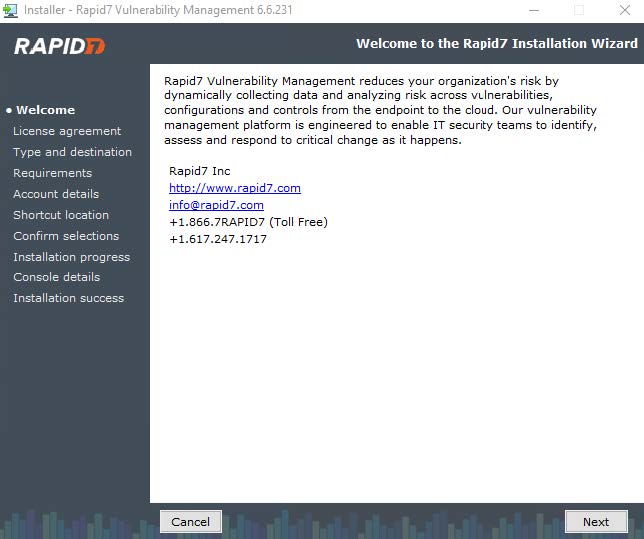
On the Rapid7 Installation Wizard page, click Next.
Select Security Console with Local Scan Engine, then click Next.
On the Installation requirements page, keep the defaults:
Ensure each item is checked
Ensure the database port is set to the default of
5432.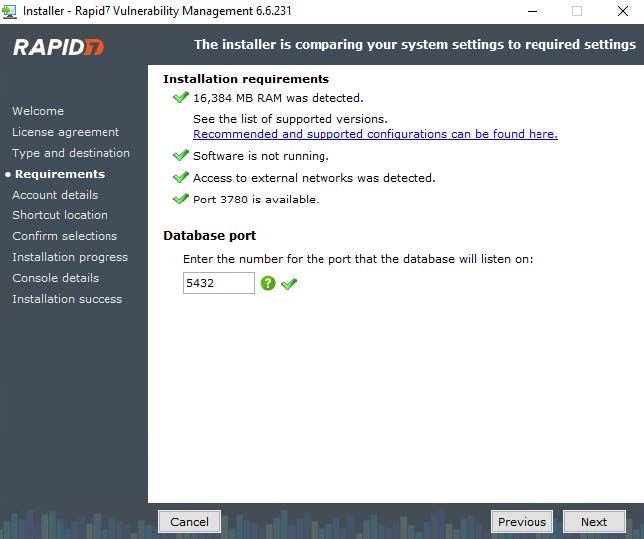
Click Next to continue.
On the Create your account information page, do the following:
In First Name, type
Barracuda.In Last Name, type
SOC.In Company, type
Barracuda.In User name, type
SOC.In Password, type the password provided by the Barracuda Enablement team.
Ensure the Do not check the box to require password reset upon login box is disabled.
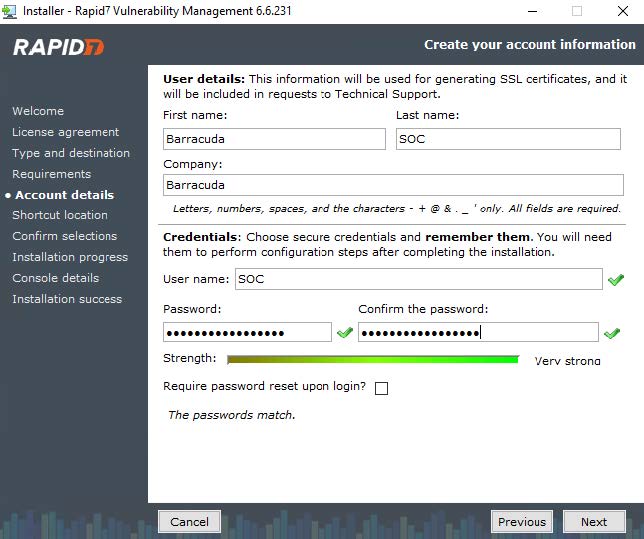
Click Next.
On the Select location for shortcuts page, select a Start menu folder where the installer will create shortcuts, then click Next.
NOTE Barracuda XDR recommends keeping the default.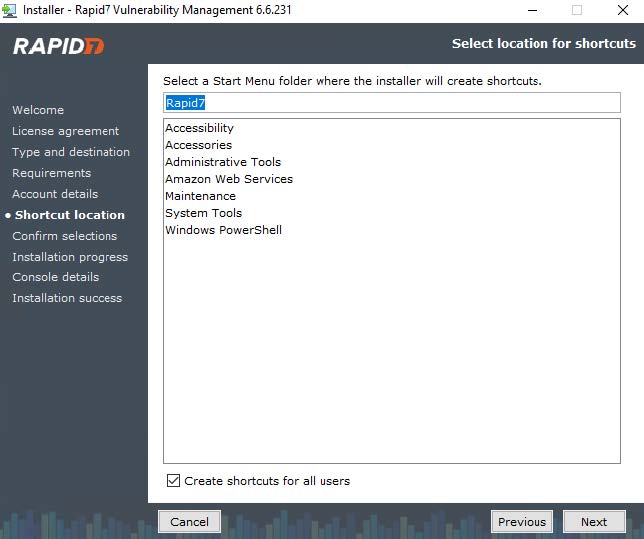
On the Confirm or change your installation selections page, confirm your selections, then click Next.
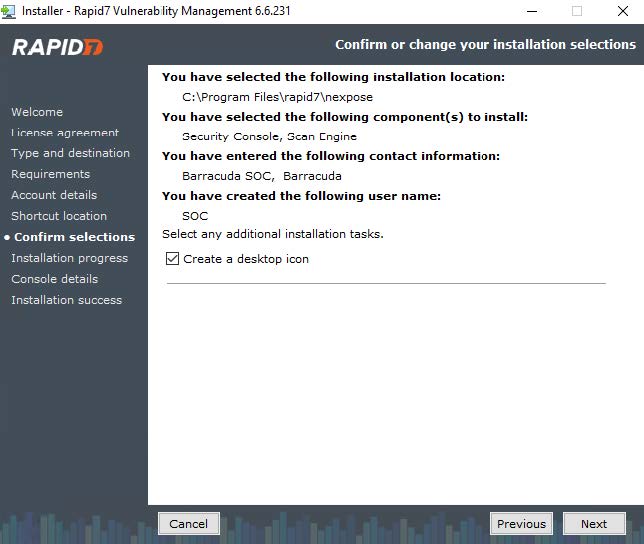
The installation completes. This takes a few minutes.Click Finish to exit the wizard.
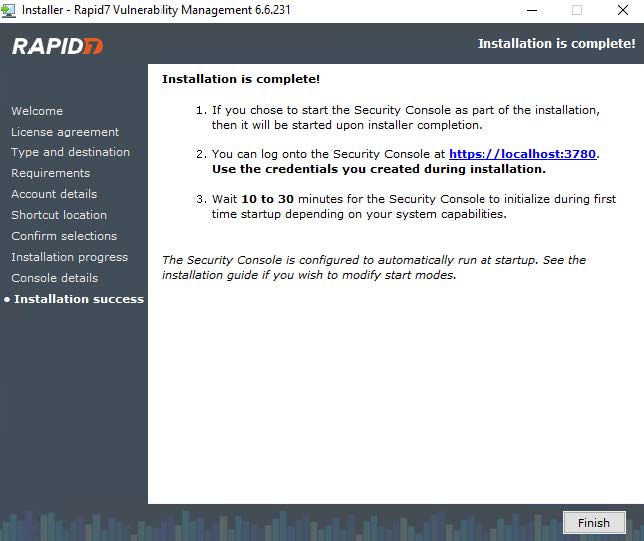
You are prompted to restart to complete the installation. Click Yes to proceed.

Once the restart is completed, the security console installation typically takes 10-30 minutes to complete.
After console installation is done, in a web browser, navigate to https://localhost:3780/.
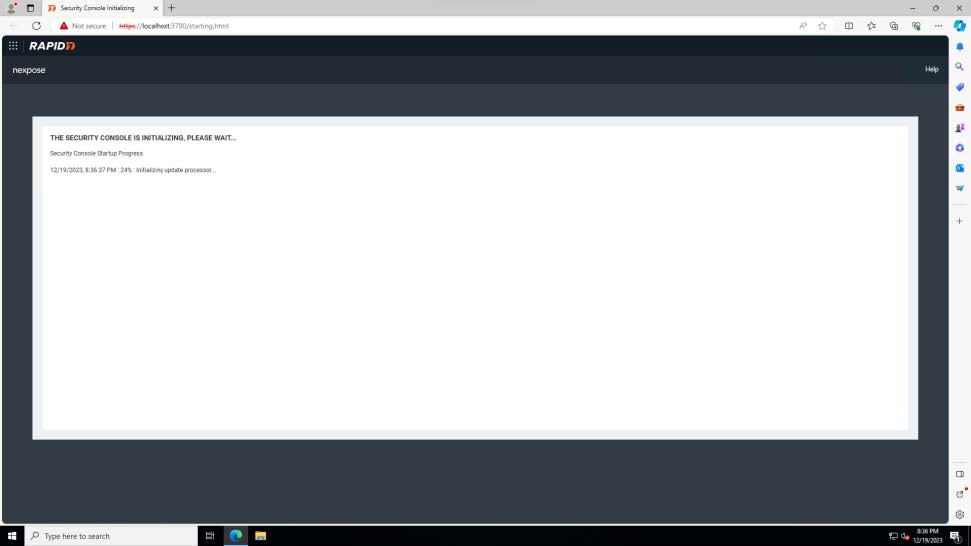
After approximately 30-60 minutes, the initialization completes and the login screen appears.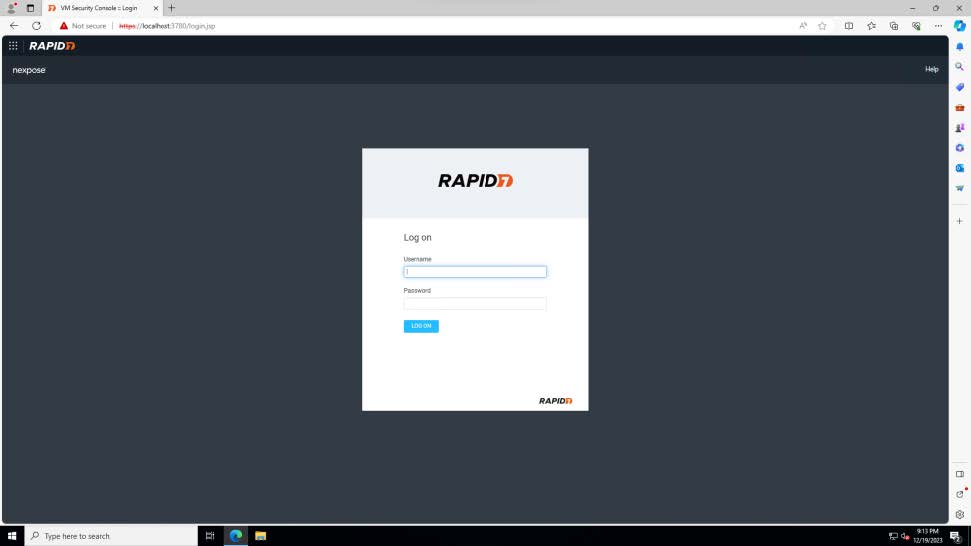
Log in with the credentials from step 9.
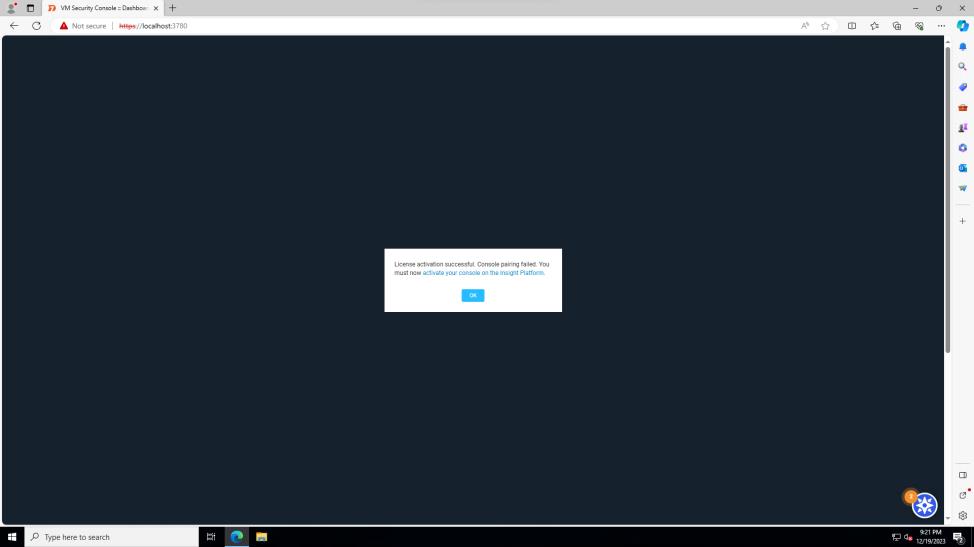
Enter the product key you received from the Enablement team and press Activate.
NOTE Activation takes a few minutes.Once you receive the activation message, email the SOC team at SOC@barracuda.com to let them know the application is installed. The SOC team will coordinate a remote session to complete the setup.
Next, install the Scan Engine.
To install the Scan Engine
On your device, navigate to the folder where you downloaded the Security Console installation file, then run the setup application.
The installation wizard starts.
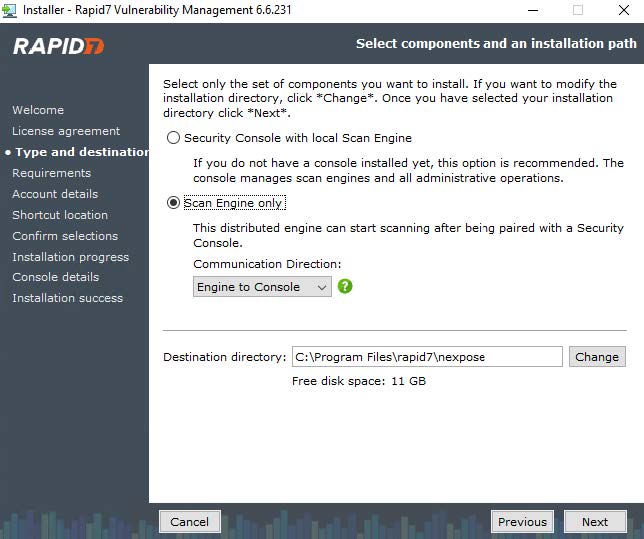
NOTE If you deleted the setup application, you can download it again from Installer and Checksum Downloads | InsightVM Documentation.On the Select components and an installation path page, do the following:
Check the Scan Engine only checkbox.
Ensure Communication Direction is set to Engine to Console.
On the Installation requirements page, ensure each item is checked, then click Next.

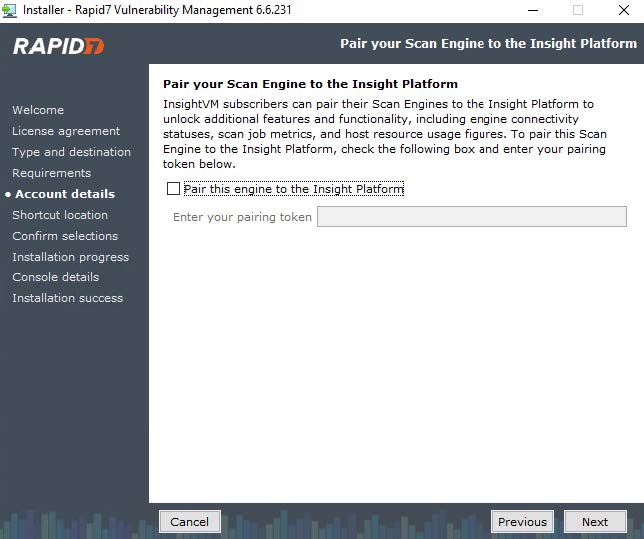
On the Pair your Scan Engine to the Insight Platform, ensure the Pair this engine to the Insight Platform check box is clear, then click Next.
On the Create your account information page, enter the following:
In First Name, type
Barracuda.In Last Name, type
SOC.In Company, type
Barracuda.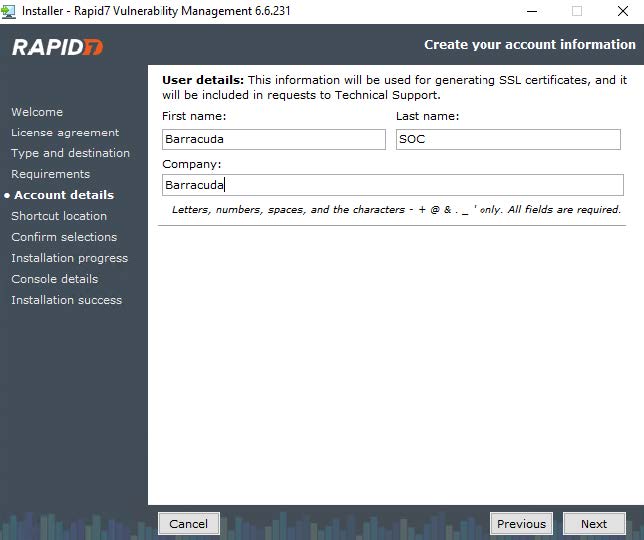
Click Next.
On the Select location for shortcuts page, select a Start menu folder where the installer will create shortcuts, then click Next.
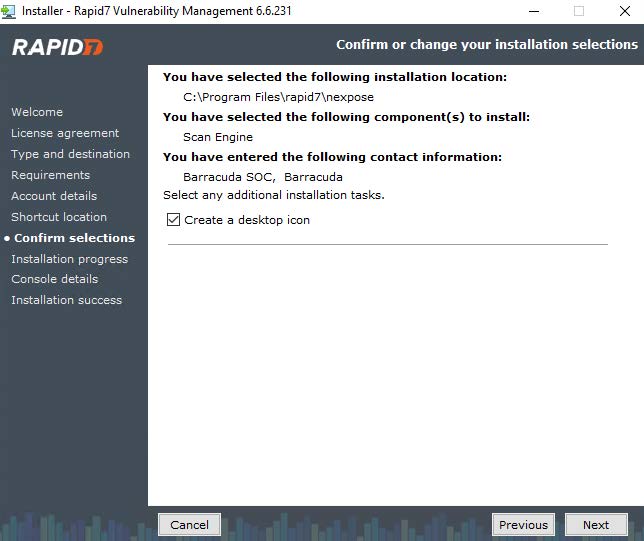
NOTE Barracuda XDR recommends keeping the default.On the Confirm or change your installation selections page, confirm your selections, then click Next.
On the Pair with Security Console page, do the following:
In the Console Address, type the IP address of the server hosting the Rapid7 Security Console application.
Ensure the Console TCP Port is set to
40815.
Click Next.
Once you receive the activation message, email the SOC team at SOC@barracuda.com to let them know the application is installed. The SOC team will coordinate a remote session to complete the setup.