

This article outlines the steps to deploy SecureEdge using Microsoft Azure. To start with an Azure subscription, follow the steps below to set up the default configuration of Barracuda SecureEdge.
In this guide, you will do the following:
Subscribe to Barracuda SecureEdge in Microsoft Azure
Create a Microsoft Azure Virtual WAN
Create a hub in Microsoft Azure Virtual WAN
Create a Private Edge Service in Microsoft Azure
Create a Site configuration in Barracuda SecureEdge
Deploy a Site appliance (virtual or hardware)
To add more resources to Barracuda SecureEdge, simply repeat the corresponding step.
Before You Begin
Create a Microsoft Azure account. Note: If you have a free account, you must upgrade it according to the Microsoft documentation. For more information, see https://docs.microsoft.com/en-us/azure/cost-management-billing/manage/upgrade-azure-subscription#upgrade-your-azure-free-account .
Create a Barracuda Cloud Control account. For more information, see Create a Barracuda Cloud Control Account.
Step 1. Subscribe to Barracuda SecureEdge in Microsoft Azure
This step is necessary only if you have not yet subscribed to Barracuda SecureEdge in Microsoft Azure.
Log into the Azure portal: https://portal.azure.com
In the left menu, click Create a resource and search for Barracuda SecureEdge.
Click Barracuda SecureEdge Subscription.
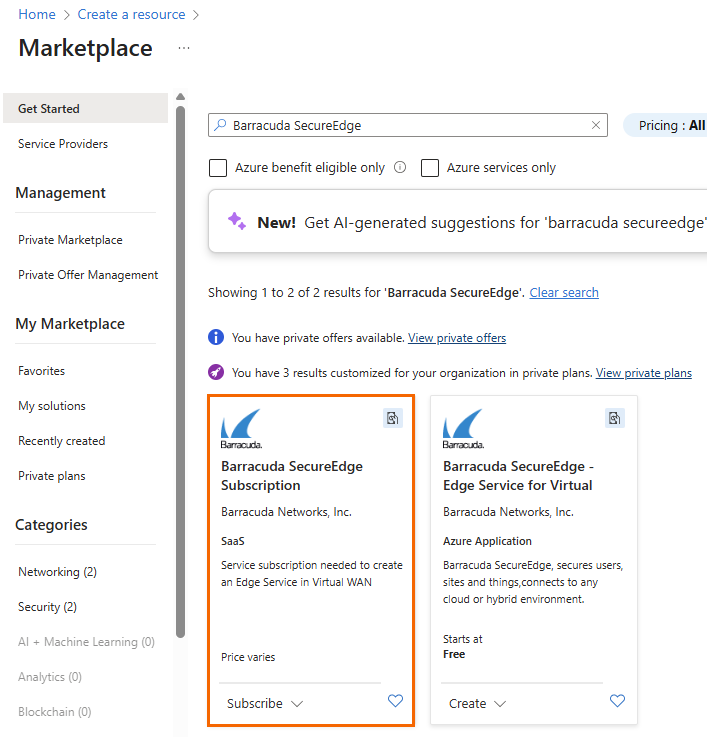
The Barracuda SecureEdge Subscription marketplace entry opens.
Specify values for the following:
Subscription – Select your Microsoft Azure subscription.
Plan – From the drop down-menu, select Default.
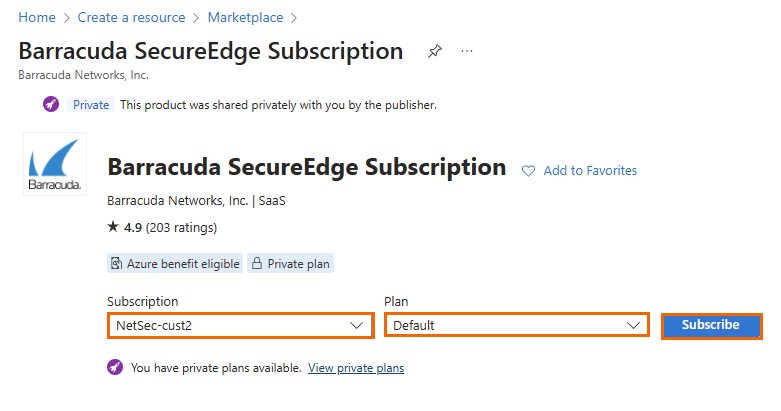
Click Subscribe.
The Subscribe To Barracuda SecureEdge for Virtual WAN Subscription blade opens. Specify values for the following:
Subscription – Select your Microsoft Azure subscription.
Resource group – Select an existing resource group, or click Create new to create a new resource group.
Name – Enter a name for the Barracuda SecureEdge subscription, e.g.,
CampusSecureEdge.Recurring billing – Select either On or Off. When recurring bill is on, your subscription will renew at the end of the billing term.
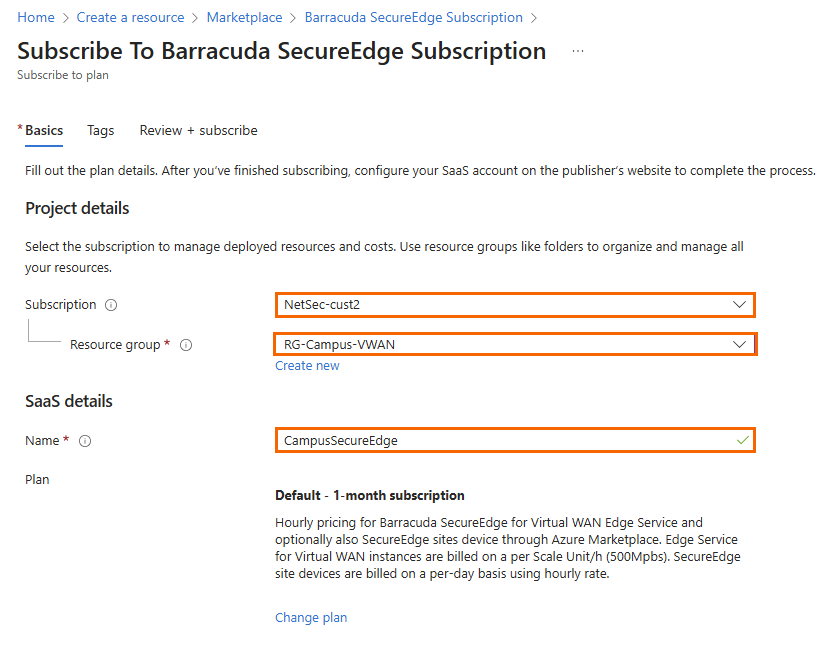
Click Review + subscribe.
Click Subscribe.
You will receive an email notification from Microsoft Azure Marketplace. You can ignore the email and continue in Azure.
Click on the bell notification icon to go to the newly created subscription.
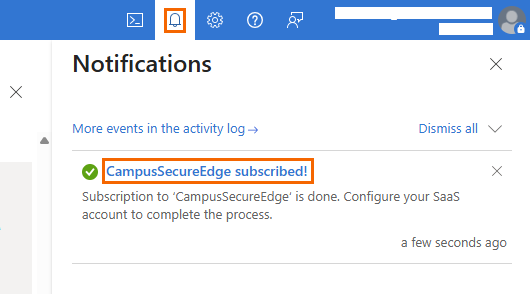
Click on the entry of your newly created subscription, e.g., CampusSecureEdge subscribed!.
Click Configure account now.
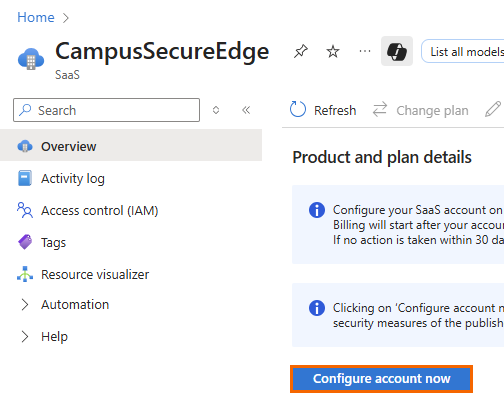
You will be redirected to the SecureEdge user interface.
Enter your email address used for your Barracuda Cloud Control account, and click Continue.

Enter your password, and click SIGN IN.
Your subscription will be validated. After successful validation, the SecureEdge Dashboard is displayed.
Step 2. Create a Virtual WAN in Microsoft Azure
Either create a new virtual WAN with a hub in Microsoft Azure, or use an existing virtual WAN with an existing hub. For more information on creating a new Microsoft Azure Virtual WAN with a hub, see How to Create a Microsoft Azure Virtual WAN.
Step 3. Create an Edge Service in Microsoft Azure
For instructions on how to create an Edge Service in Microsoft Azure, see How to Create a SecureEdge for Virtual WAN Edge Service in Microsoft Azure.
Step 4. Create a Site Config in Barracuda SecureEdge
With SecureEdge, you can connect multiple Sites through your Edge Services. You can also enroll Barracuda CloudGen Firewall units.
For information on how to create a Site configuration, see How to Create a T/VT Site Configuration in Barracuda SecureEdge.
For information on how to integrate Barracuda CloudGen Firewall units with your SecureEdge deployment, see How to Configure a Barracuda CloudGen Firewall in Barracuda SecureEdge.
Step 5. Deploy Your Sites
You can use hardware and virtual appliances as your Barracuda SecureEdge Site appliance. For more information on the deployment, see Hardware Deployment and Virtual Systems (VTx) Deployment.
For more information on available hardware models, see Hardware Models.
For more information on available virtual models, see Virtual Systems (VTx) Deployment.
Use Cases
To effectively meet your specific goals and tasks, you can deploy and perform the following with Barracuda SecureEdge:
SD-WAN
Barracuda SecureEdge provides a common set of SD-WAN policies out-of-box. It offers a default configuration for SD-WAN policies that uses a predefined application database to cover the most common use cases. However, if your setup requires a different SD-WAN profile for certain applications, you can define your custom policies by defining the Override Categories policies. For more information, see SD-WAN.
SecureEdge Access Deployments via Barracuda SaaS Service
SecureEdge Access uses a Zero Trust Network Access (ZTNA) solution known as the SecureEdge Access Agent that lets you implement secure access to internal and external enterprise resources, whether they are on-premises or in the cloud. SecureEdge Access brings Zero Trust/BeyondCorp Security to your endpoint with a quick and easy configuration. For more information on how to get started with SecureEdge Access, see SecureEdge Access - Quick Start Wizard.
Secure Web Gateway (SWG)
Barracuda SecureEdge offers a security solution that filters unwanted malware from user-initiated web or internet traffic and enforces corporate policies. You can configure modern SWG features that monitor, inspect, detect, and prevent suspicious traffic from entering or leaving an organization's network. These features include web filter policies, web monitoring policies, Safe Search enforcement, silent ad blocking, custom categories, and custom response pages. For more information on the Secure Web Gateway, see Secure Web Gateway (SWG).