

When adding a new Microsoft 365 connection, Planner will be automatically available to configure for backup and restore. On an existing Microsoft 365 connections, you will need to reauthorize the Cloud-to-Cloud Backup application and provide sufficient permissions to access Planner data.
Log into https://login.barracudanetworks.com/. If you are not automatically forwarded to the Cloud-to-Cloud Backup application, select Cloud-to-Cloud Backup from the left pane.
Navigate to the Settings page from the side navigation menu.
Under Microsoft 365, click Configure next to Planner.
If the connection was created or reauthorized previously, a dialog will appear indicating that authorization is required.
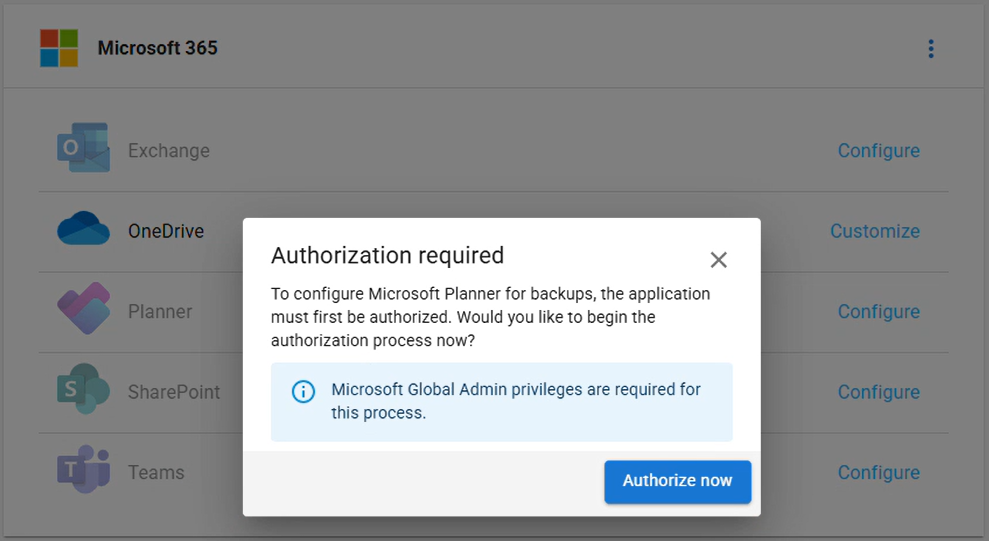
Click Authorize now to begin. You will be guided through the authorization process.
Log in with a global admin account to give permissions to the application to access your Microsoft data.
Review and click Accept to authorize Barracuda Networks to back up data.
You will be redirected to the Settings page where the Planner data source will automatically configure. Once that is complete, you can customize the default backup behavior of Planner plans shared with Teams or Groups. See the Settings Page for more information.To see all configured connections, go back to the Products page.