

Applicable Products
These instructions apply to the following products:
- Barracuda Intronis Backup - MSP
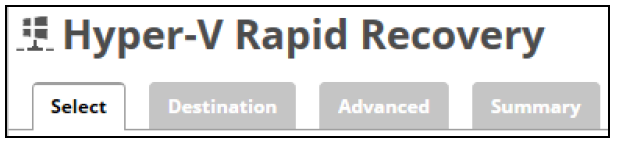
Hyper-V Object-level Rapid Recovery Restore Tabs
The following table provides a description of the page features.
| Page | Description |
|---|---|
| Select | Select at least one available VM to restore. |
| Destination | Select the destination of your restore. |
| Advanced | Select from the following options to dictate the advanced features of the restore:
|
| Summary | A list of your selections is displayed. |
Restoring Hyper-V Object-level Rapid Recovery
To restore a backup at the Hyper-V Object-level, perform the following steps.
- Navigate to the Computer page.
The Computer page is displayed.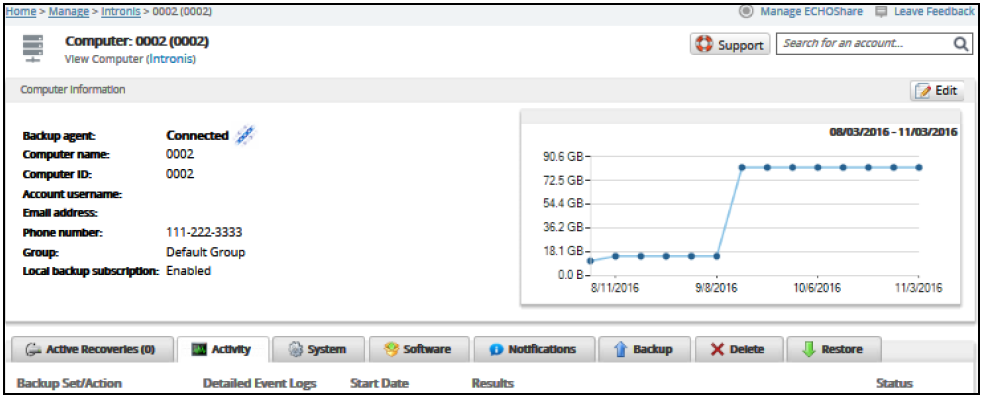
- Click the Restore tab.
The Restore Selections page is displayed.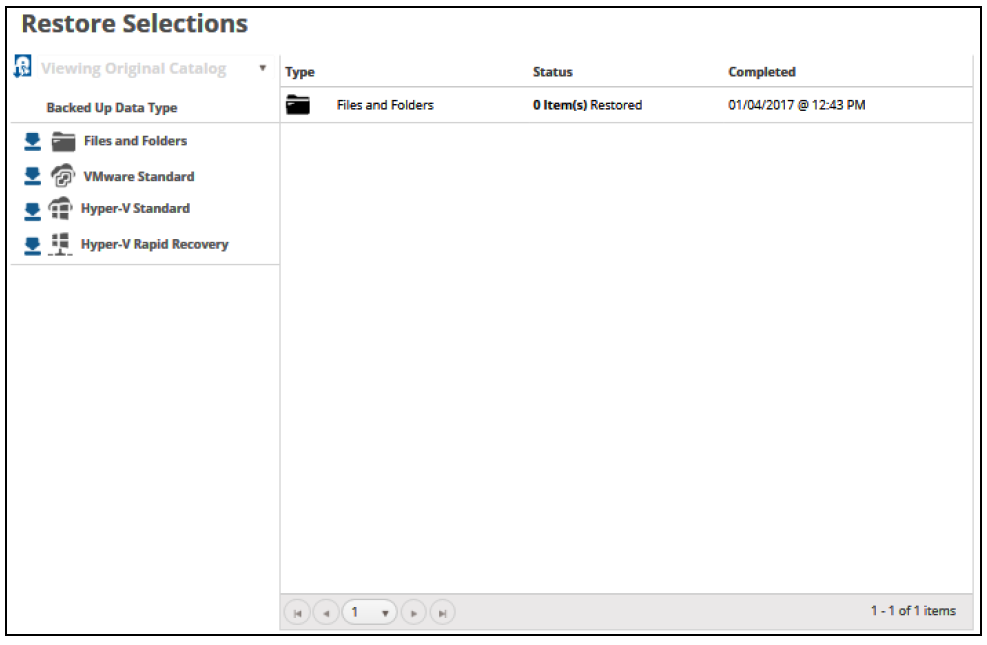
- Click the restore
 icon of the backup type you want to restore.
The Select page is displayed with Rapid Recovery selected as the default.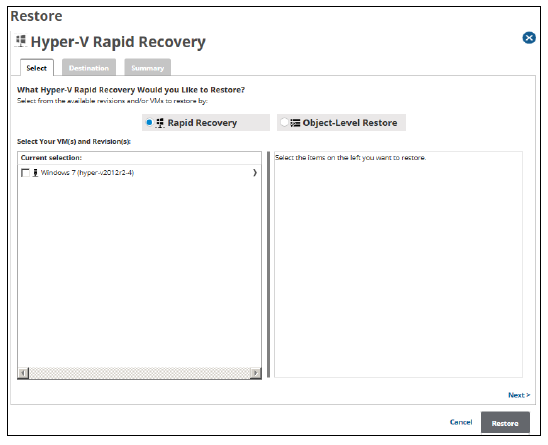
- Select the Object-Level Restore radio button.

- In the Current Selection pane, select the VM, the disks, and revisions you would like to restore.
Note: You can choose only one revision to restore per selected VM.
Clicking the arrow at the right of the items displays more files and folders.
The selection is displayed in the far right pane. Click the remove icon to remove any selections, or clear the item check box.
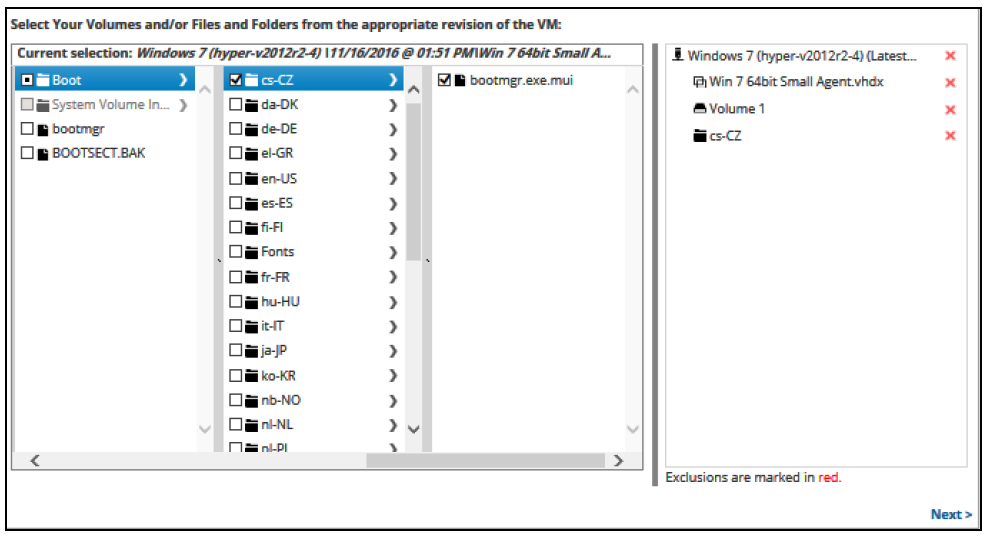
- Click Next.
The Destination page is displayed.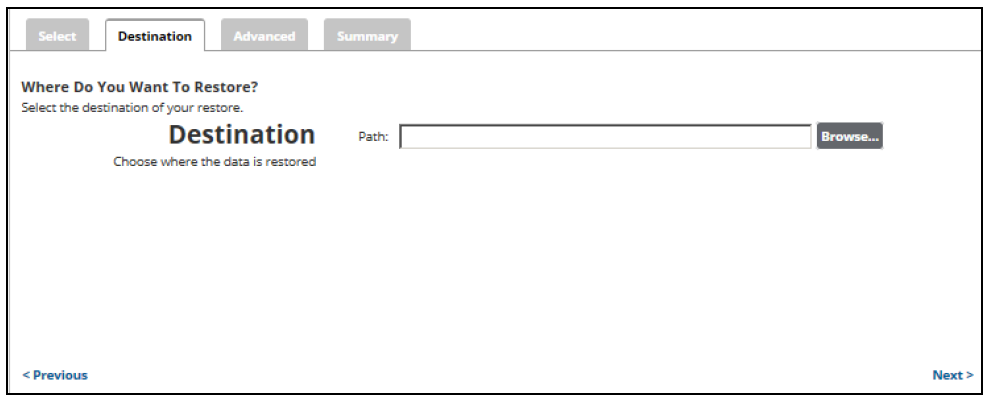
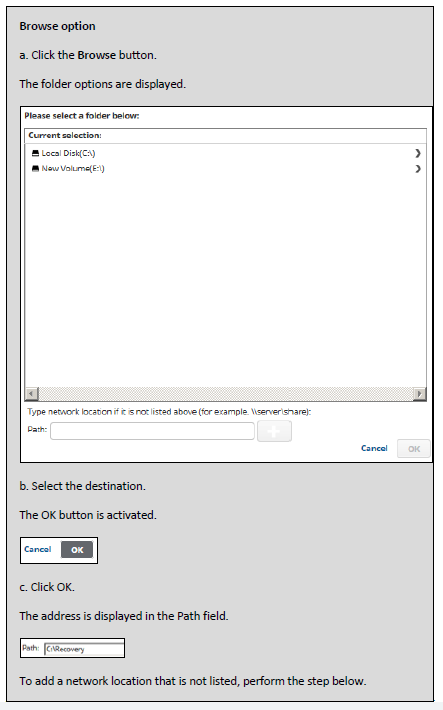
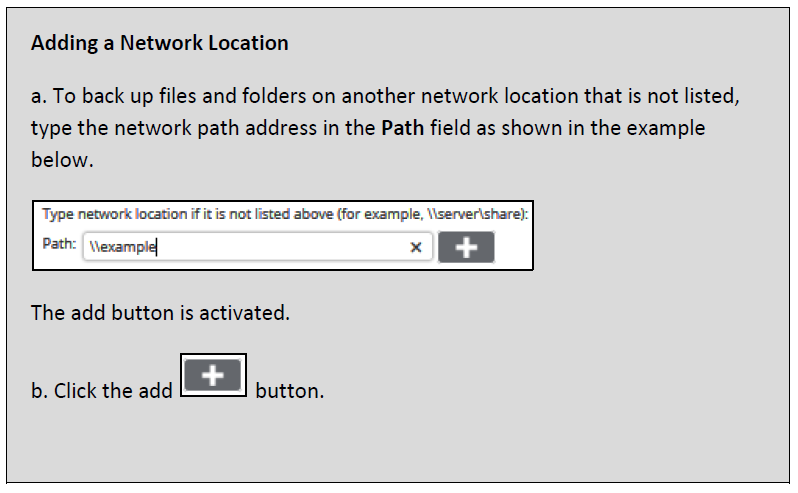
- At the Path field, type a path, or click the Browse button to select the destination of your restore.
- After selecting the destination, click Next.
The Advanced page is displayed.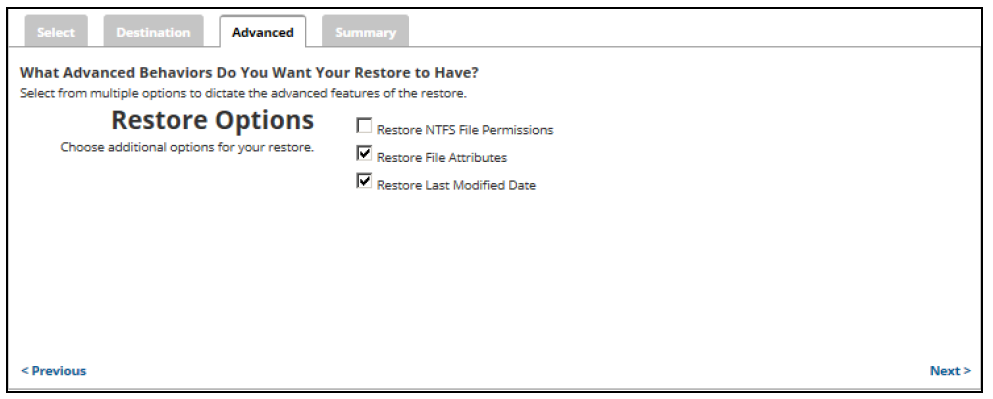
- Optionally, select any of the following options to specify the advanced features of the restore:
- Restore NTFS File Permissions
- Restore File Attributes
- Restore Last Modified Date
- Click Next.
The Summary page is displayed.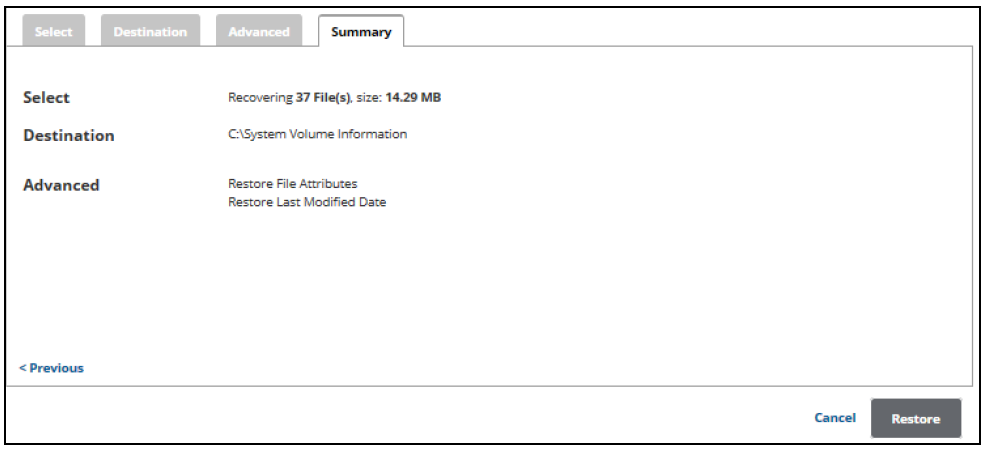
- Verify your selections, and then click the Restore button.
The confirmation pop-up is displayed. - Click Yes.
- The Restores Selections page is displayed showing the status of the restore.
