This article outlines the procedure for scheduling a summary report. You can schedule a summary report in SecureEdge. Scheduling reports allows you to create summary reports drawn from a specific timeframe. For example, you can schedule a summary report for the last 7 days to run weekly and be emailed to you.
Verify Scheduled Report
Go to https://se.barracudanetworks.com and log in with your existing Barracuda Cloud Control account.
The chosen Tenant/Workspace is displayed in the top menu bar.
From the drop-down menu select the workspace you want to check the scheduled summary report for.
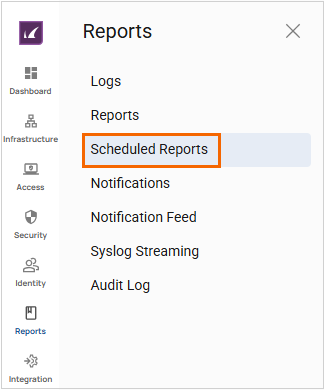
Go to Reports > Scheduled Reports.
The Scheduled Report page opens.

The Scheduled Reports page displays all scheduled reports.
Add a Schedule
To add a schedule, do the following:
Select the workspace you want to add a schedule for.
Go to Reports > Scheduled Reports. The Scheduled Report page opens.
In the top-right corner of the page, click Add Schedule.

The New Schedule window opens. Specify values for the following:
Report Template – Select the time period you would like the report to cover. You can choose a time frame between Last day, Last 7 days, and Last 30 days.
Frequency – Select any one of the following:
To repeat the report once a day, select Daily.
To repeat the report once a week, select Weekly. Then click the day you want the report.
To repeat the report once a month, select Monthly. To run the report on a specific day and week every month, select Every field and click the day you want the report.
On – Click a day of the week.
At – Select a time with time zone.
Recipients – Enter the email address of the recipient. To add multiple recipients, separate each email address with a comma and no spaces.
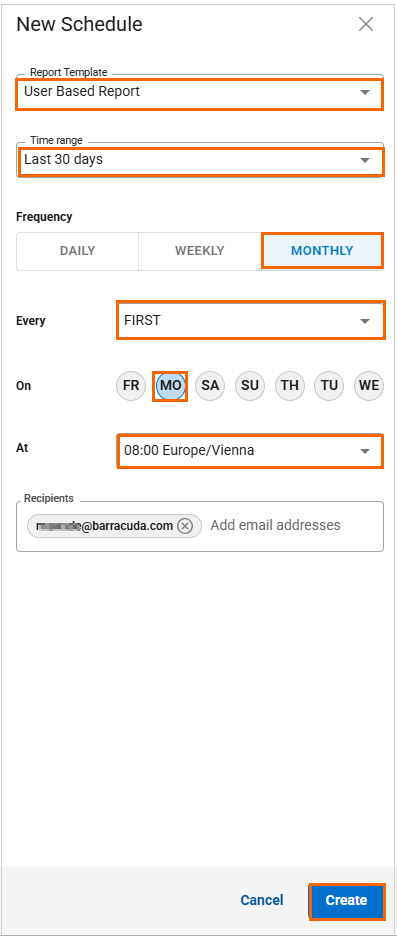
Click Create.
Verify that you receive the message Report schedule created successfully and that the new scheduled report appears on the Scheduled Reports page.

To Edit a Schedule
Select the workspace you want to edit a scheduled report for.
Go to Reports > Scheduled Reports. The Scheduled Report page opens.
To edit the scheduled report, click the icon of three vertical dots in the top-left corner of a page.

The Edit Schedule window opens. Edit the value you are interested in.
Click Save.
To Disable a Schedule
Select the workspace you want to disable a scheduled report for.
Go to Reports > Scheduled Reports. The Scheduled Report page opens.
To disable the scheduled report, click the icon of three vertical dots in the top-left corner of a page.
Click Disable schedule.

Verify that you receive the message Report schedule disabled successfully and that the scheduled report appears as disabled on the Scheduled Reports page.

To Delete a Scheduled Report
Select the workspace you want to delete a scheduled report for.
Go to Reports > Scheduled Reports. The Scheduled Report page opens.
To delete the scheduled report, click the icon of three vertical dots in the top-left corner of a page.
Click Delete schedule.

The Delete Schedule windows opens.
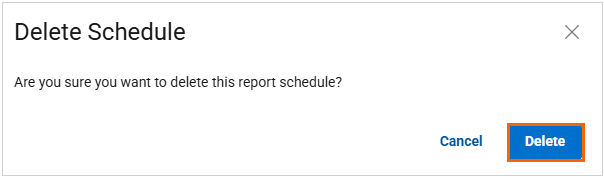
Click Delete.
To Open a Report
Select the workspace you want to open a scheduled report for.
Go to Reports > Scheduled Reports. The Scheduled Report page opens.
To open the scheduled report, click the icon of three vertical dots in the top-left corner of a page.

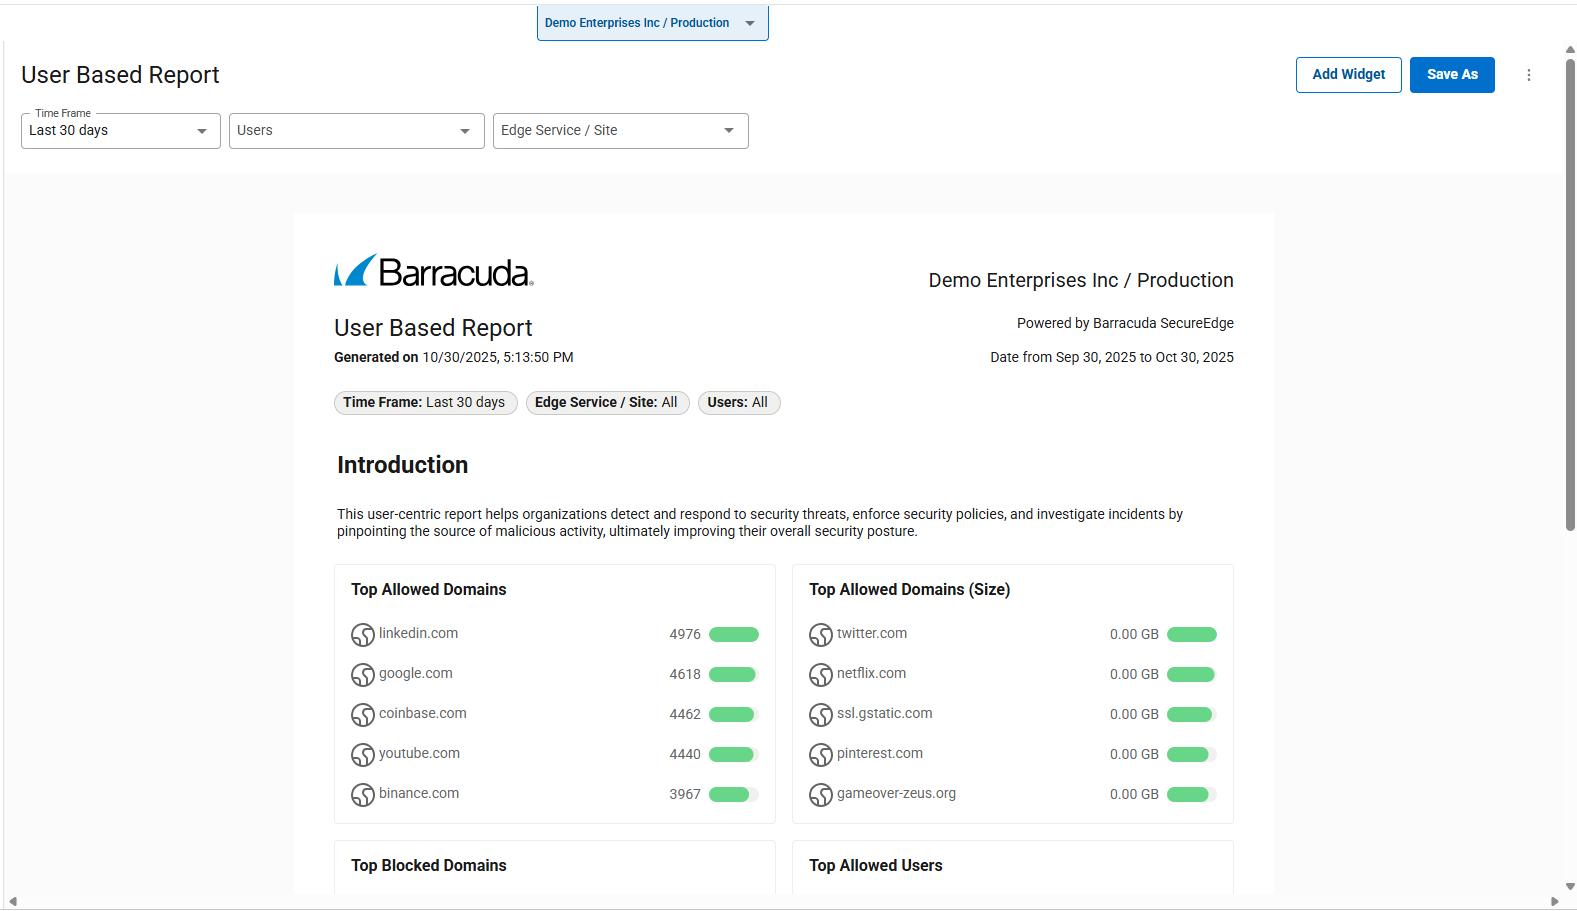
Click Open Report.
The User Based Report opens.