

Use the following steps to restore a VMware vSphere virtual machine (VM) back to the original location or an alternate location:
Log in to the Barracuda Backup web interface, and go to the Restore > Restore Browser page.
Expand the VMware data source on the left, and click on the VM you want to restore; all available revisions display.
Click Restore to the right of the revision to restore.
In the Restore dialog box, select the following options:
Restore to – Select where the VM is to be restored. Vmware VMs can be restored to a different host or cluster. For restores to alternate hosts managed by a vCenter server, you must use the vCenter server address and credentials.
VM Name – Select whether to use the default or enter a new name.
Overwrite – When selected, the restore overwrites existing data for any existing VM with the same name.
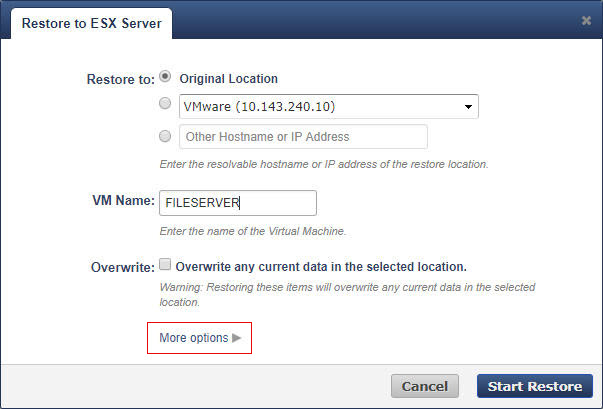
To restore a single virtual machine disk, click More options. Then, select the disk to recover.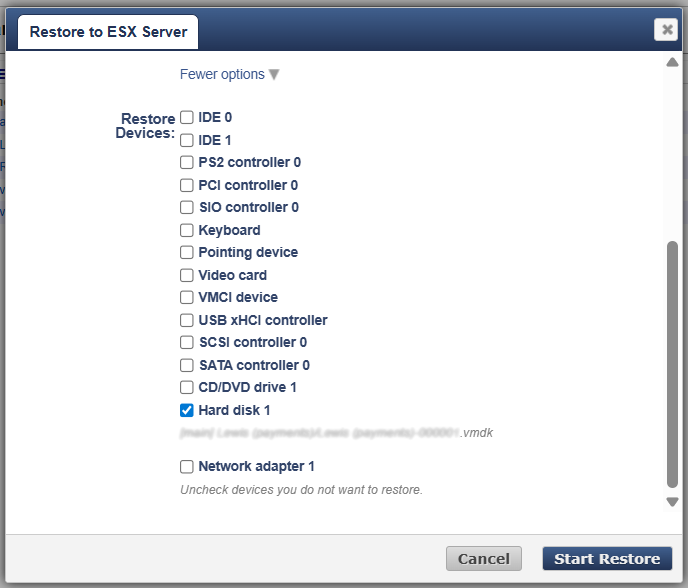
Click Start Restore.
To view the restore progress, go to the Reports > Restore page.