

The following configuration steps will allow you to access a resource protected by the CloudGen Access Proxy.
Before You Begin
- The CloudGen Access Proxy is the software that contains the Envoy Proxy and the CloudGen Access Proxy Orchestrator.
- The Envoy Proxy listens to requests and proxies them to the correct destination.
- The CloudGen Access Proxy Orchestrator ensures that the Envoy Proxy is configured with the correct requests and manages authorization and authentication requests. This requires a valid token (CloudGen Access Proxy enrollment link) that contains the necessary information to bootstrap and authorize the service.
Step 1. Add a New CloudGen Access Proxy
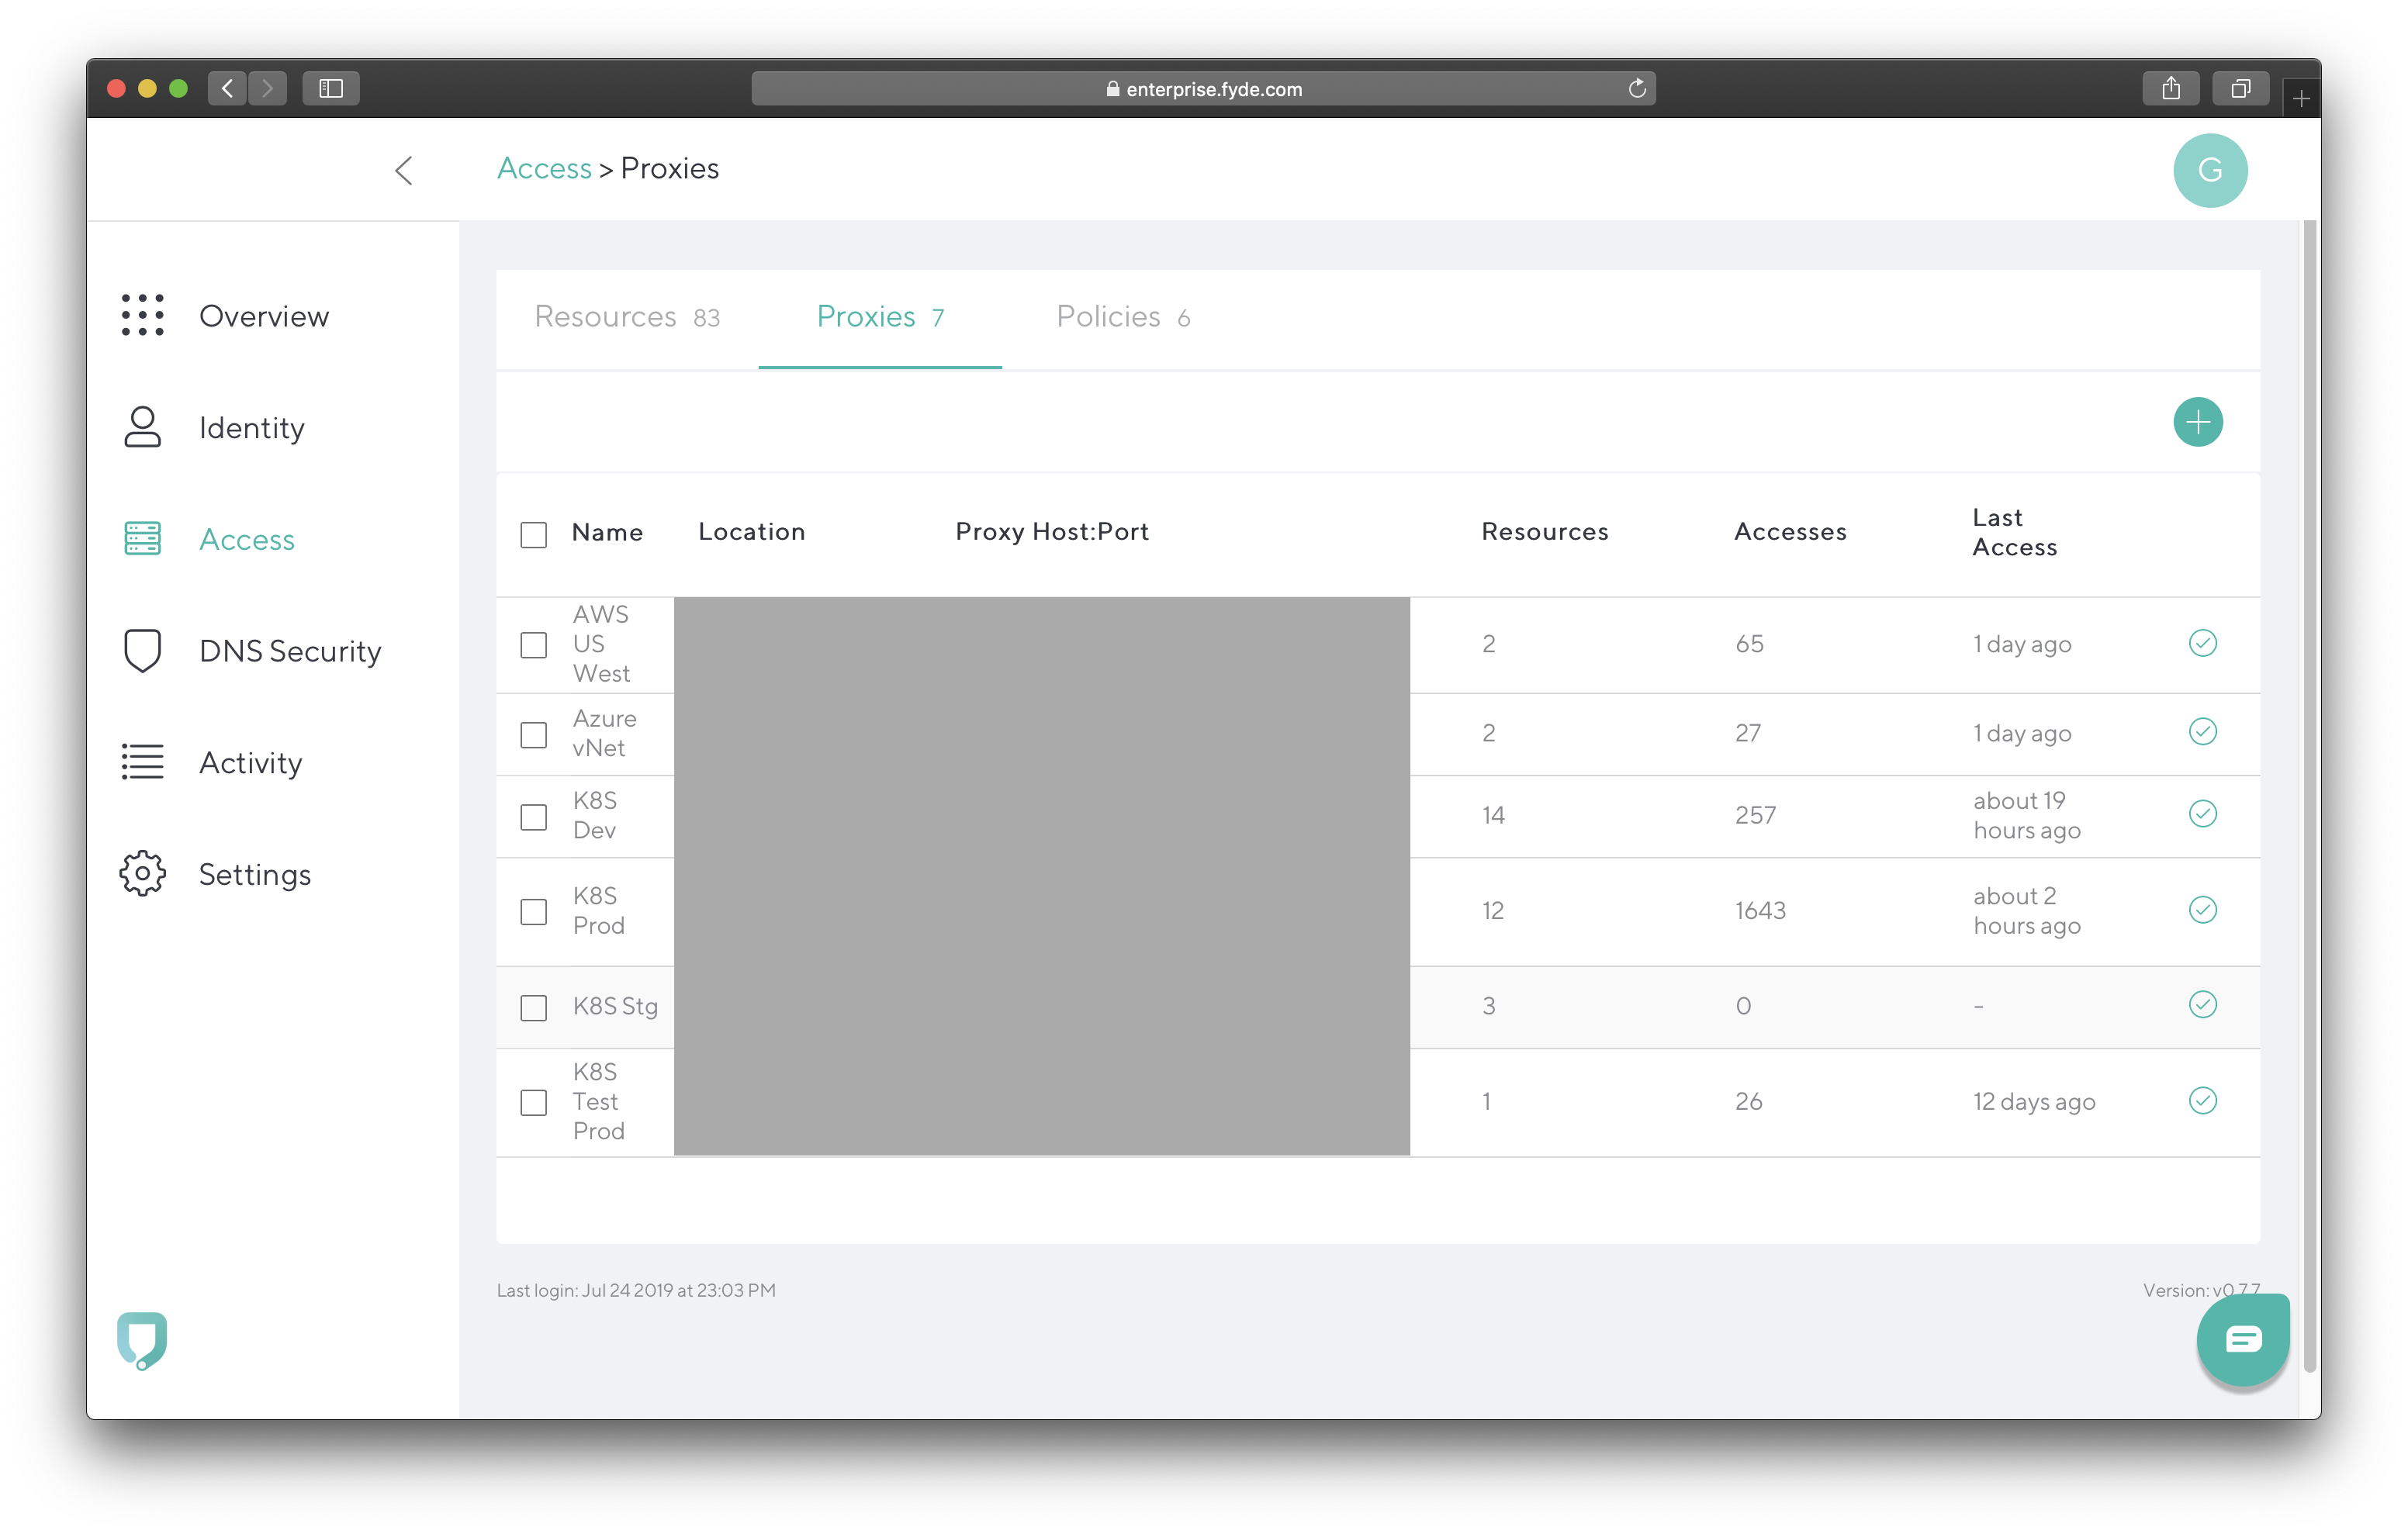
- Go to:
- Navigate to Access and then Proxies.
Click the + icon in the top right.
- Add the following:
- Proxy Name – Used to identify the proxy.
- Location (optional) – For your reference only.
- Host – IP/Hostname used to reach the proxy.
- Port – Port where the CloudGen Access Proxy will be available.
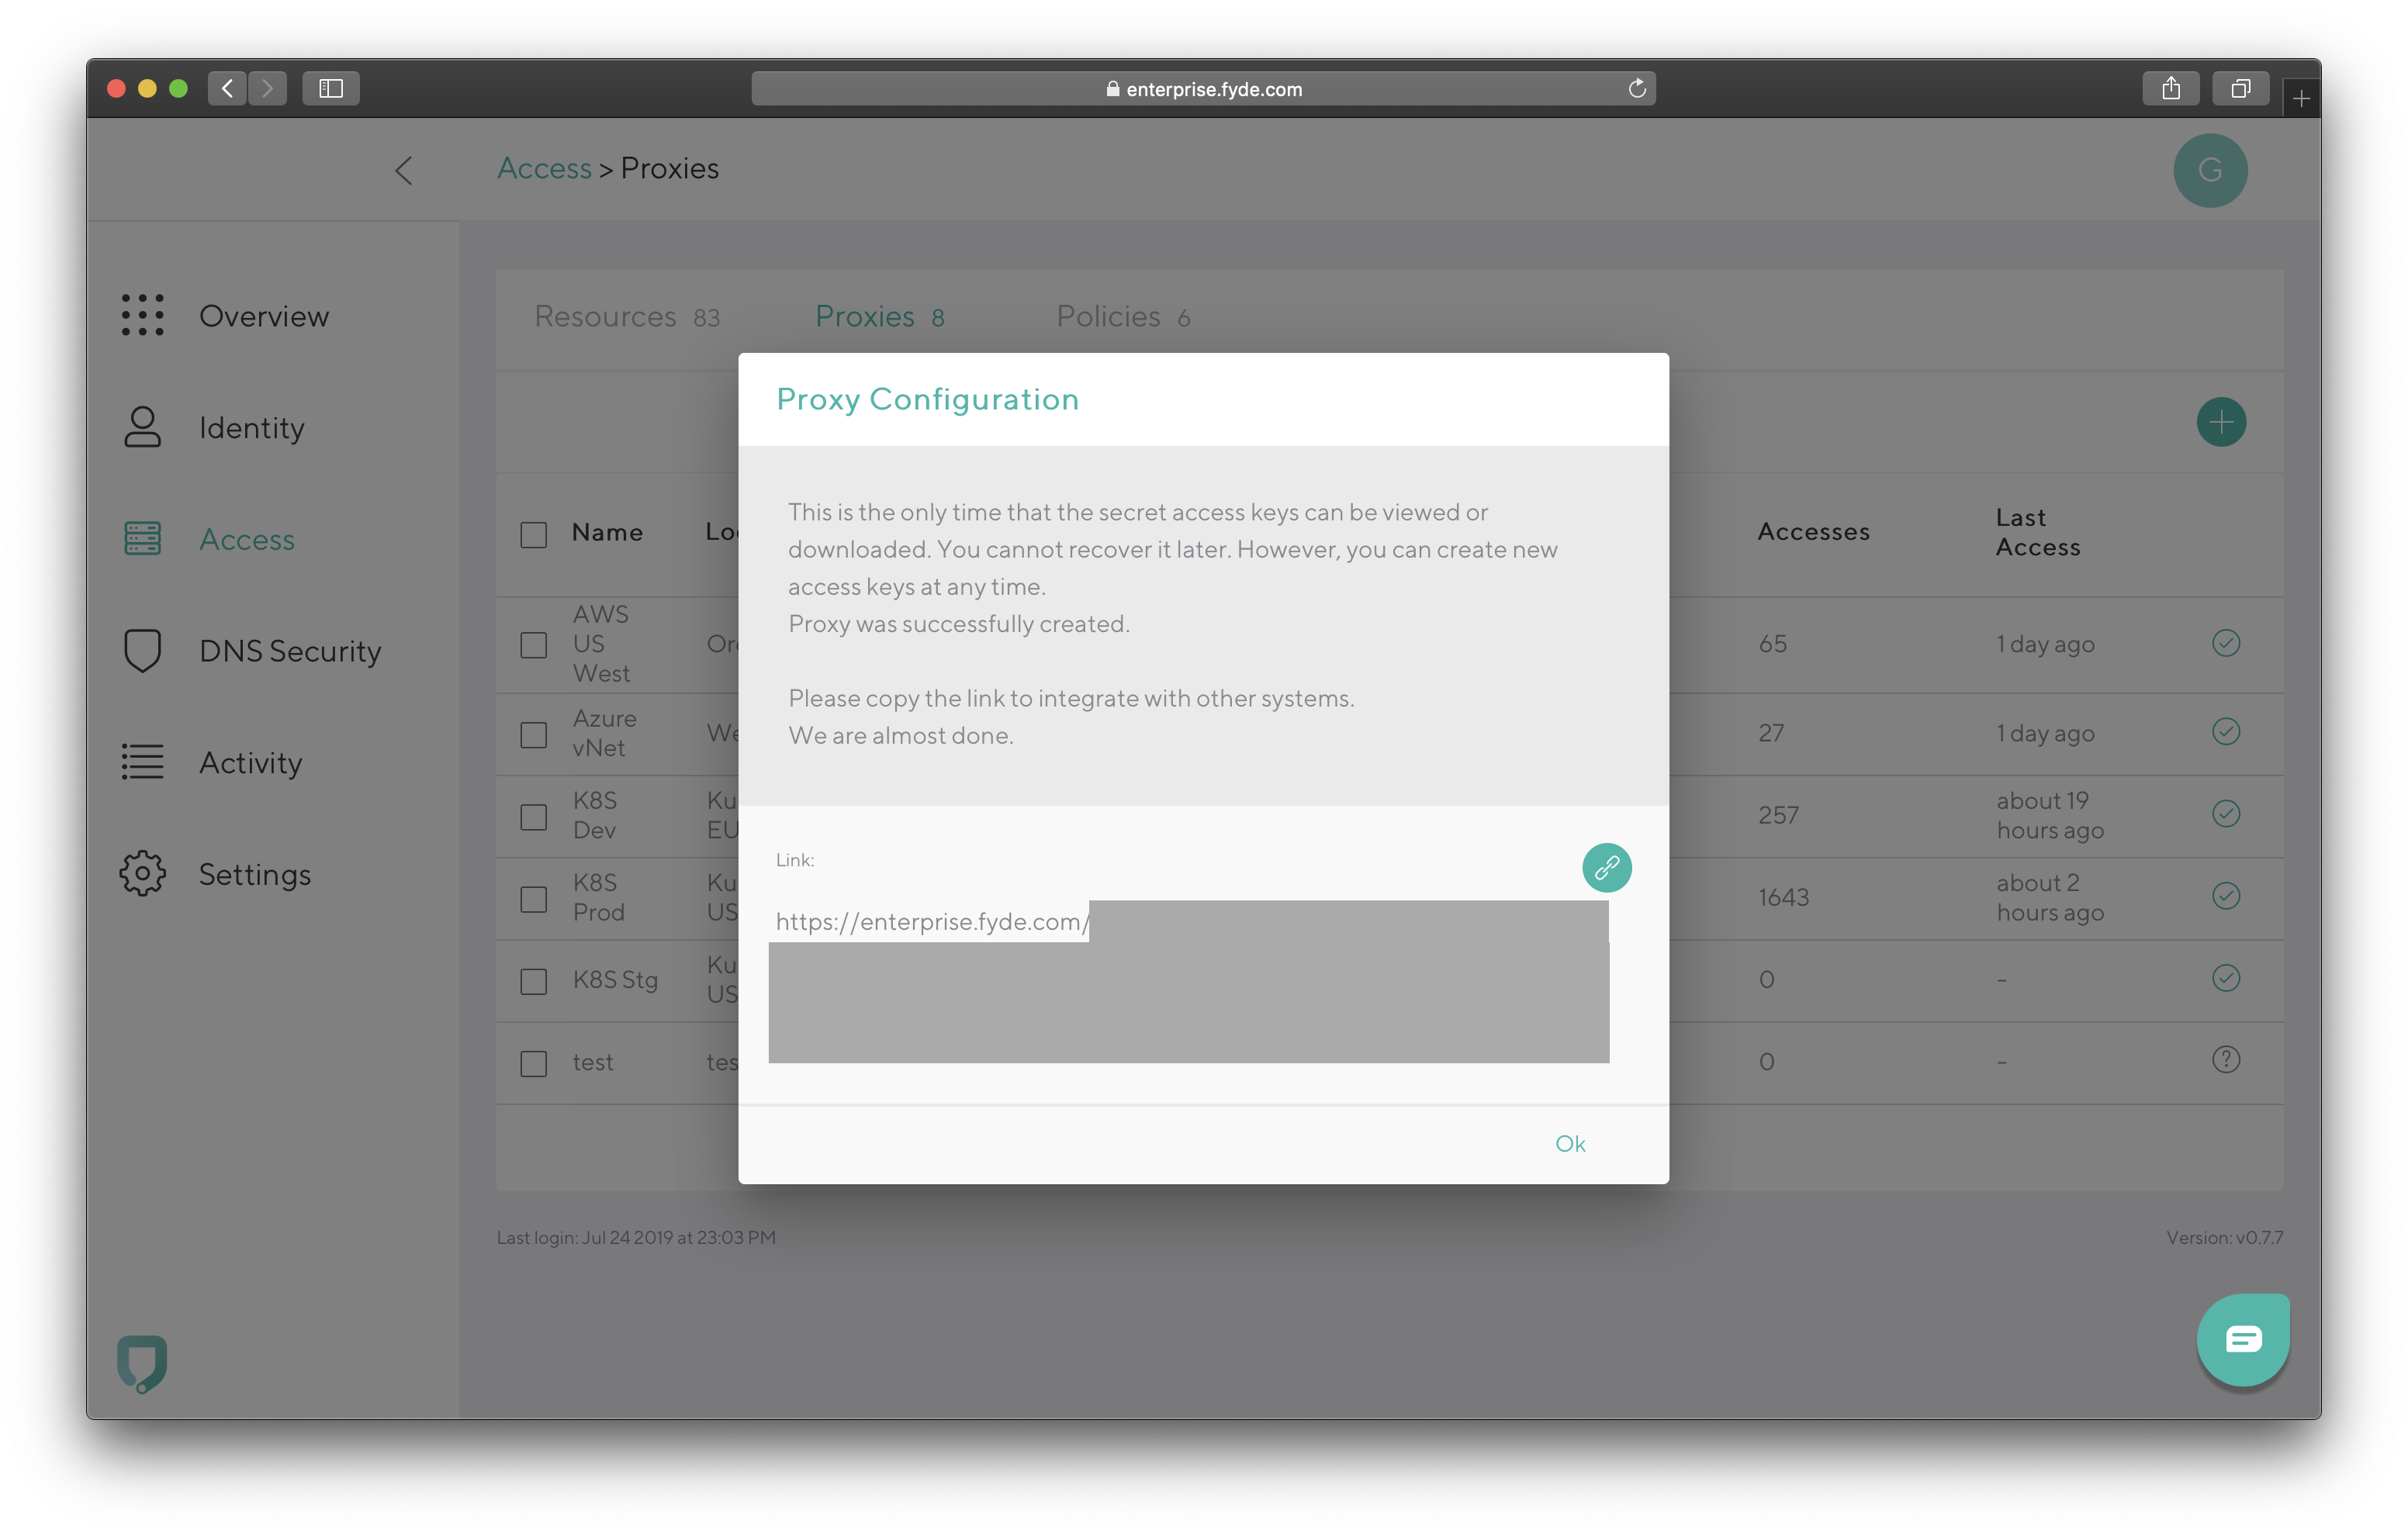
- Click Create.

Copy the link that will be used when configuring the proxy.
Step 2. Install the CloudGen Access Proxy in Docker
In this quick start guide, we recommend installing the solution using the docker infrastructure. For other platforms, such as Bare Metal / Virtual Machine, see How to Deploy the CloudGen Access Proxy.
- The public port will need to be available for the clients connecting to resources.
- The required images are available in dockerhub registry under the organization FydeInc.
- Requires a valid CloudGen Access Proxy enrollment link, obtained in the previous step.
Minimum OS supported versions:
- Debian 9
- Centos 7
- Ubuntu 16.04
- MacOS 10.14
- Choose yes, when asked about installing the test resource.
- Download and execute installation script.
sudo bash -c "$(curl -fsSL https://url.access.barracuda.com/proxy-docker)"Step 3. Add a New Resource
See the Add Resource article and use the following test values:
- Resource Type – Select Self-hosted:
- Resource Name – HTTP Test
- Proxy – Select the existing CloudGen Access Proxy.
- Public Host – http.example.org
- Internal Host – Internal resource hostname or IP used by the CloudGen Access Proxy to connect to. Needs to be a hostname or IP that the CloudGen Access Proxy can resolve and connect to.
- Assign Fixed IP – If enabled, assigns a fixed IP address to the resource, and the resource domain will always be resolved to that IP address on the client side
- Ports Configuration – Click Add New to add ports to allow for this resource. You can add ports as a single number or a range (e.g. 80 or 1000-1050). Note that the size of the public port and internal port ranges must be the same.
Access Policies – Assign an existing policy to Allow Everyone to log into this resource.
- SSO Configuration – See SSO Configuration in the Resource Type – Self-hosted: section in the Add Resource article.
- Notes – Leave empty.
- Resource Type – Select Self-hosted:
Step 4. Add a New User
In order to register a device, you need to create a user. Users and account administrators are separate entities. The same email can be used for account administrators and a regular user, and there will be no relation between them.
To add a new user, follow instructions for Add User.
Step 5. Enroll a Device
A user can have multiple devices. This is determined by the account administrators.
- Enroll a new device for the created user by accessing the enrollment link.
- The link is sent to the email configured for the user or by sharing the link from the user details.
- The enrollment process is done directly from the created user’s device.
Step 6. Access Created Resource
The enrolled device will now access the created resource. Access the configured resource by visiting the following link from the enrolled device: http://http.example.org:81/
Troubleshooting
If the device is not accessing the resource, see Troubleshooting the CloudGen Access Proxy for troubleshooting steps.