It seems like your browser didn't download the required fonts. Please revise your security settings and try again.
Barracuda CloudGen Access

Barracuda Campus is getting an upgrade!

We are excited to announce that Barracuda Campus will migrate to a new platform around mid-January 2026. Please see the announcement on the Campus Dashboard to find out more.

Add Proxy

  • Last updated on

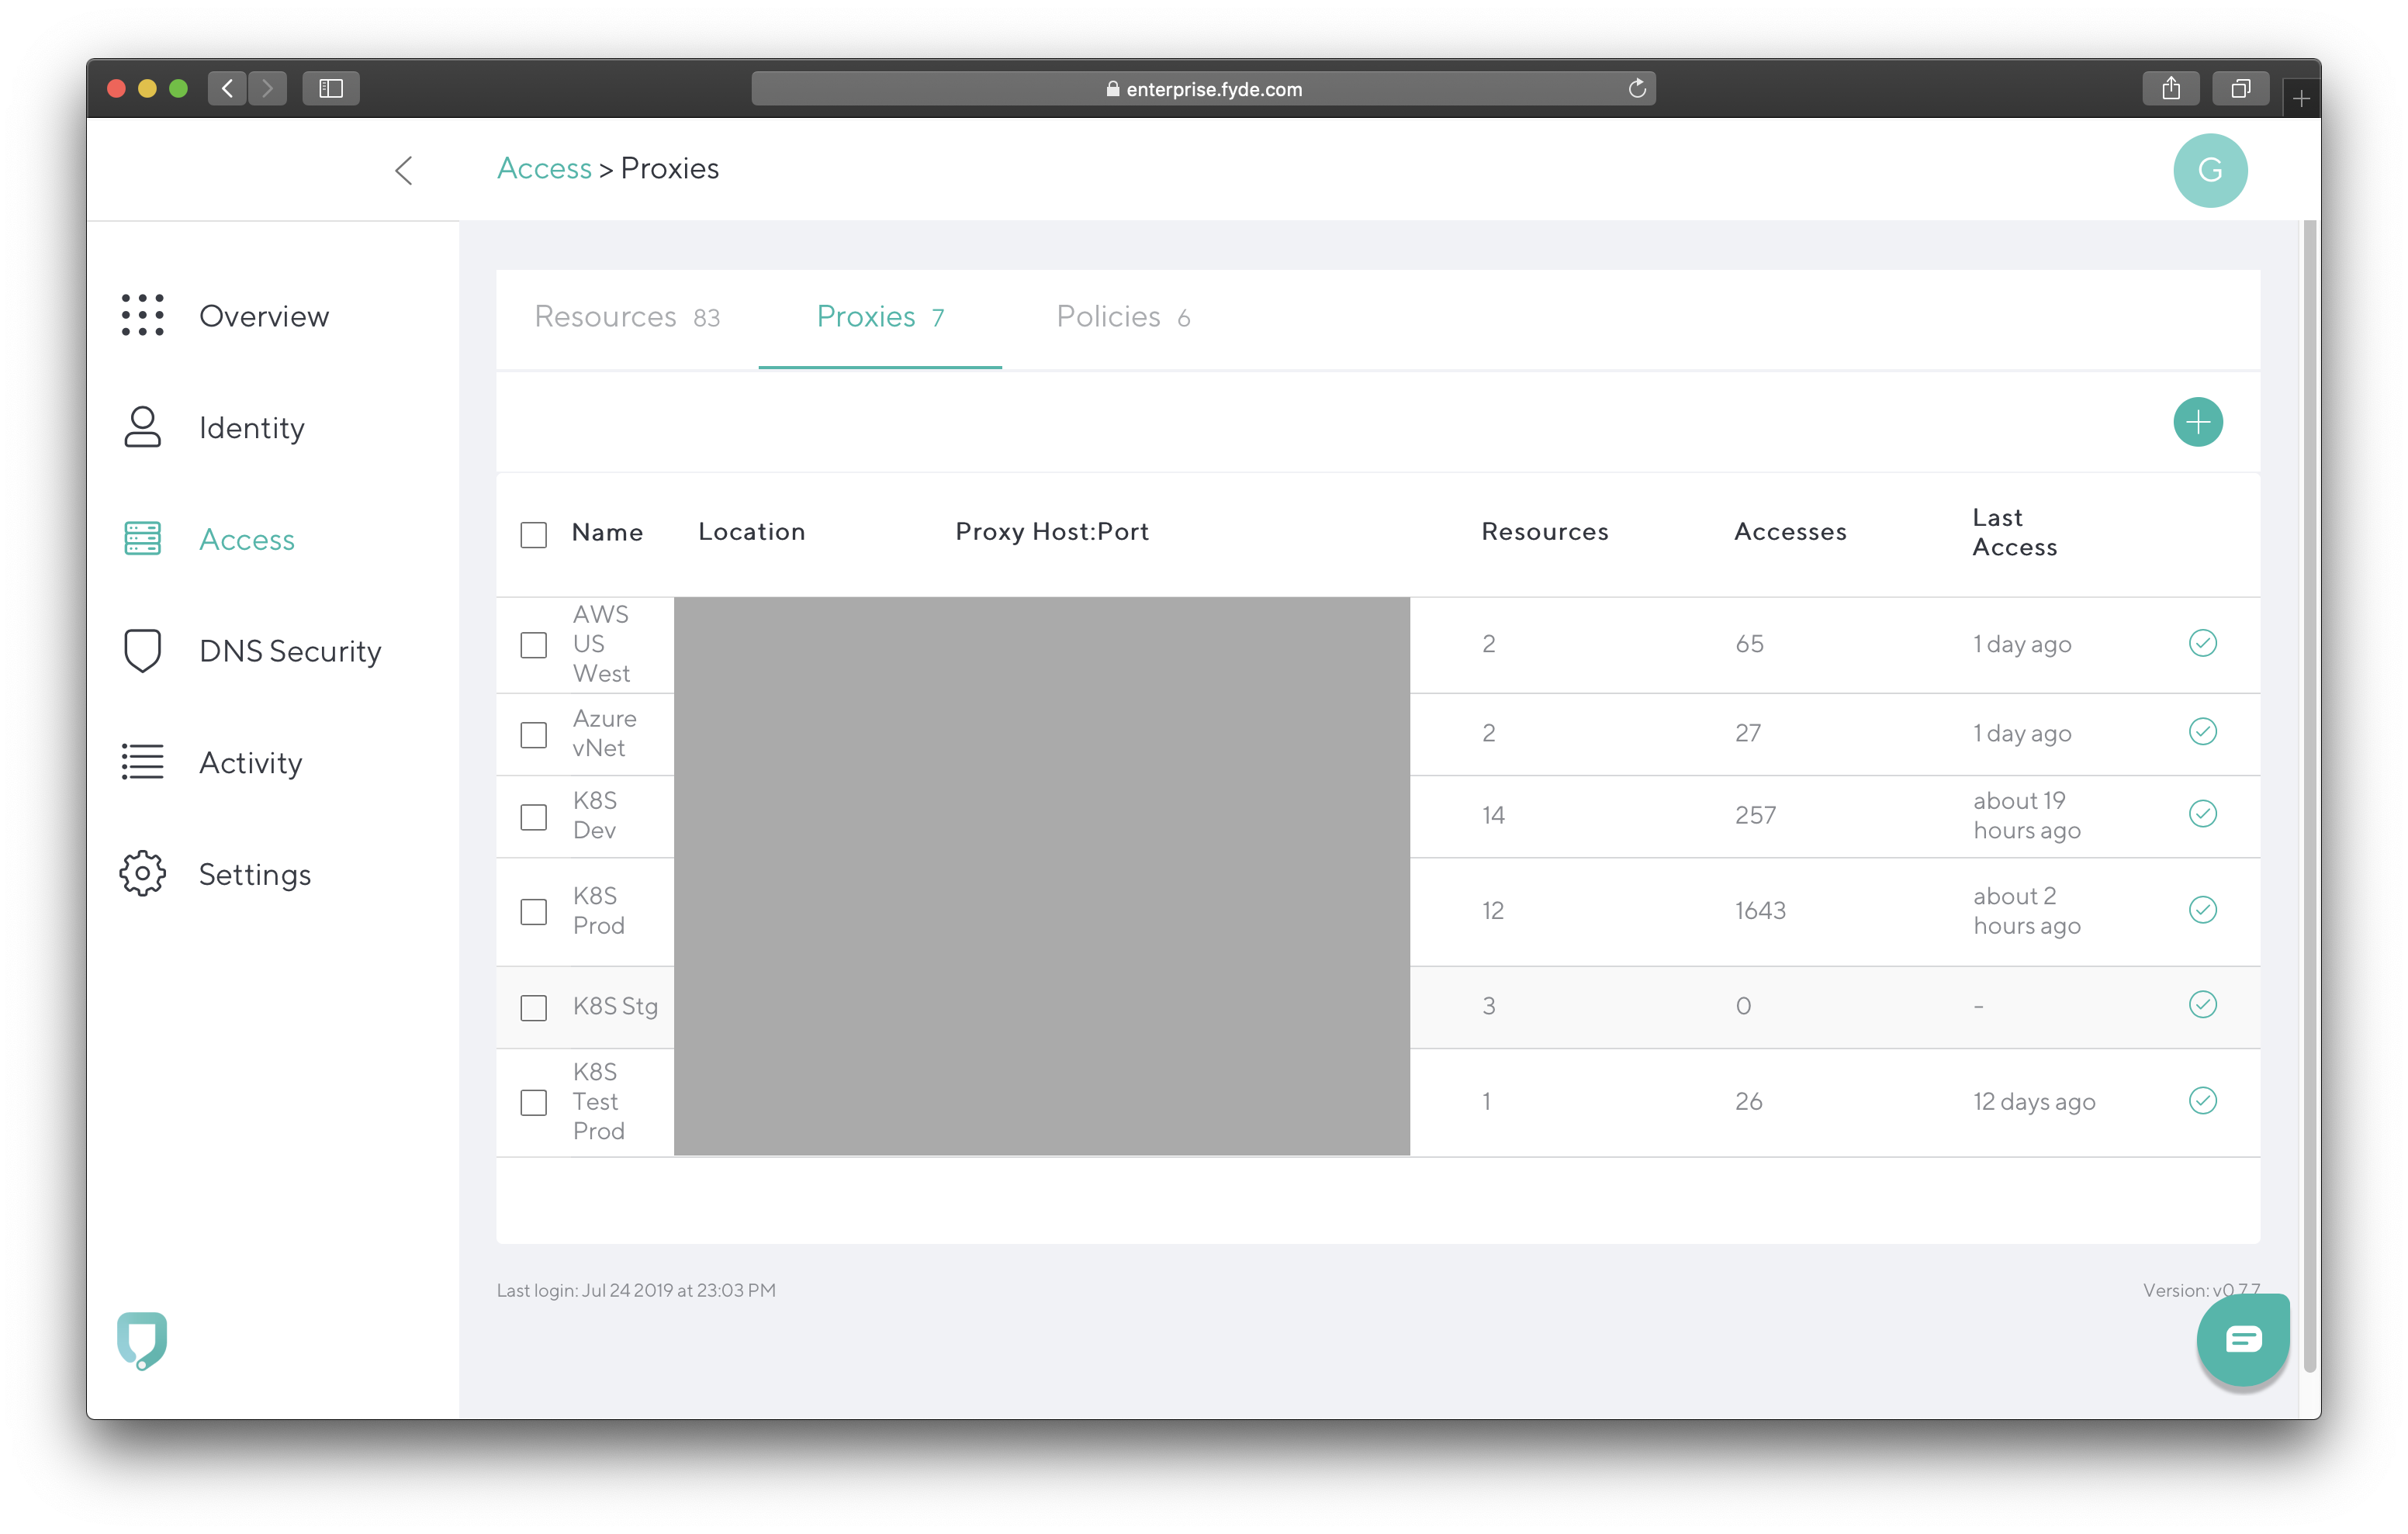
To add a CloudGen Access Proxy:

  1. Go to Access and navigate to Proxies. Click the + icon in the top right.
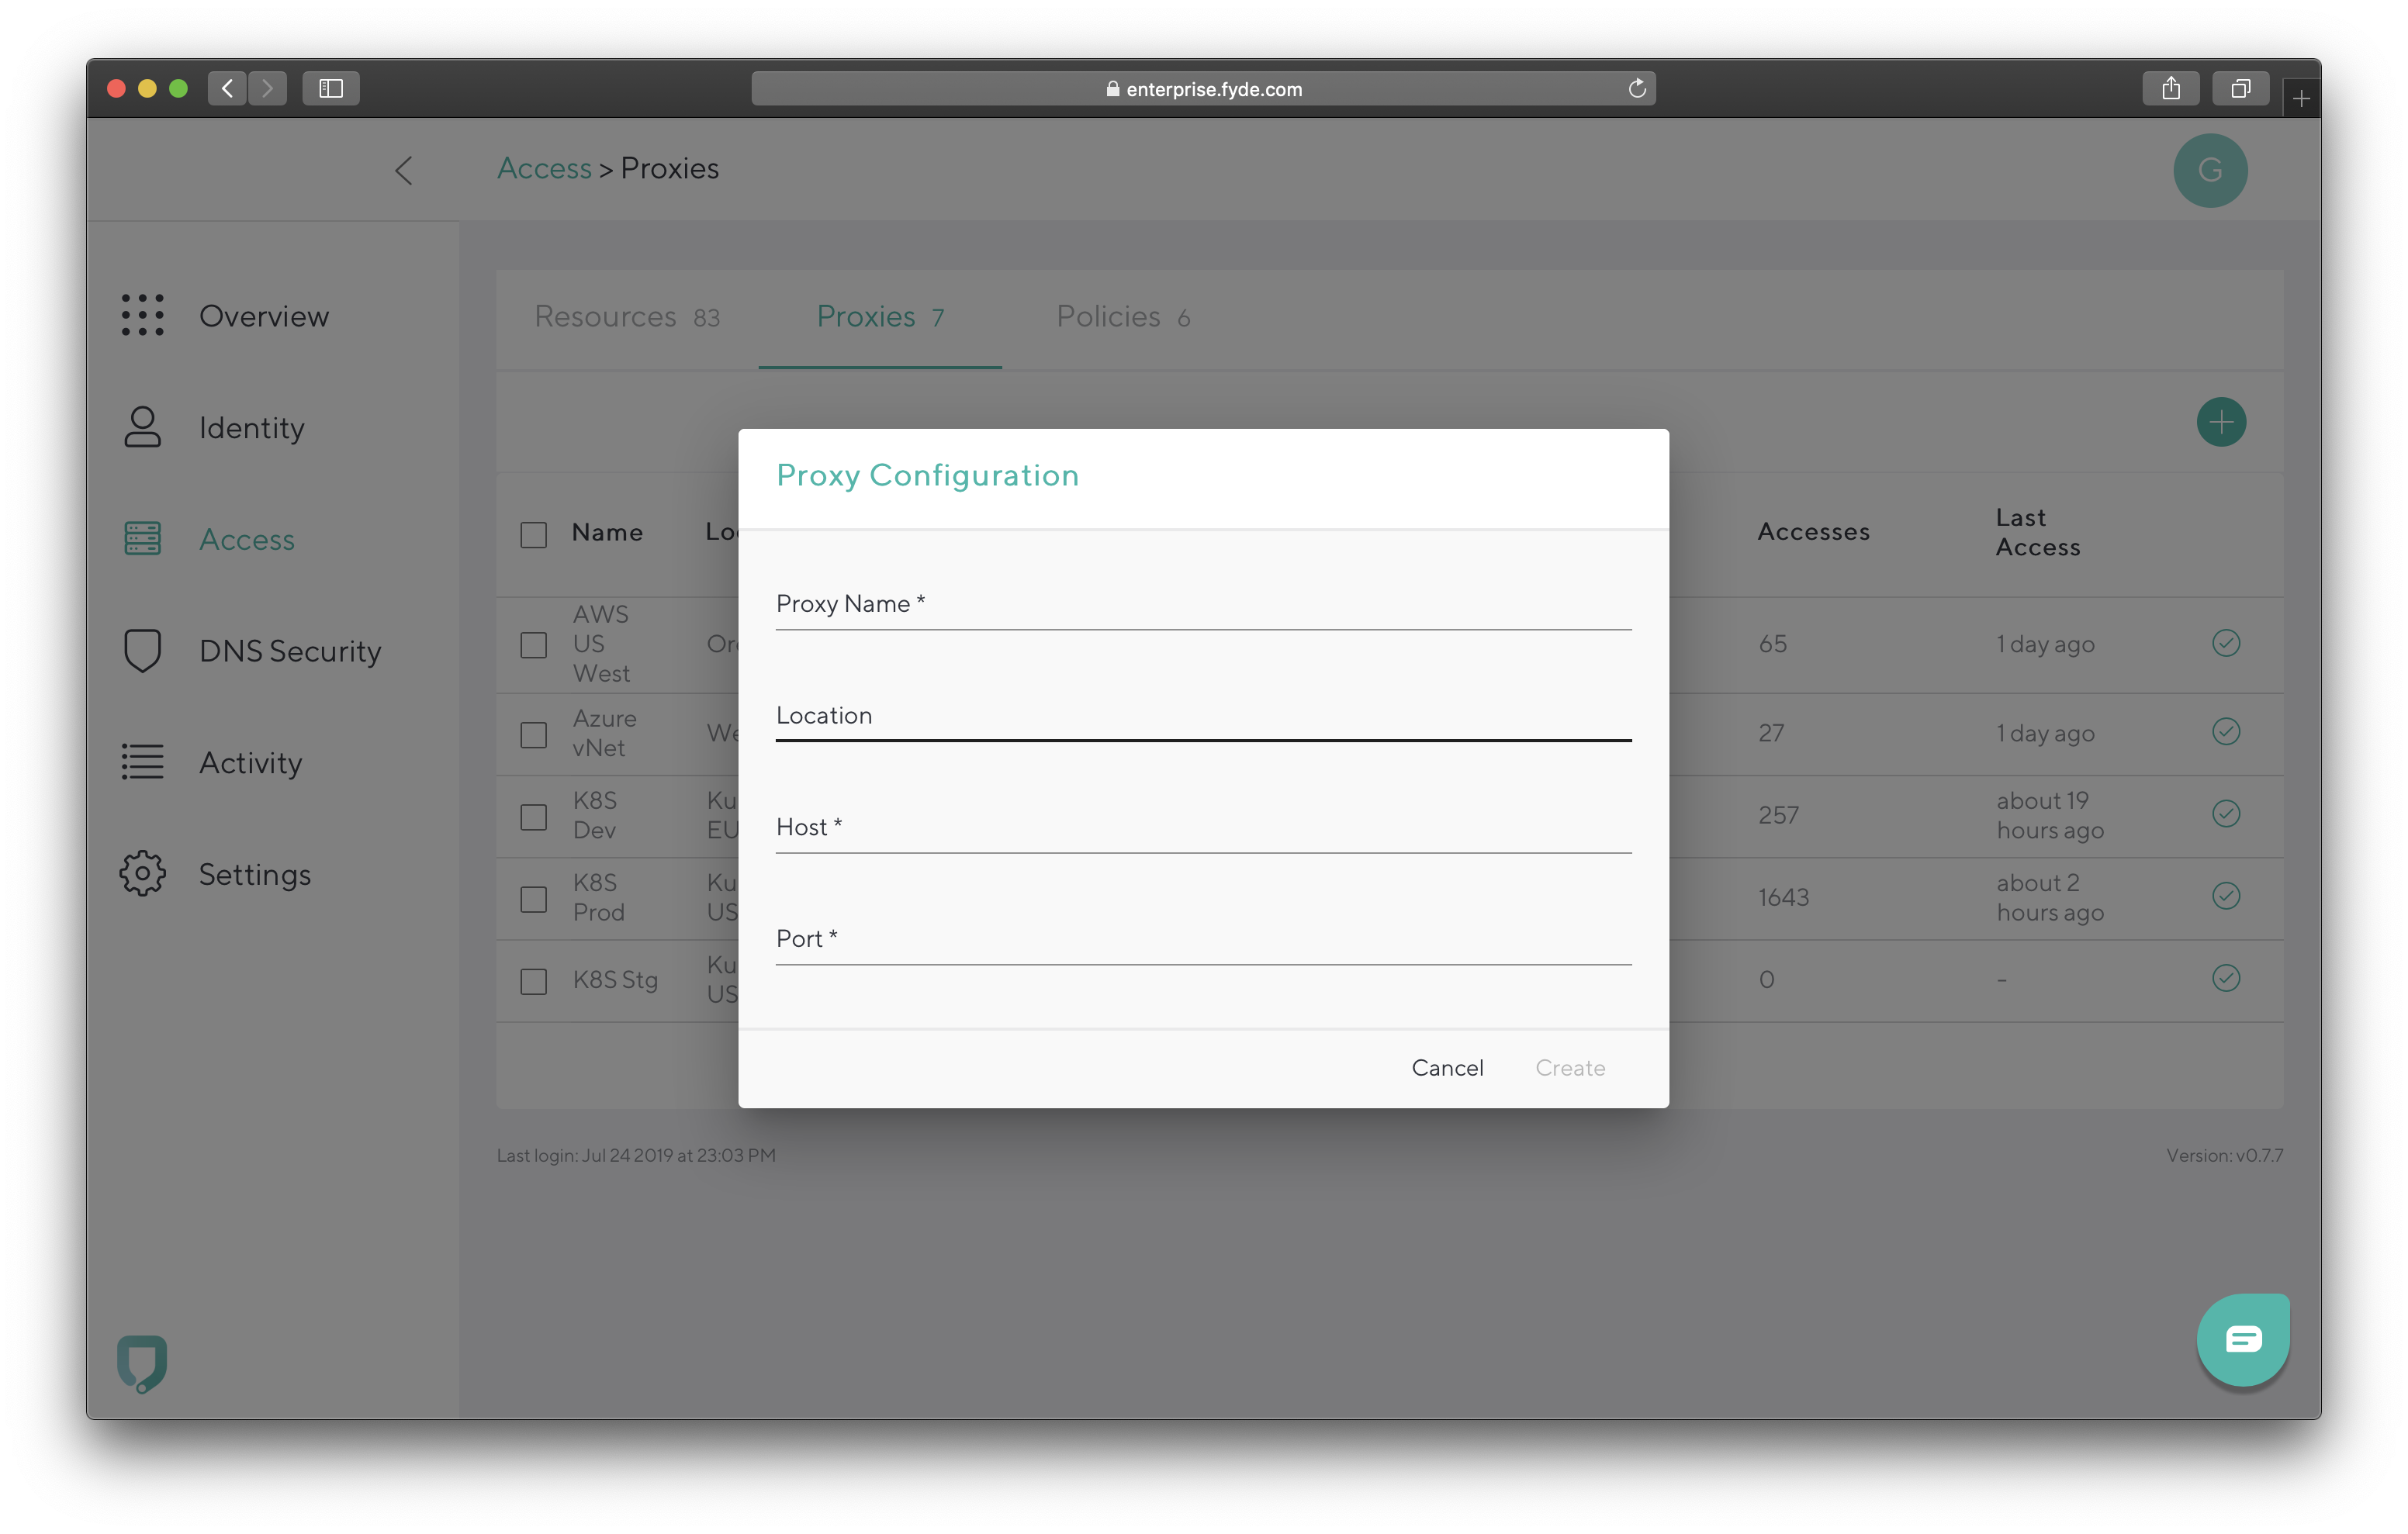
    ec-access-proxies.png
  2. Add the following:
    • Proxy Name – Used to identify the CloudGen Access Proxy.
    • Location (optional) – For your reference only.
    • Host – IP/Hostname used to reach the proxy.
    • Port – Port where the CloudGen Access Proxy will be available.
  3. Click Create.
    ec-access-add-proxy.png
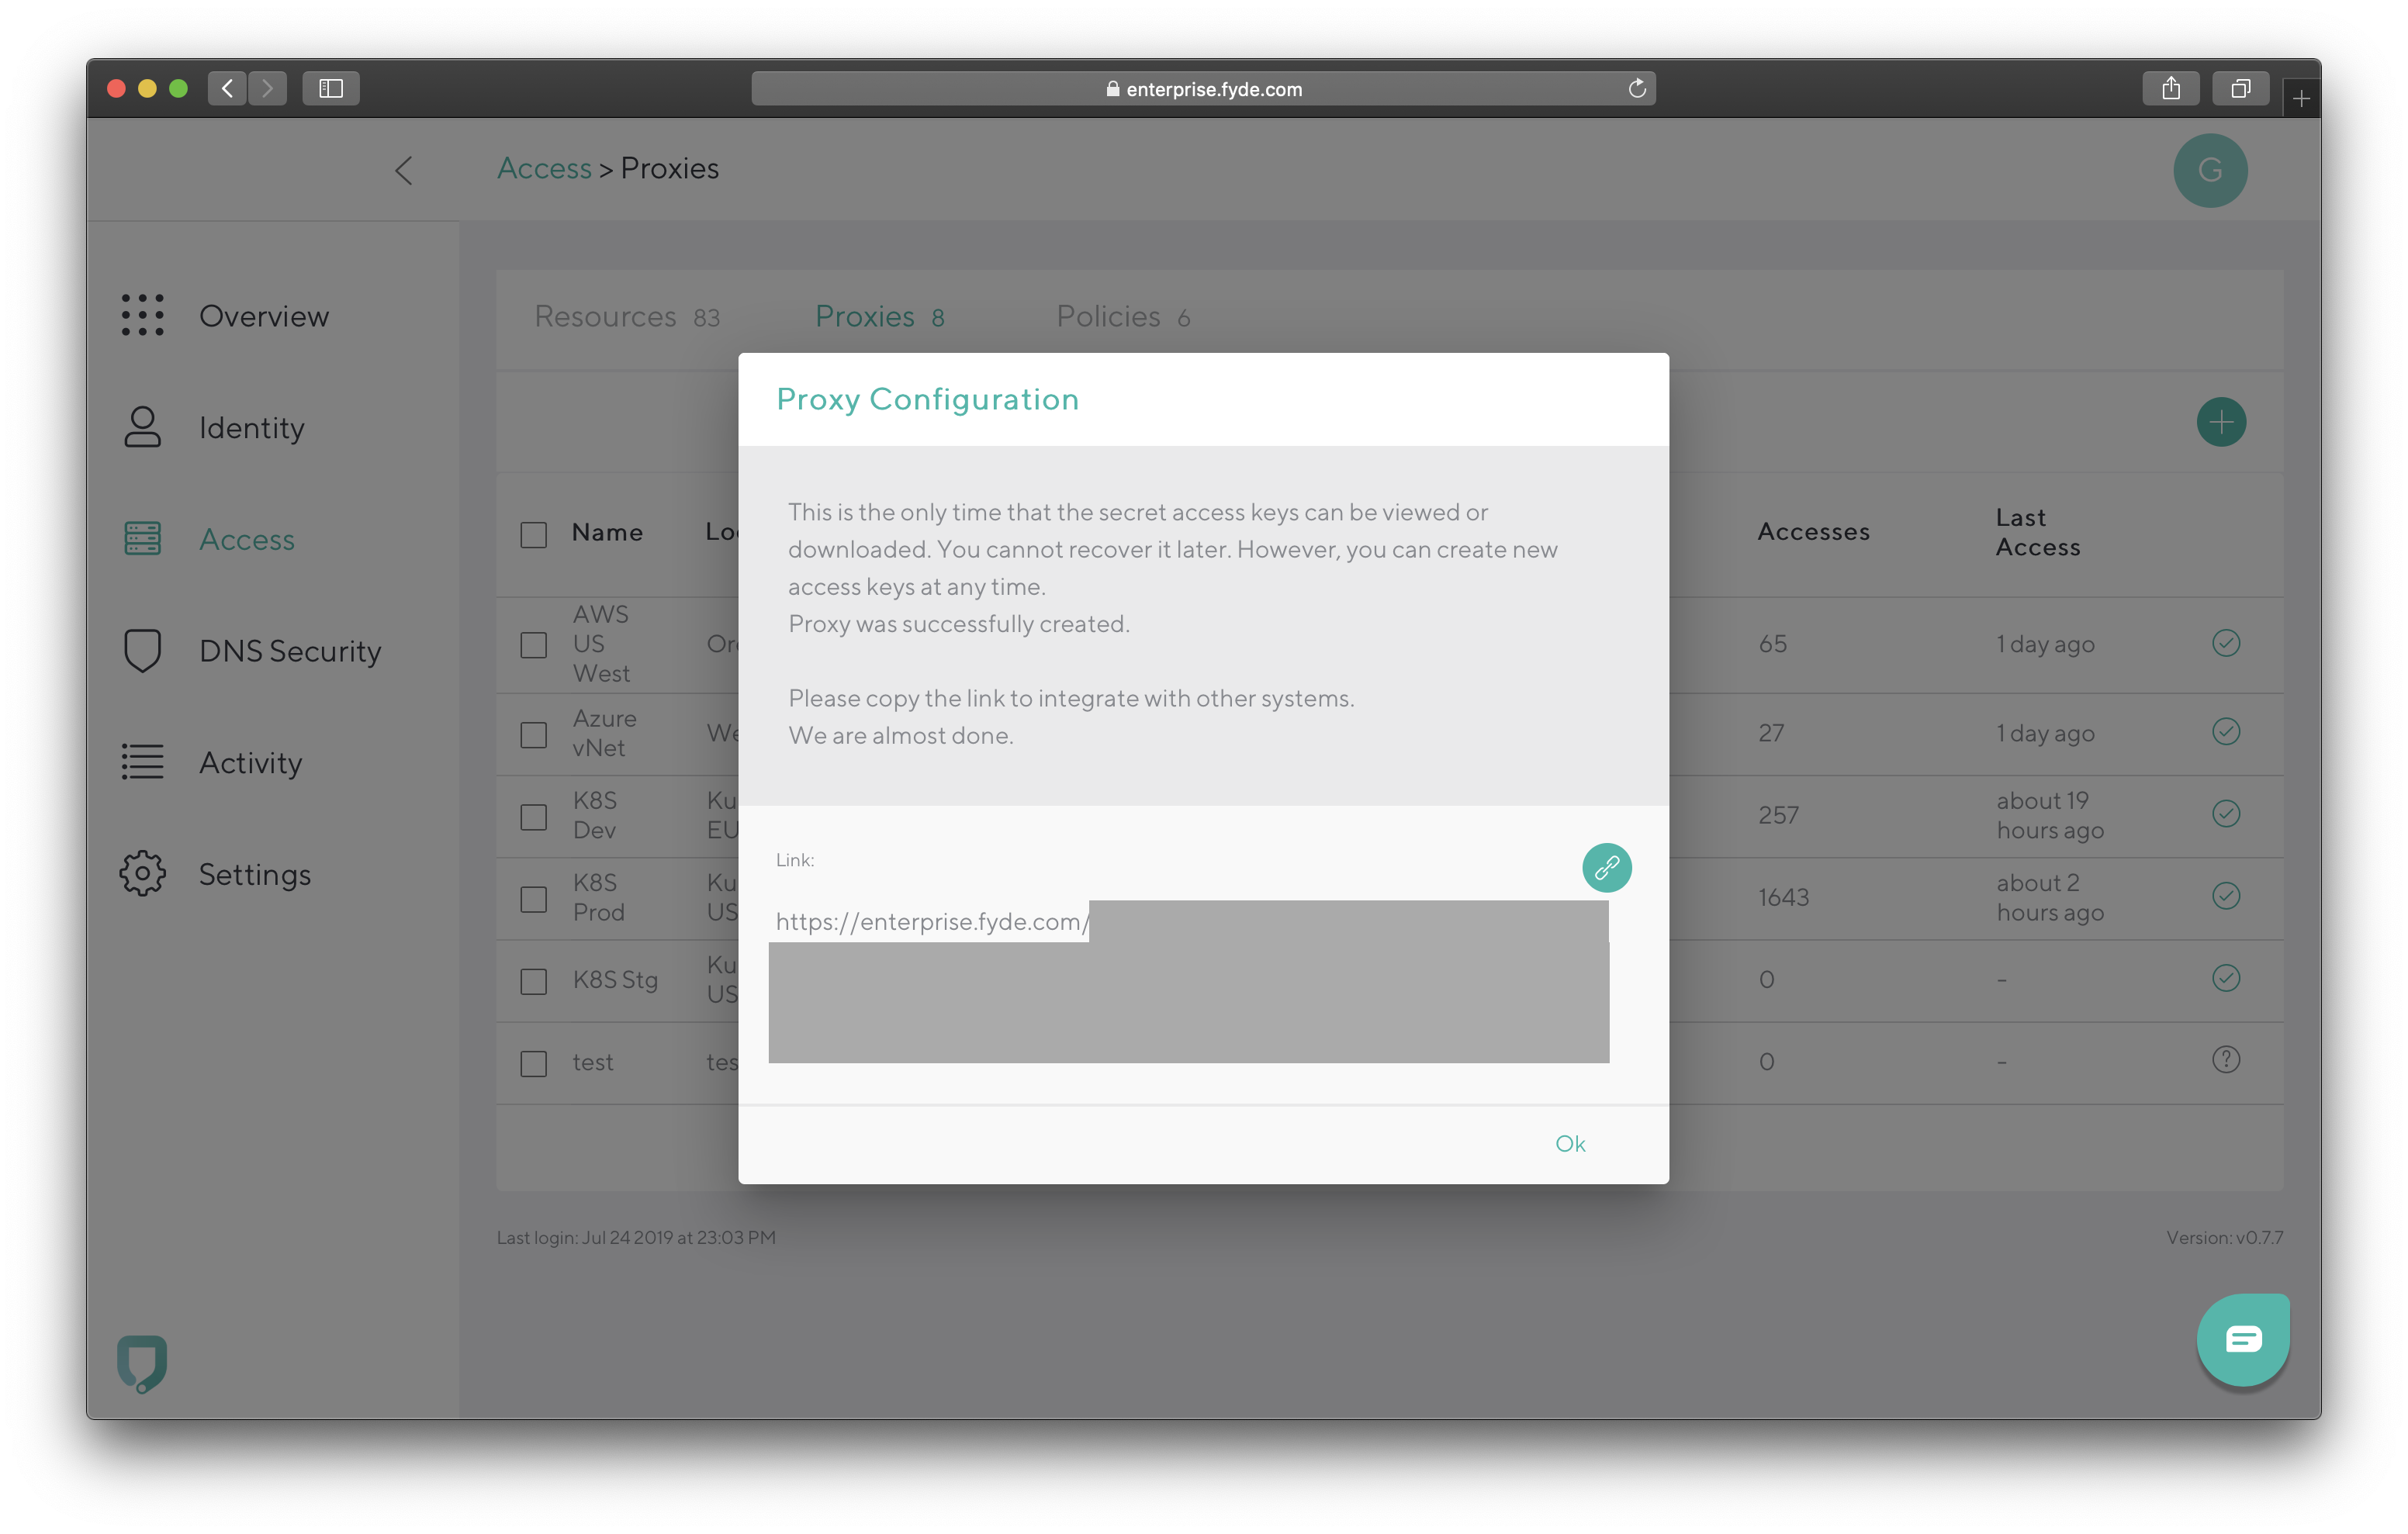
  4. Copy the enrollment link that will be used when configuring the CloudGen Access Proxy.

    Please note: This is the only time the link is provided by the CloudGen Access Enterprise Console.

    ec-access-add-proxy2.png

Installation

For installation steps, see CloudGen Access Proxy.