See also Best Practices for Creating DNS Policies.
Adding a DNS Location
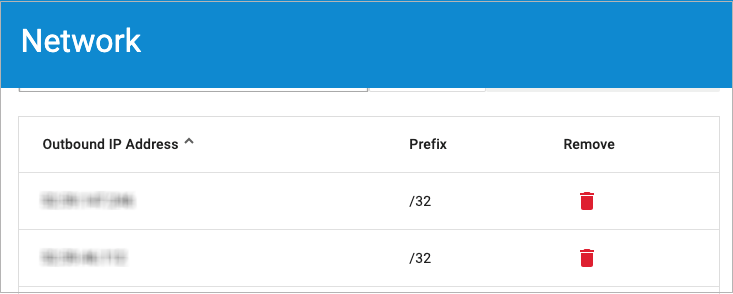
When you click ADD LOCATION on the DNS Filtering page, you are initially prompted to select one of two methods of how to specify an outbound IP address for clients. Barracuda Content Shield policies that you configure are then applied according to the outbound IP address associated with each client. The two methods are:
- Static IP Address – If the outbound IP address for each client is static (remains the same, as opposed to dynamic), choose Manually configure outbound IP addresses. Barracuda Networks recommends choosing this deployment, if appropriate, since it is the most simple. Note that if you are entering an IP range, use a 32 bit mask.

Dynamic IP Address – If the service provider issues a dynamic IP address (which potentially changes periodically), choose Automatically update the outbound IP addresses. This leads you to the Barracuda Dynamic IP Address Updater installation at the end of the wizard. The Barracuda Dynamic IP Updater is a tool that installs on a client and runs periodically to inform the BCS DNS proxy server if the outbound IP address for your network has changed.
Note that you can simulate groups by segregating users under different external IP addresses. This provides the option to apply different policies to different groups. For example, the Students group could be assigned a High security policy while the Faculty group could have a Low security policy.
Creating Policies
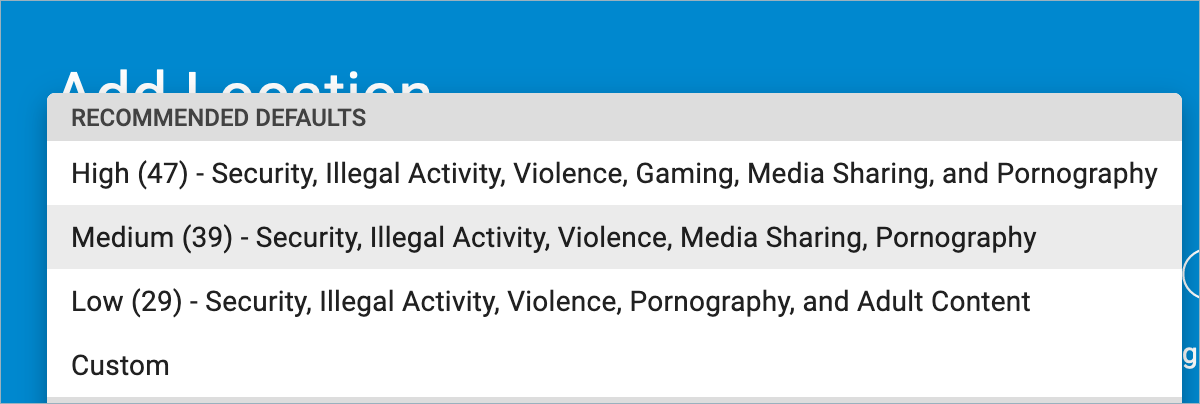
When creating a policy for a location, Barracuda Networks recommends beginning by selecting the Medium security option. See Best Practices for Creating DNS Policies for more details and examples.

