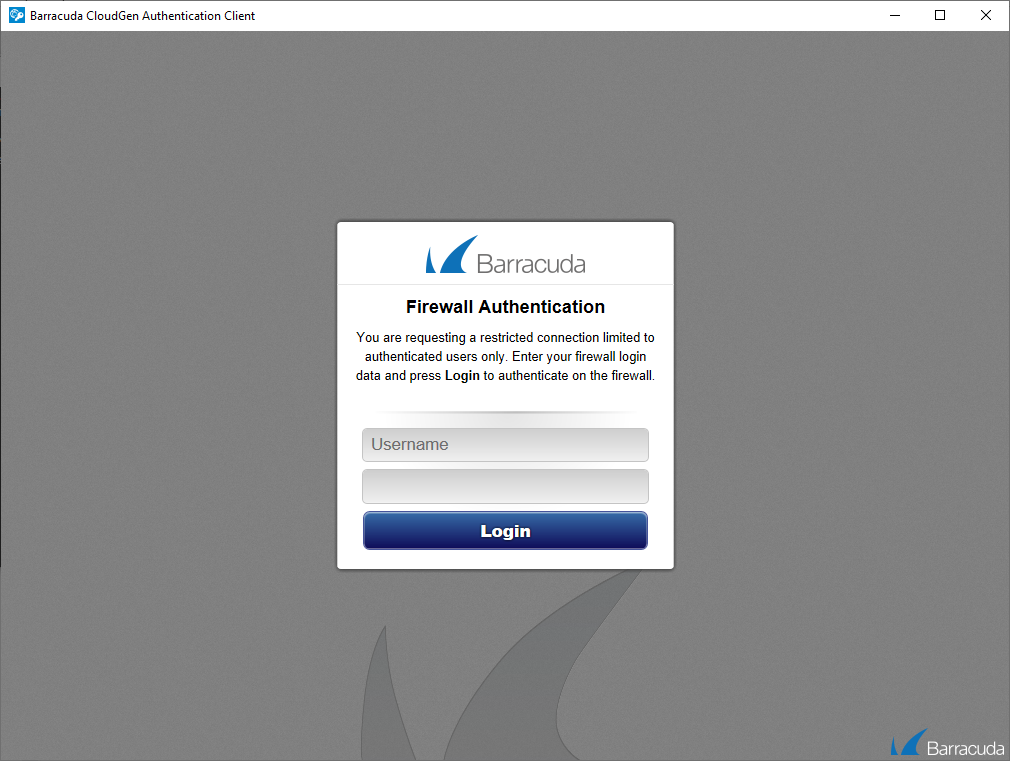
The Barracuda Network Access Client 5.2.0 and later includes a built-in authentication client that can be used to authenticate users on a CloudGen Firewall as well as on a Barracuda SecureEdge site in order to enforce a user-specific security policy (e.g., Firewall Rules). You can download the Barracuda CloudGen Firewall Authentication Client from the Barracuda Download portal.
Enable the Barracuda CloudGen Firewall Authentication Client
Enable Personal Access for the Barracuda CloudGen Firewall or Barracuda SecureEdge.
Before You Begin
- When using the Barracuda CloudGen Firewall Authentication Client for CloudGen Firewall authentication, configure offline authentication on the firewall. For more information, see How to Configure Offline Firewall Authentication.
- When using the Barracuda CloudGen Firewall Authentication Client for SecureEdge authentication, configure Personal Access on Barracuda SecureEdge. For instructions on how to set up SecureEdge Personal Access, see User Connectivity & Personal Security.
Configure the Barracuda CloudGen Firewall Authentication Client
- In the VPN Client window, click the settings icon on the top left to open the Authentication Client Settings panel.
- Select Authentication Client Settings from the drop-down menu.
- (SecureEdge only) Set Enable SecureEdge Site Auto-Discovery to on.
(CloudGen Firewall only) Enter the Authentication URL of your Barracuda CloudGen authentication page and click Save. For Barracuda SecureEdge, this URL will be determined automatically.
(Optional, CloudGen Firewall only) Enable Auto Login with Windows credentials. Users will be automatically logged into the firewall authentication service by using their Windows credentials every time they log into Windows.

The client now gets automatically authenticated when connecting to the VPN service of the Barracuda CloudGen Firewall or Barracuda SecureEdge.
Access the Barracuda CloudGen Firewall Authentication Client
To open the Barracuda CloudGen Firewall Authentication Client from a client device:
- Right-click the system tray icon and select Authentication Client (CloudGen Firewall) or Site Auto-Discovery (SecureEdge).
- If you are not using the auto-login feature, you can now enter your login credentials and click Login.

The authentication session to the CloudGen Firewall/SecureEdge site will be kept active in the background automatically. The authentication window can be closed after login.
To log out from the Firewall/SecureEdge site, you can revisit the authentication window anytime and click Logout.
