

There are many DNS requests that domain-joined computers perform in the background (DC search and auth, user sync, Entra ID group policies update, etc). The client computer assumes that at least one domain controller is network-reachable, and without this resource all of those queries will not be sent to the CloudGen Access Proxy, and Entra ID functionalities will begin to fail.
The DNS resource is added to make sure traffic reaches the internal resource. The DNS settings are added on the CloudGen Access console to make sure that, when querying SRV records for your domain, the DNS requests go to your internal DC controller that knows about it. If this request goes to an external DNS, such as 8.8.8.8, or the current network DNS server, it will receive no services and would result in authentication issues.
To configure an Entra ID Directory:
- Go to Access > Resources.
- Add a new resource.
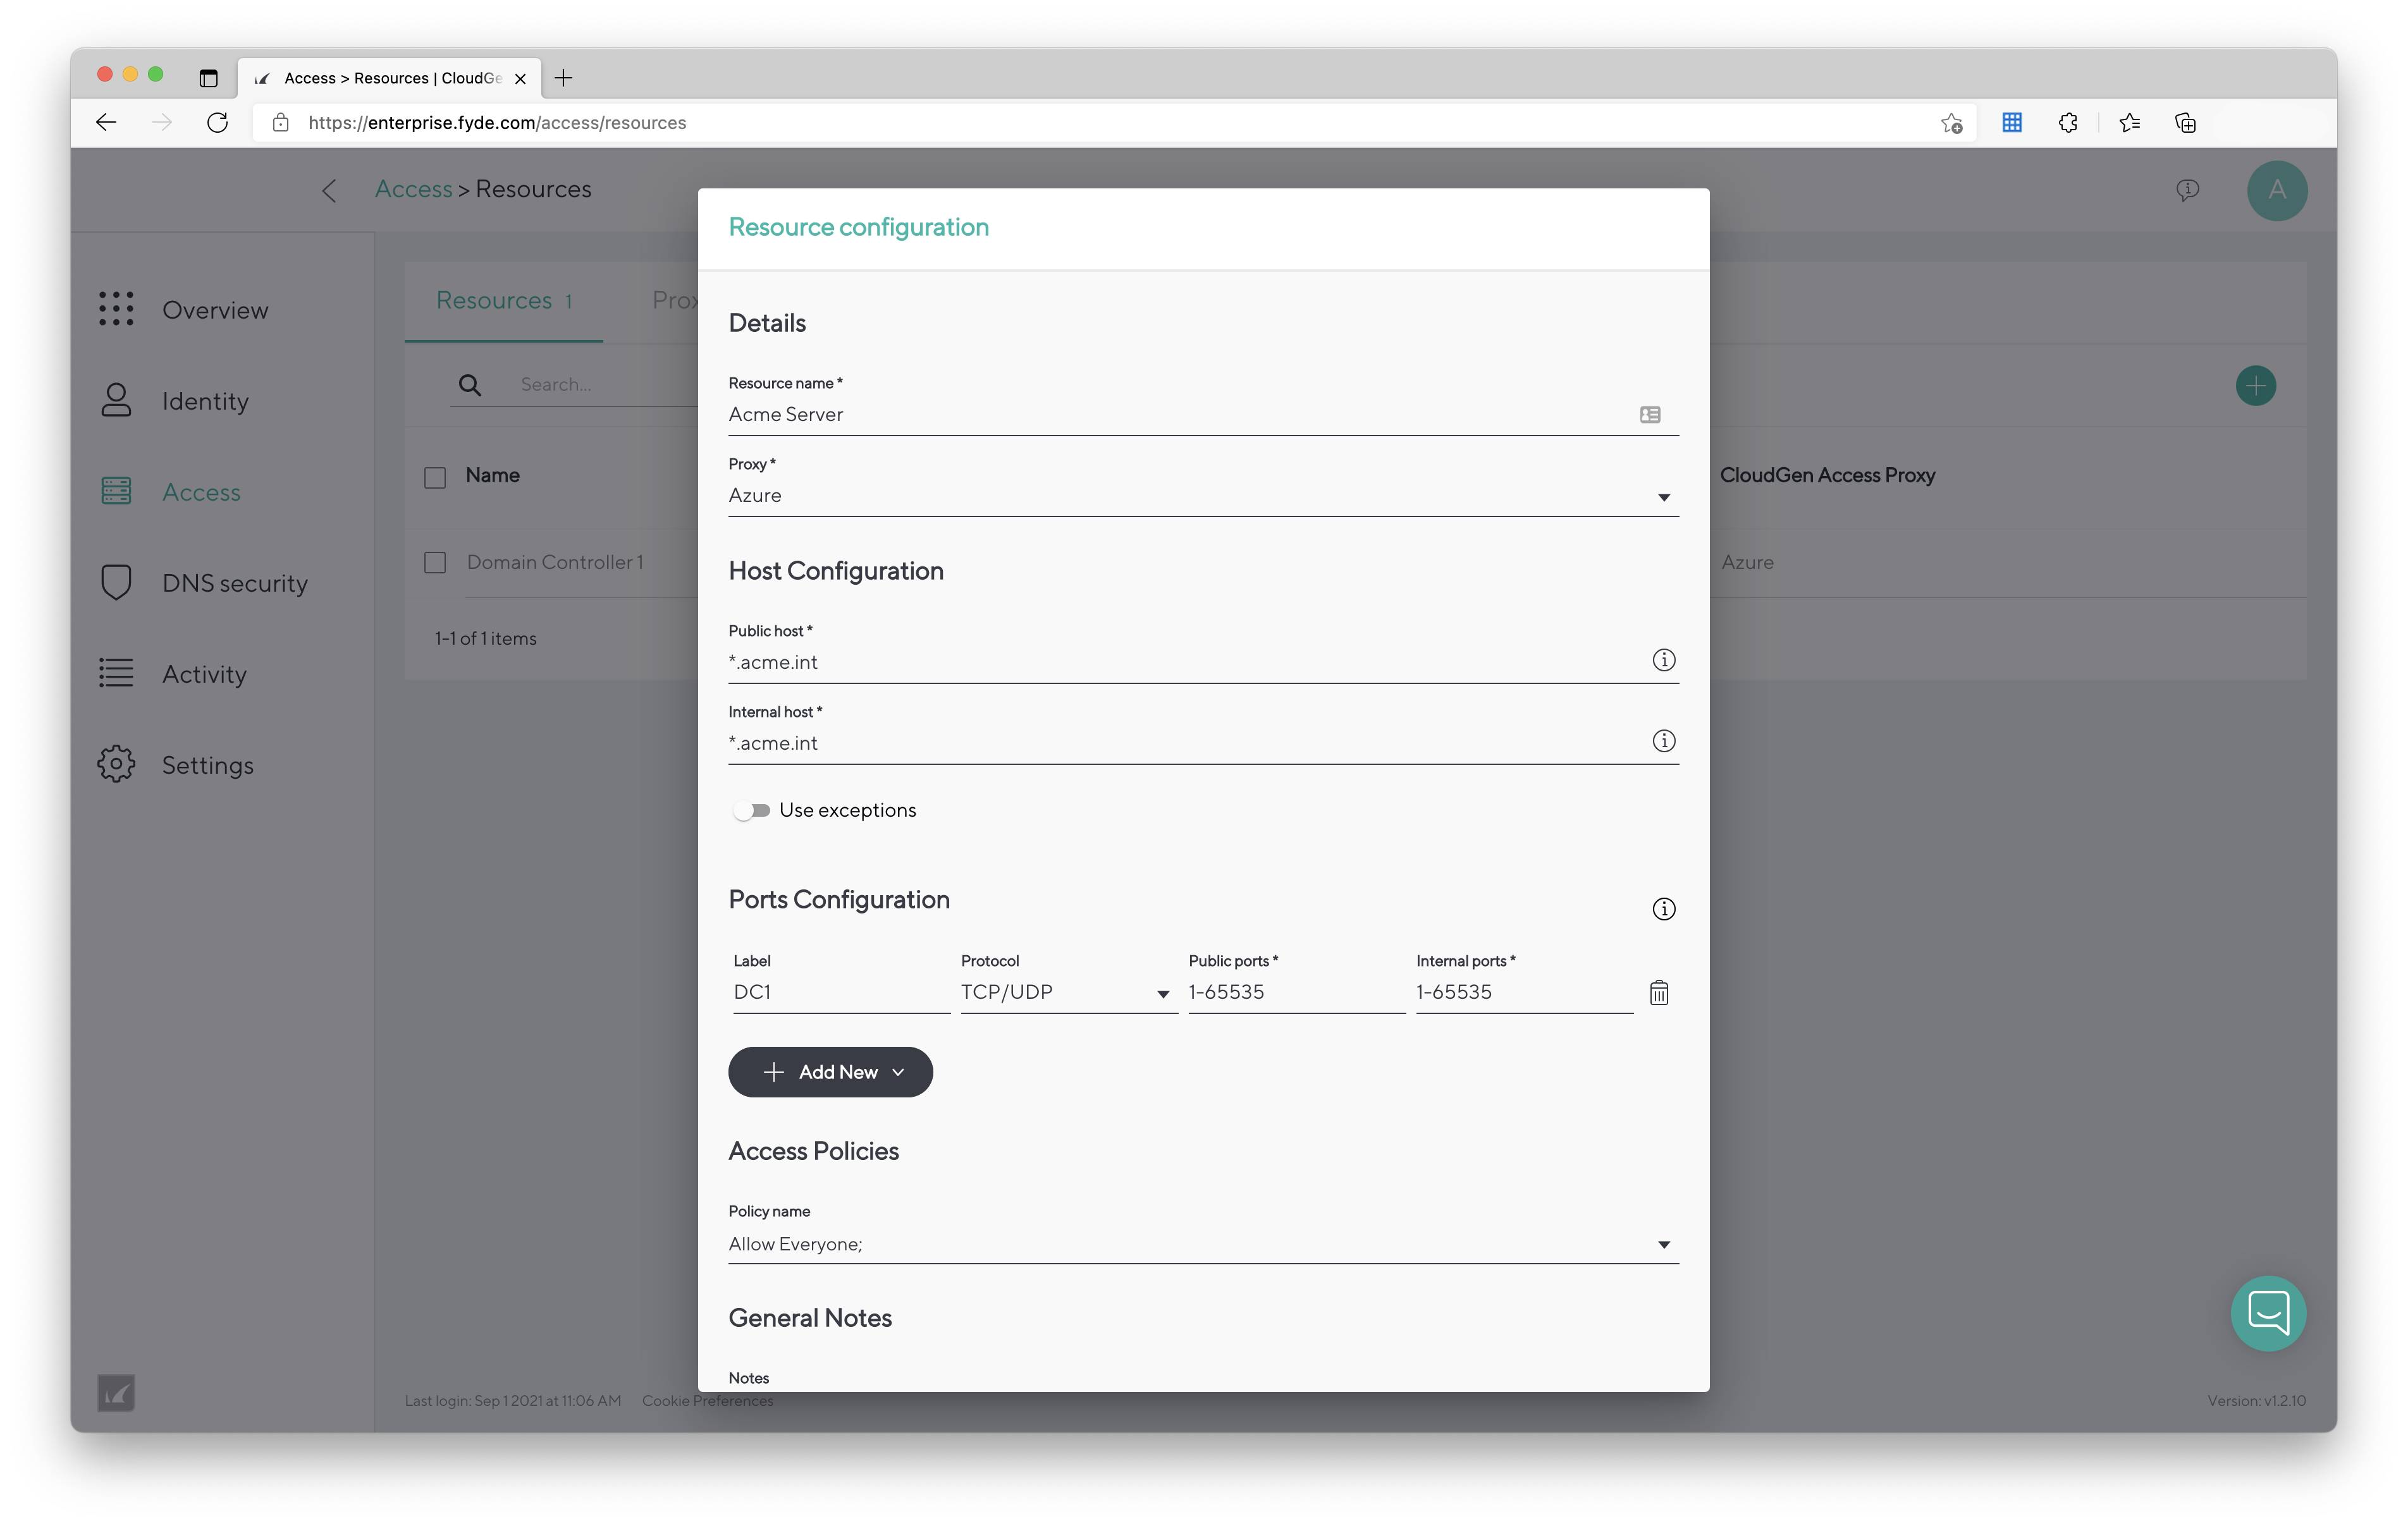
- Fill in the required fields.
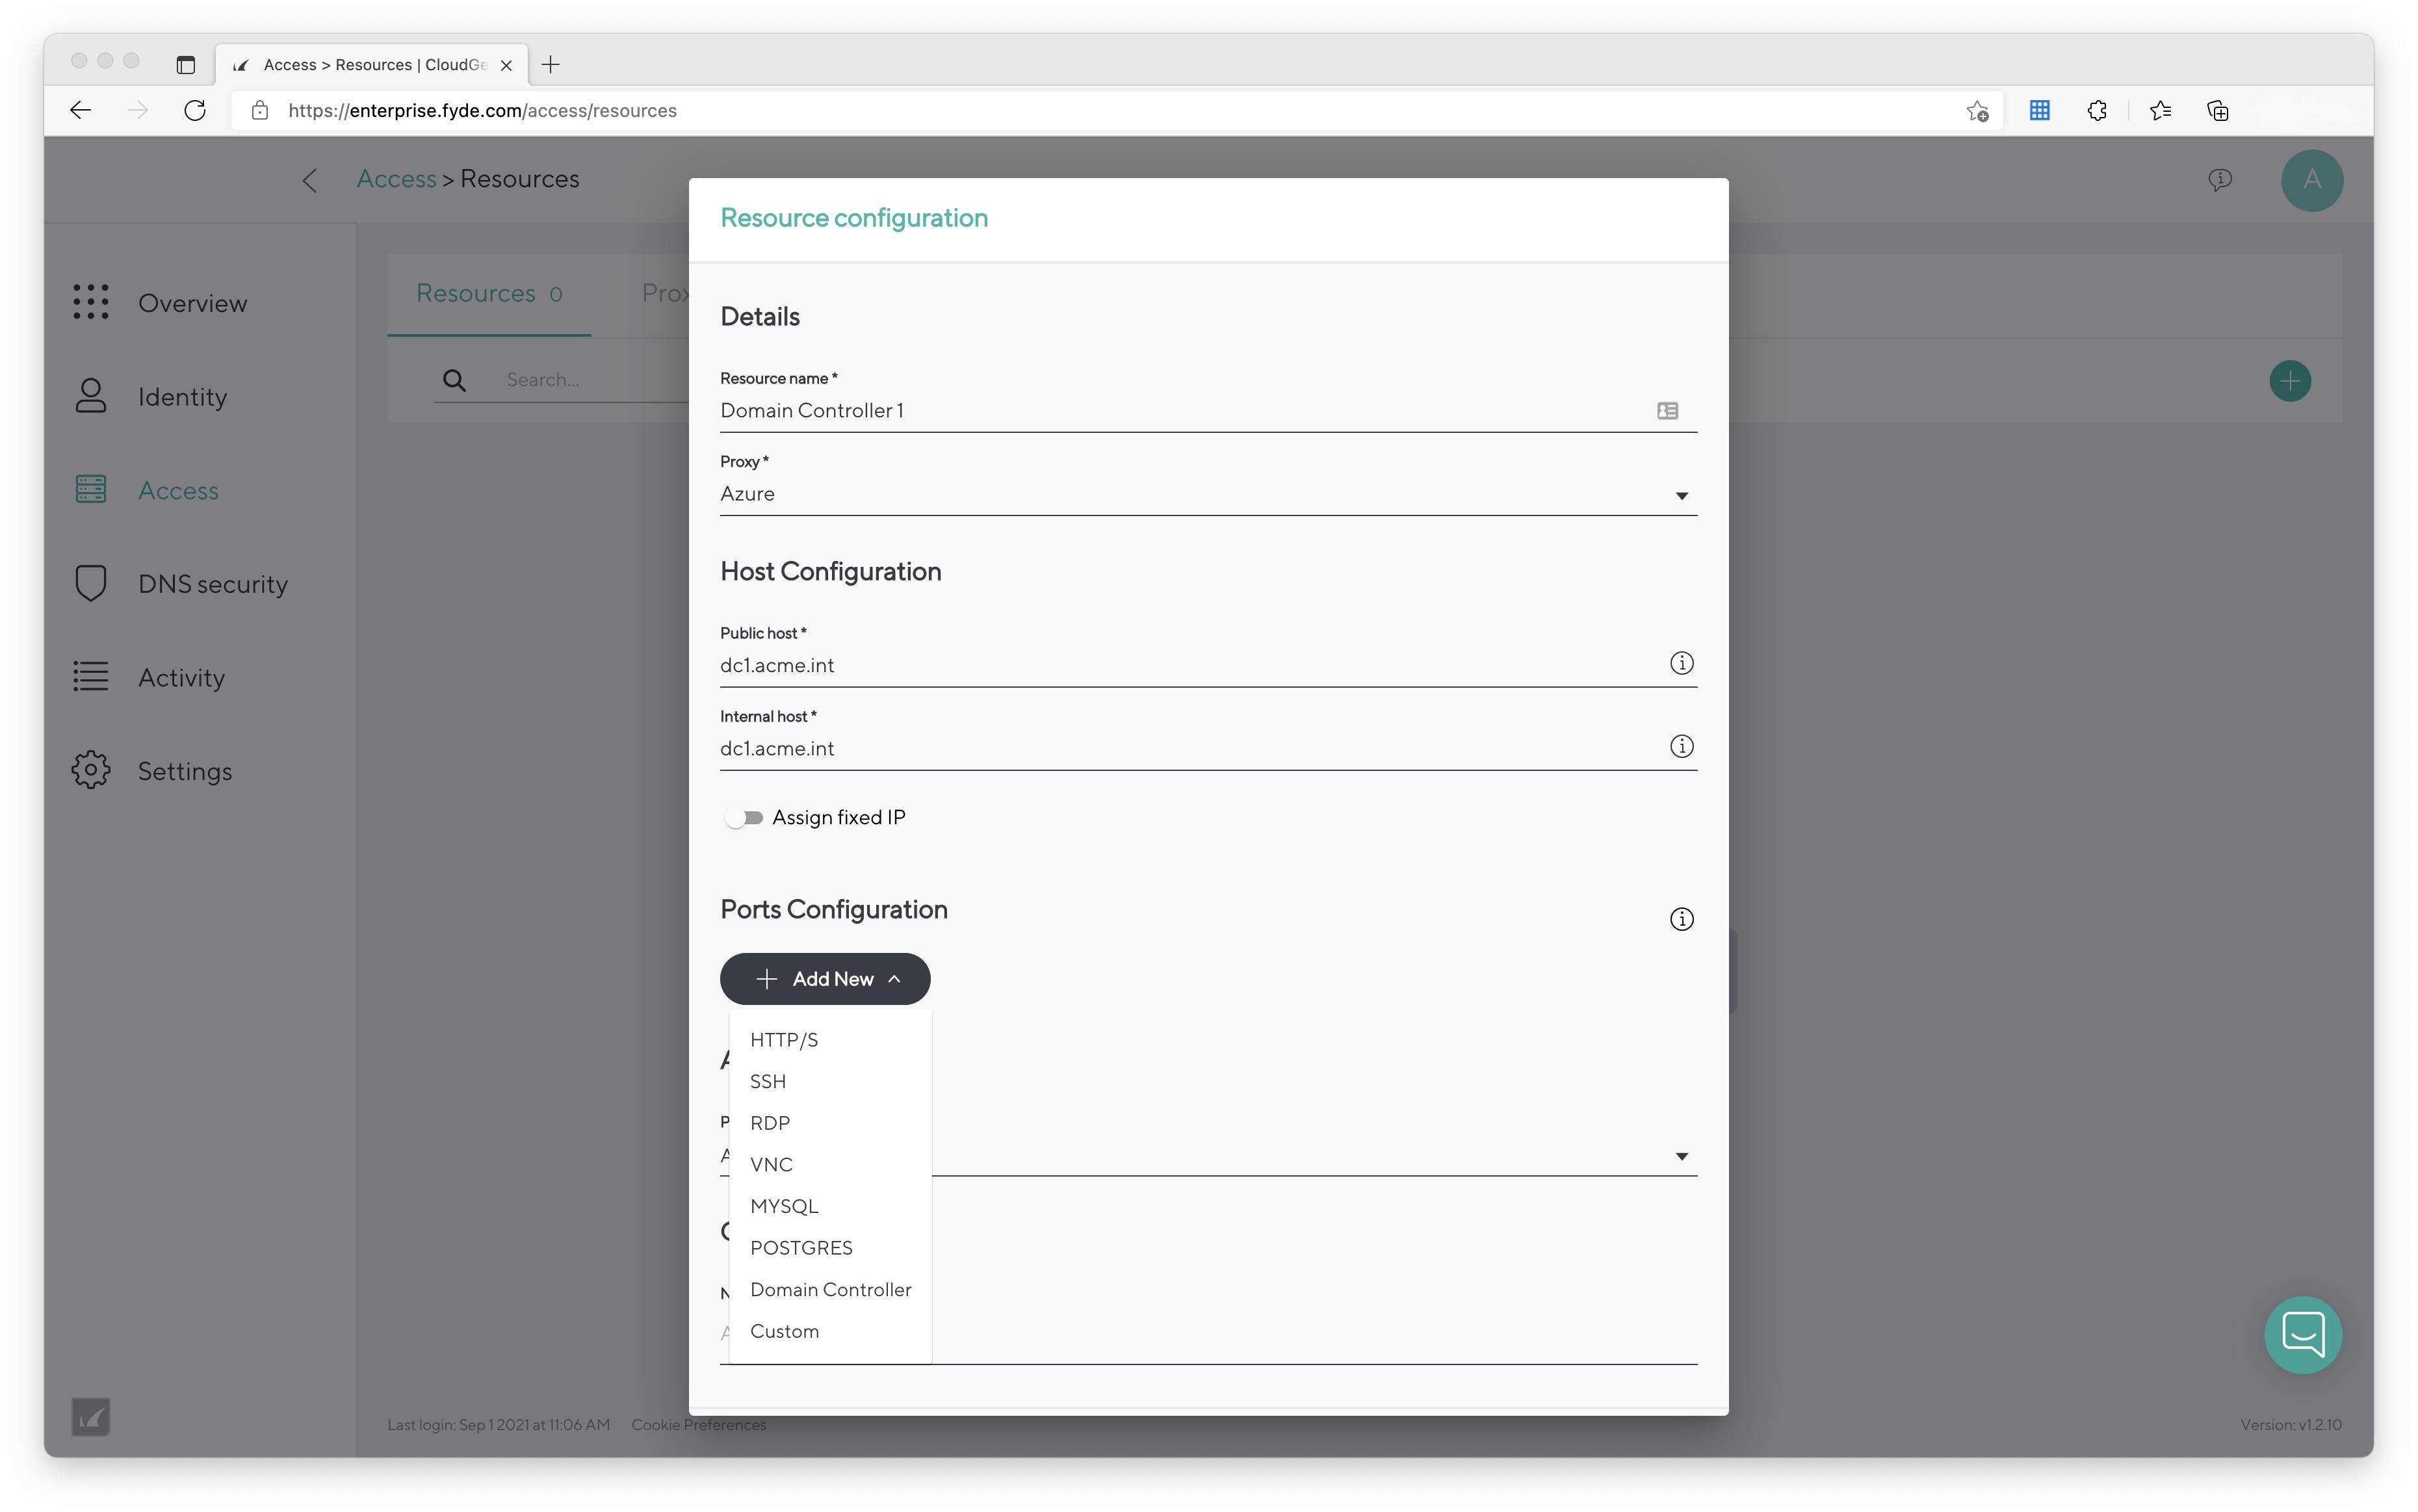
- Add an Entra ID (Azure) resource (or a wildcard resource).
- Go to Devices > Settings.
- Scroll down to Agent DNS.
- Click the pencil icon on the right.
- Click Add New DNS.
- Fill in the required fields (see DNS Servers drop-down).
- Click Save.
