

Block storage billing is useful for billing for a block of storage (for example, 10 GB) and then billing at a certain price-per-GB for any usage above that block size. This method is also useful for including a certain amount of storage at no cost, and billing at a certain price-per-GB after that cost-free storage block is used. The following example shows how to set up for a 10 GB plan/block size.
Setting Up Block Storage Billing
To set up block storage billing, perform the following steps.
- In ConnectWise, create a product to charge for the base 10 GB block. See Product Creation in ConnectWise.
The following display is a highlighted example of a block storage product.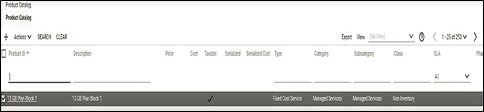
- At the ECHOplatform portal, click Preferences, Configure Billing Plan and then set up a billing plan that with a Base Plan Size set to the size of the block (in this case, 10 GB).
Note: This setting ensures the usage value for overages that is sent to the service, does not start until the account reaches 10 GB.
An example of this plan’s relevant fields is displayed below.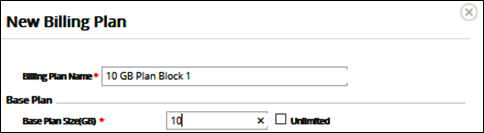
Note: Only the Base Plan Size value has an impact on this billing strategy, the other values are ignored. - At the ConnectWise Integration page, select the Billing tab.
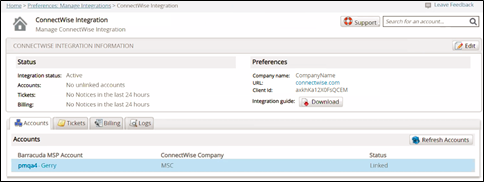
The Billing page is displayed.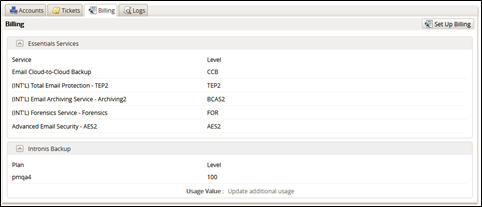
- Click the Set Up Billing button.
The ConnectWise Billing page is displayed.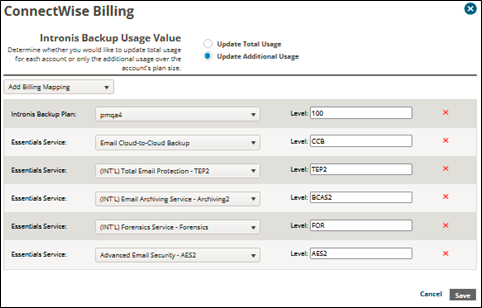
- Click Add Billing Mapping.
The available services are displayed.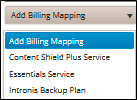
- Select Intronis Backup Plan.
The Intronis Backup field is displayed.
- Select the Intronis Backup Plan drop-down arrow to display your plan options.
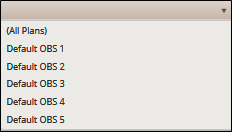
- At the Plan drop-down menu, select a plan that corresponds to the ConnectWise plans highlighted in Step 1 of this procedure.
For example, the Plan field 10 GB Plan Block 1 would display in the following example to correspond to the ConnectWise plan shown in Step 1 above.
Note: The accounts associated with this plan have their usage sent to the ConnectWise products associated with this level through the cross-reference. - At the Level field, type a level for this entry.
- Select the Update Additional Usage radio button in the Usage Value section.
Note: This selection ensures that every account is billed per-GB for any usage that exceeds the Base Plan Size value on the specified plan. - Click the Save button.
- In ConnectWise, create the cross-reference for this level and BackupUsage type with the correct agreement type and your chosen product. See Creating Cross-references in ConnectWise
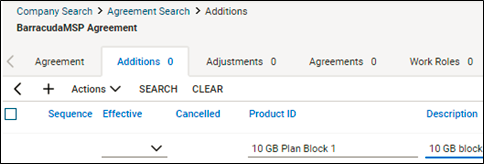
- In ConnectWise, select Companies, Companies, type your company name and then select Agreements, click the agreement you want to modify, click the Additions tab, and then click the New Item icon.
- At the Total Quantity field, for any companies in ConnectWise billed for a 10-GB base block size, add an addition to their agreement for 1 unit of the 10 GB Block product you created, as shown below.
Note: Unmapping plans from your ConnectWise integration may generate Past Plans errors in your logs. For information on these errors as well as the steps for resolution, see Past Plan Errors.
[This page left intentionally blank.]