To enforce a file content policy in the firewall, create an access rule to match your HTTP, HTTPS, FTP, SMTP, or SMTPS traffic. Enable Application Control and, optionally, SSL Inspection. You must also enable File Content Scan to let the CloudGen Firewall scan files for criteria defined in the file content policy. To let the firewall scan file types like .zip, .rar, .exe, .iso, .tar, .tgz, .cab, .msi, .btn, etc., enable Archive Content Scan. You can combine File Content Scan with URL Filter and User Agent policies. The policy objects are configured as a part of the application rule.
Before You Begin
- Create File Content Policies. For more information, see How to Create File Content Policies.
- Verify that the Firewall Feature Level is 7.2 or higher.
Step 1. Enable File Content Scanning in a PASS Access Rule
Enable Application Control, File Content Scan, and, optionally, SSL Inspection for the access rule handling HTTP, HTTPS, FTP, SMTP, and/or SMTPS traffic.
- Go to CONFIGURATION > Configuration Tree > Box > Assigned Services > Firewall > Forwarding Rules.
- Click Lock.
- Double-click to open the access rule you want to apply the file content policy for.
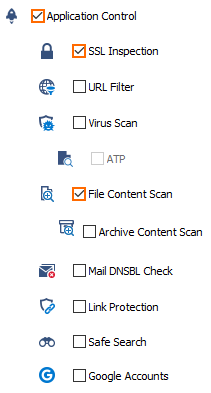
- Click on the Application Policy link and select:
- Application Control – Required.
- SSL Inspection – Optional.
- File Content Scan – Required.
- Archive Content Scan – Optional.
- If configured, select a policy from the SSL Inspection Policy drop-down list. For more information, see SSL Inspection in the Firewall.
- Click OK.
- Click Send Changes and Activate.
Step 2. Create an Application Rule Using File Content Filter Objects
- Go to CONFIGURATION > Configuration Tree > Box > Assigned Services > Firewall > Forwarding Rules.
- In the left menu, click Application Rules.
- Click Lock.
- Create a PASS application rule. For more information, see How to Create an Application Rule.
- Source – Select the same source used in the matching access rule.
- Application – Select Any to use only policy filtering. Otherwise, select an application object from the drop-down list to combine Application Control and File Content filtering.
- Destination – Select the same destination used in the matching access rule.
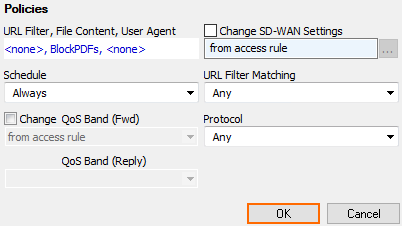
- Click on the Policies link.
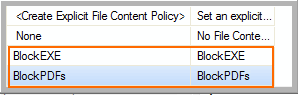
- Click File Content.
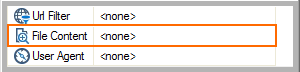
- Click on the File Content Policy in the list. For more information, see How to Create File Content Policies.
- Click OK.
- Click Send Changes and Activate.
Monitoring File Content Filtering in the Firewall
Firewall Live View
Go to FIREWALL > History View and check the Info column for connections that were blocked due to the detected content.

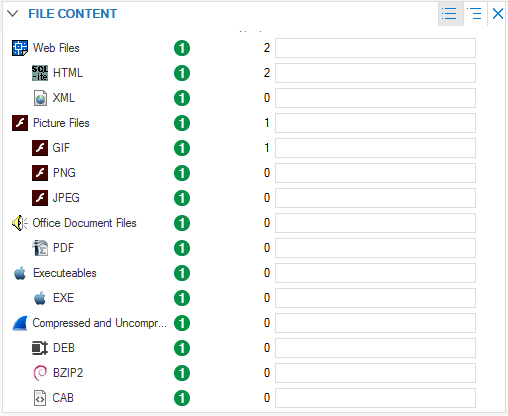
Firewall Monitor
Check the FILE CONTENT element on the FIREWALL > Monitor page to see a summary. You can filter and drill down based on source, time, and the associated action (allow, blocked, ...).