Manage configuration updates and monitoring for your HA clusters. Configuration changes on the primary unit are transferred instantly to the secondary unit. The sync status can be viewed from Barracuda Firewall Admin. If the primary unit fails, configuration changes must be made on the secondary unit. After the primary unit is re-established, synchronization must be started manually.
Check the Services Status
- On the primary and secondary unit:
- Go to CONTROL > Services.
- Verify that the status of the PRIMARY is Active and the status of the SECONDARY is Standby.
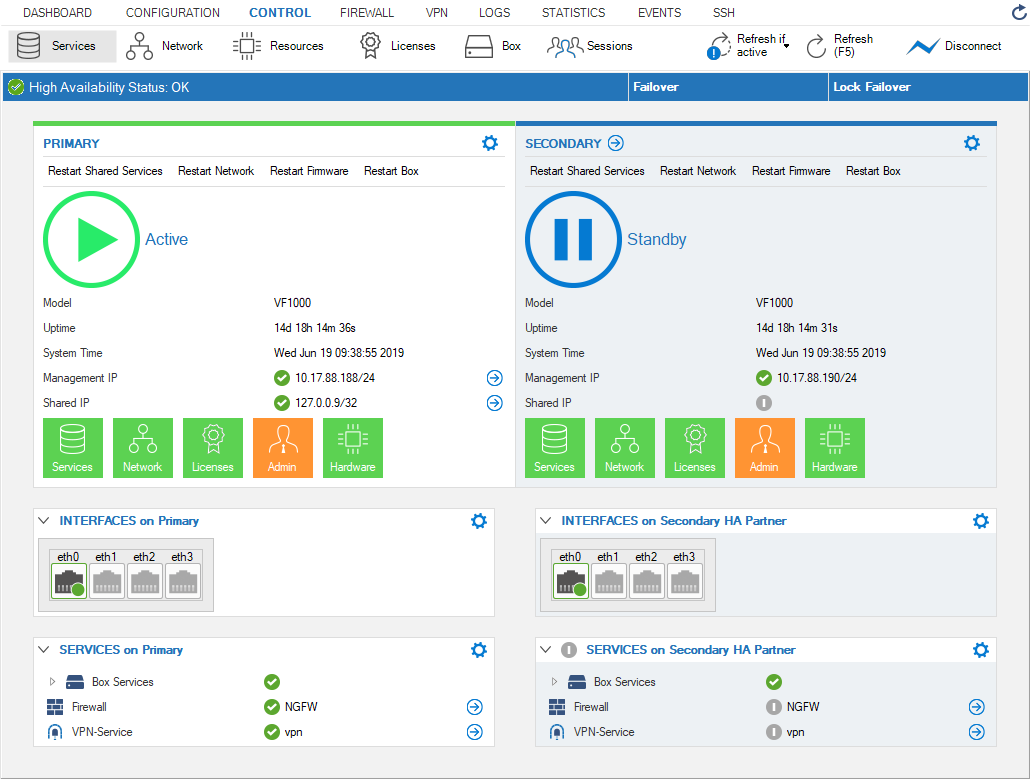
When the primary unit goes down, both units change their state accordingly:
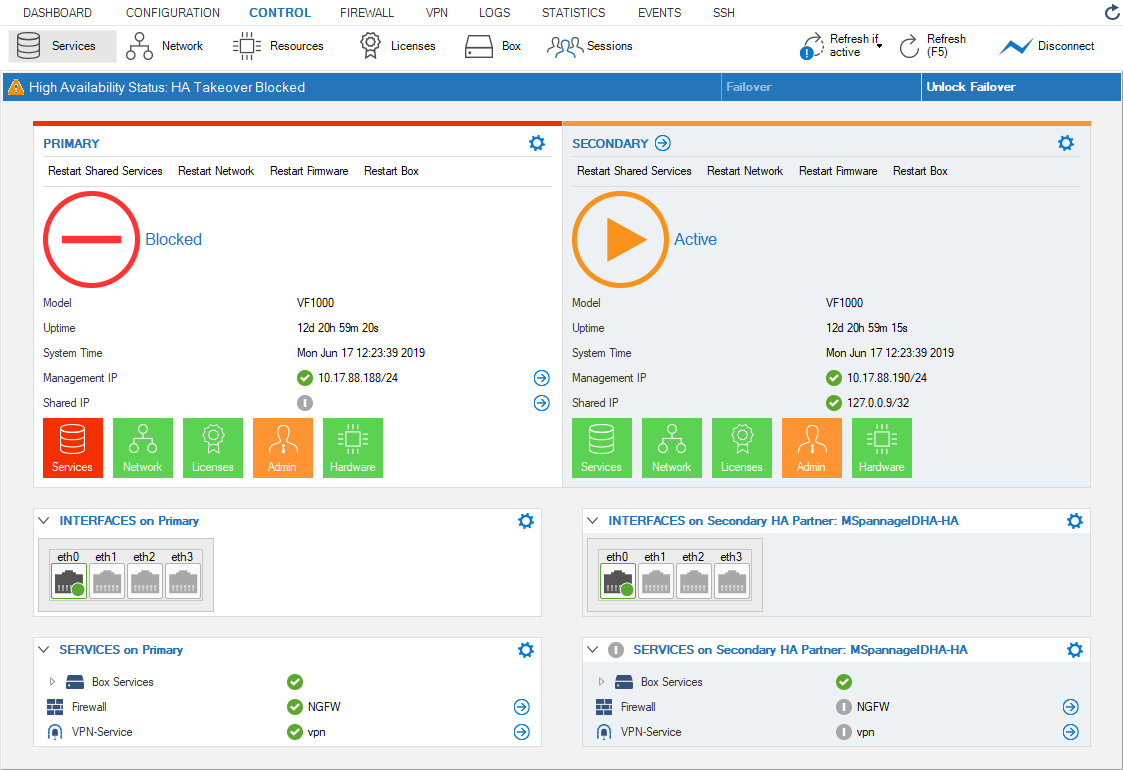
HA Sync Status Setup
- Go to CONFIGURATION.
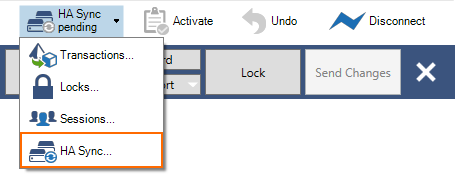
- Expand the State Info drop-down menu in the upper-right corner and click HA Sync.
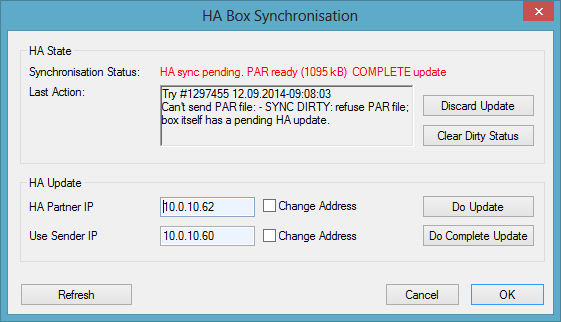
- In the HA Box Synchronization window, you have the option to trigger the following tasks:
- Do Update – Performs an incremental update.
- Do Complete Update – Performs a complete update.
- Discard Update – Discards the changes. This is needed when the two HA partners are in an inconsistent state.
- Refresh – Refreshes the window to see actual changes (completion of update).
Emergency Override
If the primary unit fails, configuration changes must be made on the secondary unit using the Emergency Override mode.
- Log into the secondary unit.
- From the Configuration Tree, right-click Box (Backup) and select Emergency Override.
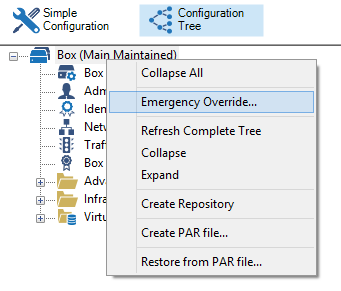
When prompted, click Yes to enable the Emergency Override mode. When the Emergency Override mode is active, the box icon is highlighted in yellow.
Lock and edit your configurations.
Click Send Changes and Activate.
Manually Synchronize a Stand-Alone HA Pair
In Emergency Override mode, manually synchronize configurations from the secondary unit to the primary unit. After the connection to the primary unit is re-established, synchronization must be restarted manually. The following steps assume that services are still active on the secondary unit.
- On the primary unit, go to CONFIGURATION.
- From the service bar, expand the State Info icon and click HA Sync.

Select the Clear Dirty Status button.
- Open the Configuration Tree on the secondary unit and click HA Sync.
- Enter the IP addresses of the HA partners into the IP address fields of the HA Box Synchronization window.
- Click Do Update to transfer the configuration from the secondary unit to the primary unit.
- Enter the IP address of the primary unit into the HA Partner IP field.
- Enter the IP address of the secondary unit into the Sender IP to use field.
- Select the Change Address check boxes to the right of both fields.
- Click Do Complete Update.
- Block services on the secondary unit so that the primary unit can regain normal operation status.
Configure IP Address and Service Monitoring
To enable handling of failure conditions and to guarantee a quick takeover of services when a box or networking component becomes unavailable, configure the monitoring of IP addresses and services.
For more information, see HA-Monitoring .
