

The Barracuda CloudGen Firewall Vx is available as a Generation 1 virtual machine for your Microsoft Hyper-V hypervisor. Before deploying the Barracuda CloudGen Firewall Vx, verify that the host system meets the minimum storage requirements and review the resource recommendations for the production system. Deploying the firewall as a Generation 2 VM on Hyper-V is currently not supported.
Before You Begin
- For information regarding the sizing of your CPU, disk, and RAM, see Virtual Systems (Vx).
- Download the Barracuda CloudGen Firewall Vx VHD virtual disk image from the Barracuda Download Portal.
- Copy the VHD virtual disk image to the Microsoft Hyper-V server.
- Make sure the Hyper-V virtual machine uses a static MAC address.
If you have to change the disk partitioning for a CloudGen Firewall or Control Center, you can run the installation from a virtual floppy using the Barracuda CloudGen Firewall ISO image. For more information, see How to Deploy a CloudGen Firewall Vx using Firewall Install on a VMware Hypervisor.
Step 1. Create a New Virtual Machine
Create a virtual machine using the sizing recommendations for your model of the Barracuda CloudGen Firewall Vx.
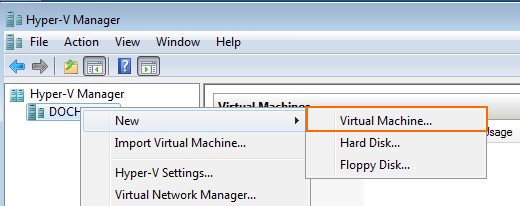
- Launch Hyper-V Manager.
- Right-click on your Hyper V server and select New > Virtual Machine. The New Virtual Machine Wizard opens.
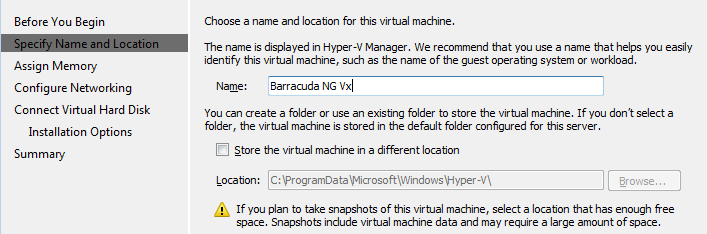
- Enter the Name. E.g.,
Barracuda CloudGen Firewall Vx - Click Next.
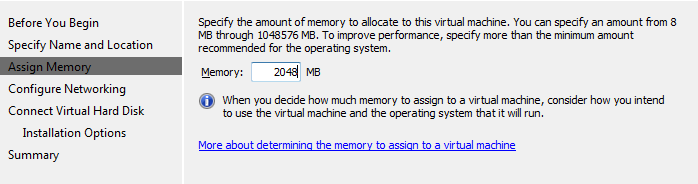
- Enter the amount of memory in MB. E.g.,
2048
- Click Next.
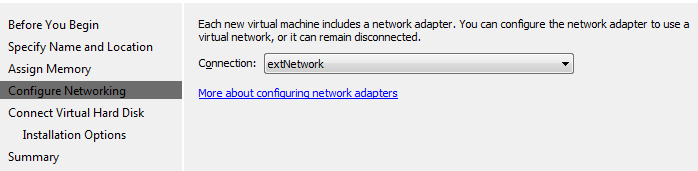
- Select the virtual network from the Connection drop-down list.
- Click Next.
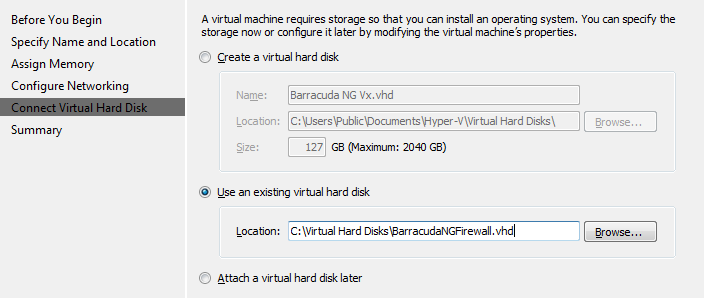
- Select Use an existing virtual disk and enter the Location of the VHD file.
- Click Next.
- Review the Summery and click Finish.
You can now launch the Barracuda CloudGen Firewall Vx by selecting the virtual machine and clicking Start in the right pane.

Step 2. Configure the Barracuda CloudGen Firewall Vx on First Boot
You need to connect to the console of the VM to enter the minimal network configuration.
- Launch Hyper-V Manager.
- In the Virtual Machines pane, double-click on the Barracuda CloudGen Firewall Vx VM. The console of the virtual Barracuda CloudGen Firewall Vx opens.
- When the VM has started, the Active Recovery Technology (ART) menu is launched.
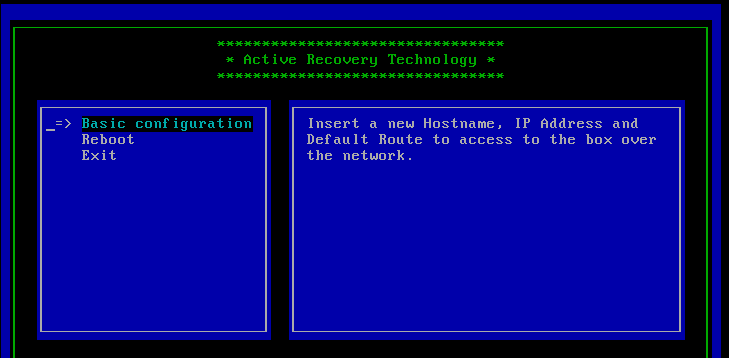
- Select Basic Configuration, enter the following network settings, and then press OK to save your changes:
- Hostname – The desired hostname for your Barracuda CloudGen Firewall Vx unit.
- Management IP – The internal IP address for your Barracuda CloudGen Firewall Vx unit. This IP address must be reachable from your PC. E.g.,
192.168.200.200 - Netmask – The subnet mask. E.g.,
255.255.255.0 - Default Gateway – The IP address of the next hop device that serves as and access point to another network. E.g.,
192.168.200.1
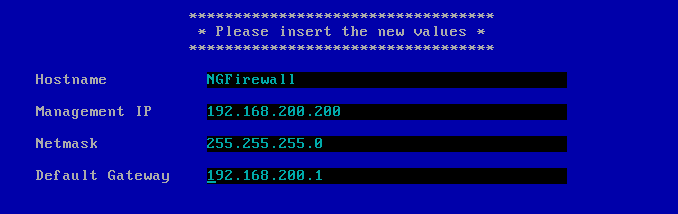
- Press OK to save the configuration.
- Select Reboot. The Barracuda CloudGen Firewall Vx will restart with the new network configuration.
Next Step
After you deploy the Barracuda CloudGen Firewall Vx unit, continue with Get Started.