

Prerequisites
- Ensure you have enabled Audit Log Search. (Microsoft docs)
- Register an application in Entra ID. (Microsoft docs)
- Once application is registered, take note of the Application (client) ID and the Directory (tenant) ID.
- Configure app authentication in the Certificates & Secrets screen.
- Add API permissions and grant admin consent.
- Enter the application id, directory id, and application secret in Barracuda XDR Dashboard.
Enable Audit Logging For All Mailboxes in Microsoft 365
To enable audit logging for all mailboxes in Microsoft 365, do one of the following procedures:
- To enable audit logging through Admin Center (recommended)
- To enable audit logging via Powershell
To enable audit logging through Admin Center
You can use the Security & Compliance Center to turn on audit log search in Microsoft 365. It may take several hours after you turn on audit log search before you can return results when you search the audit log. You must be assigned the Audit Logs role in Exchange Online to turn on audit log search.
- Navigate to
Portal.office.com, and navigate to the Admin center on the left side. - On the left side, click Show All.
- Click Compliance tab to open Microsoft Purview.
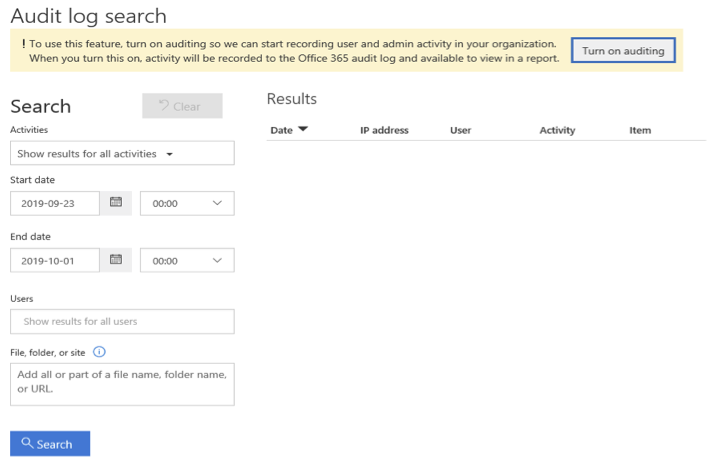
- In Microsoft Purview, select Audit.
A banner is displayed saying that auditing must be turned on to record user and admin activity. - Click Turn on auditing.
The banner is updated to say the audit log is being prepared and may take a few hours, before taking full effect. (This could result in this integration not working right away.)
To enable audit logging via Powershell
If you find any issues using the above instructions, you can also use Exchange Powershell to enable auditing for your tenant, .
- Connect to Exchange Online Powershell.
- Run the following Powershell command to turn on auditing.
Set-AdminAuditLogConfig -UnifiedAuditLogIngestionEnabled $true - A message displays, saying that it may take up to 60 minutes for the changes to take effect.
Configuring Microsoft 365
Log on to https://portal.office.com/adminportal
On the left side, click Show All and go to Admin Center > Entra ID.
- Under Favorites, click Entra ID, and under Manage Column, navigate to App Registrations.
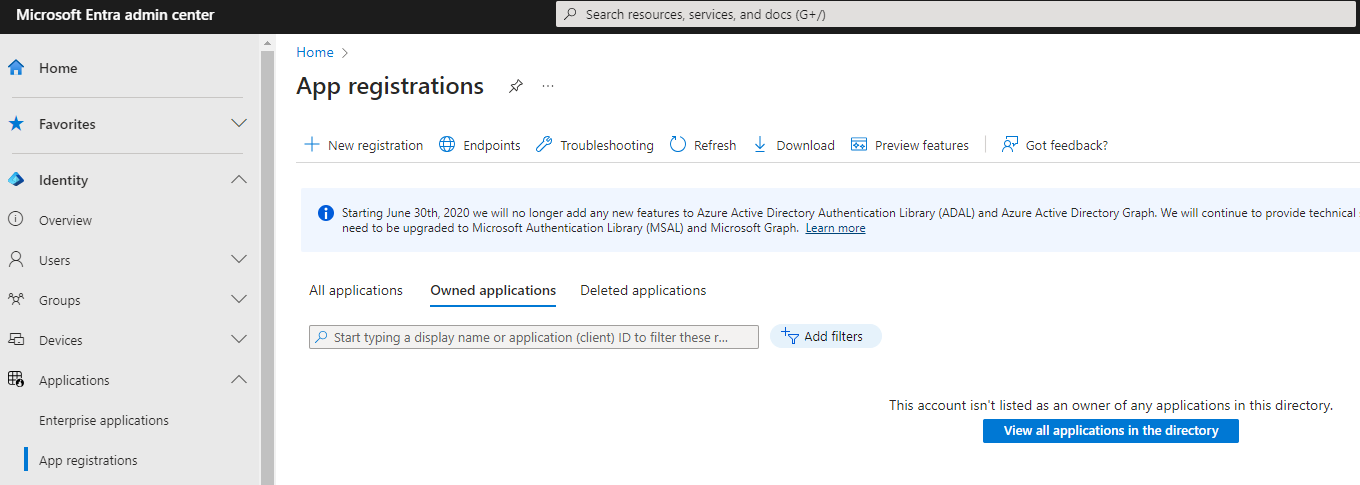
- Click New Registration.
- Fill in the Application Information::
In Name, enter
SKOUTCYBERSECURITY.Enable the Accounts in this organizational directory only (domain - Single Tenant) checkbox.
Redirect URL can be left blank.
You are redirected to another page. Copy the Application ID and Directory (tenant) ID, so you can input them into the Security dashboard once completed, or paste them in now without saving.
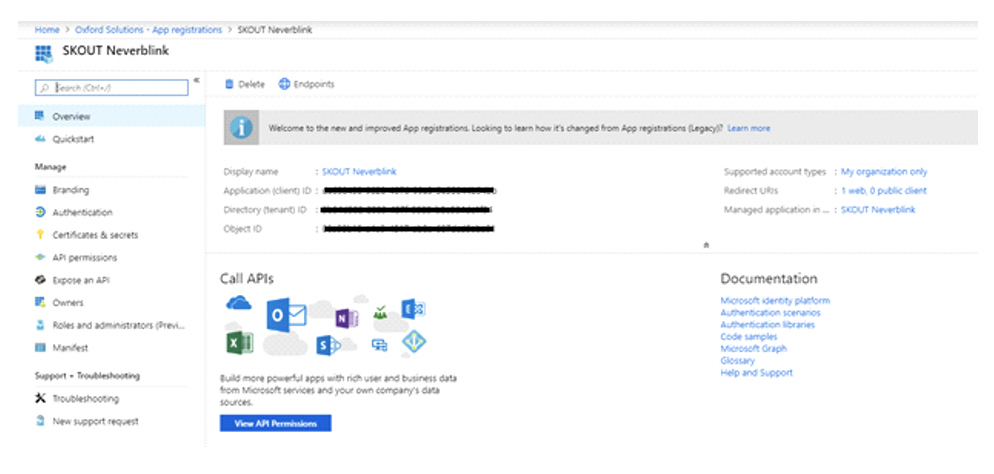
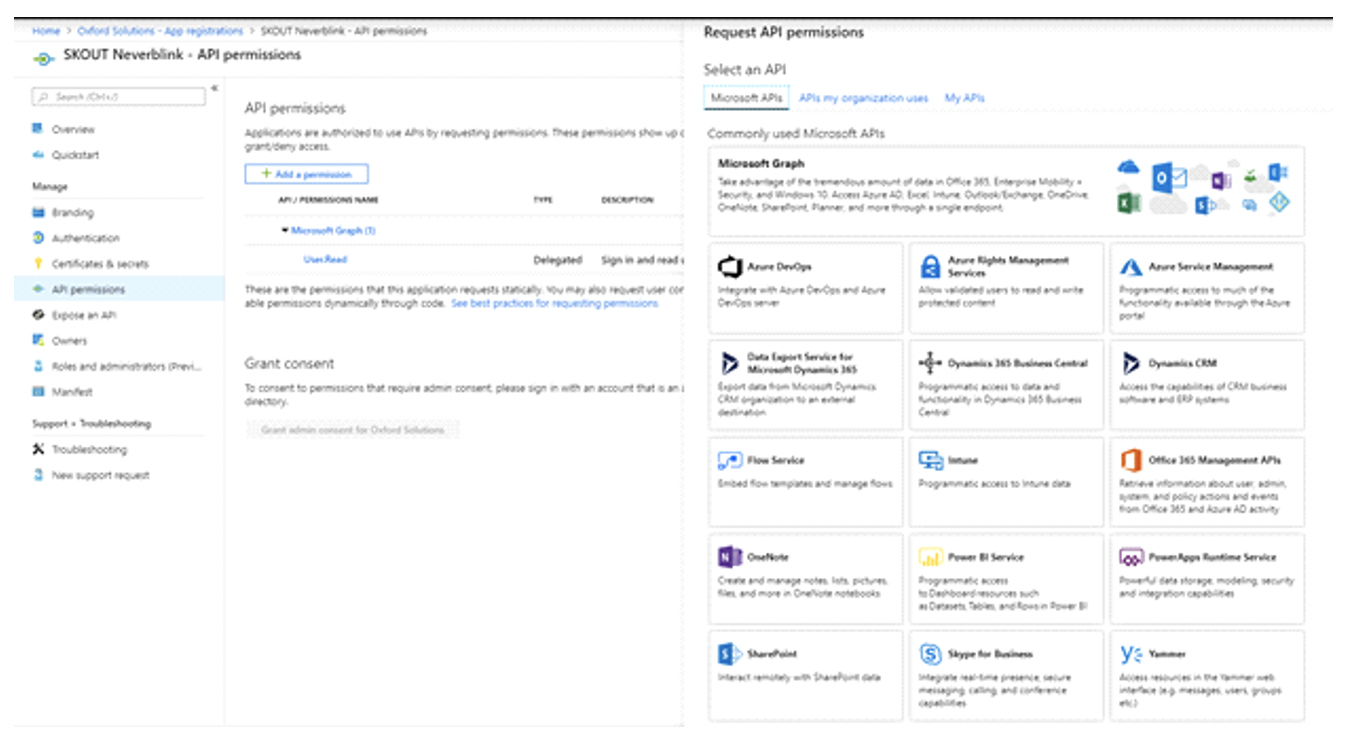
Under Manage on the left, click API Permissions > Add a permission.
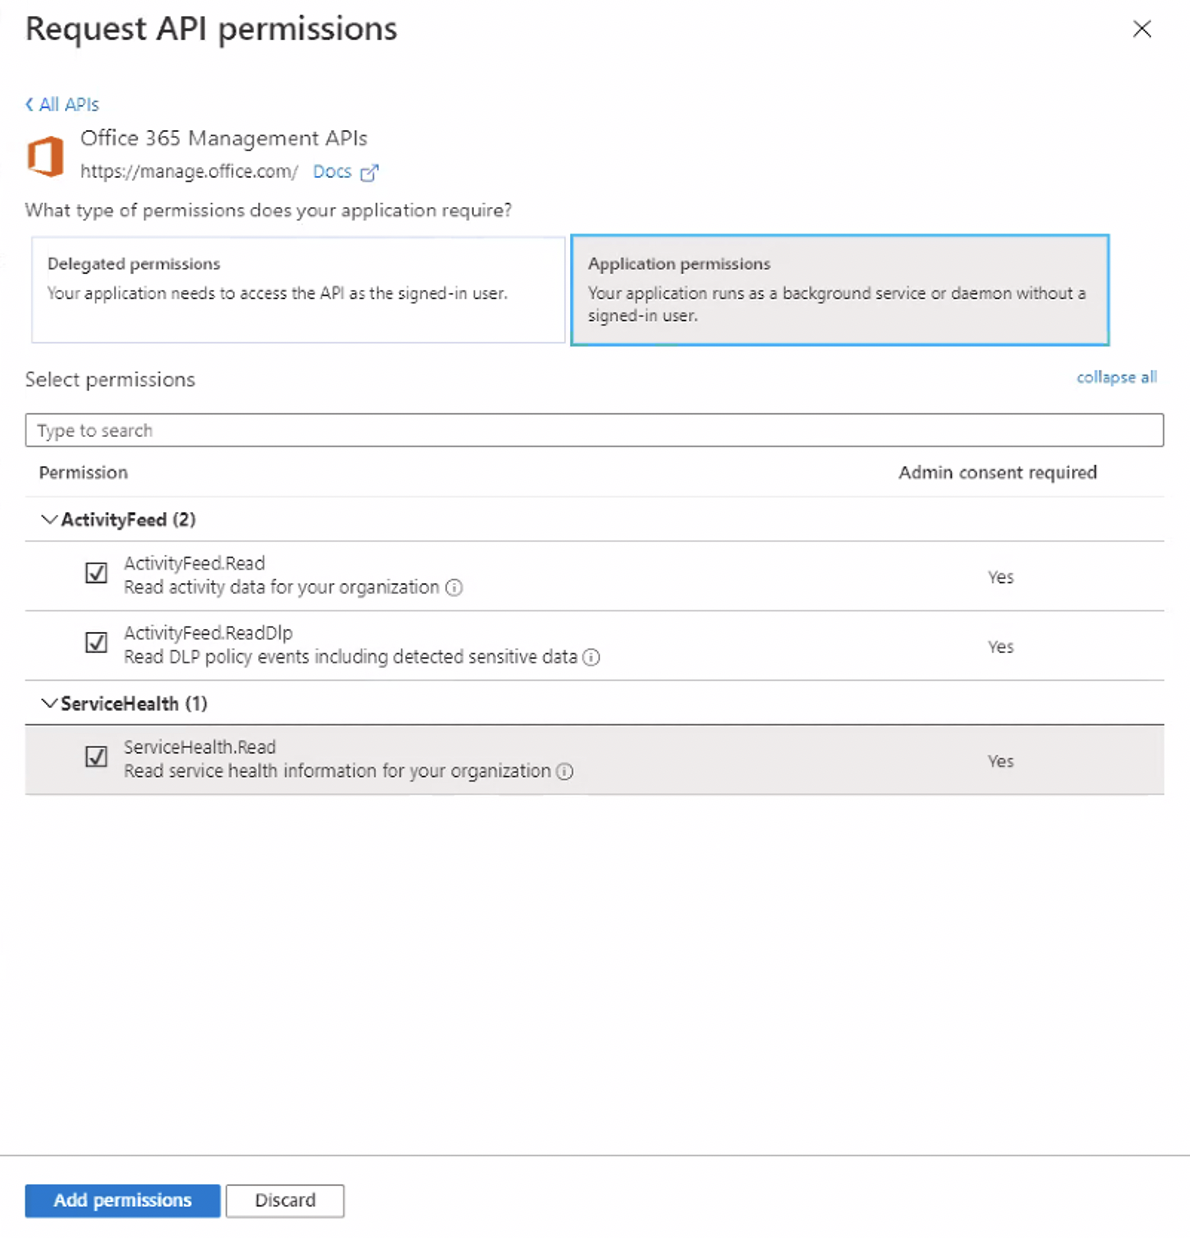
From the list, select Microsoft 365 Management API’s and open Application permissions.
From the list of Application Permissions, check all the options with Read privileges (those ending in .Read), then click Add Permissions.
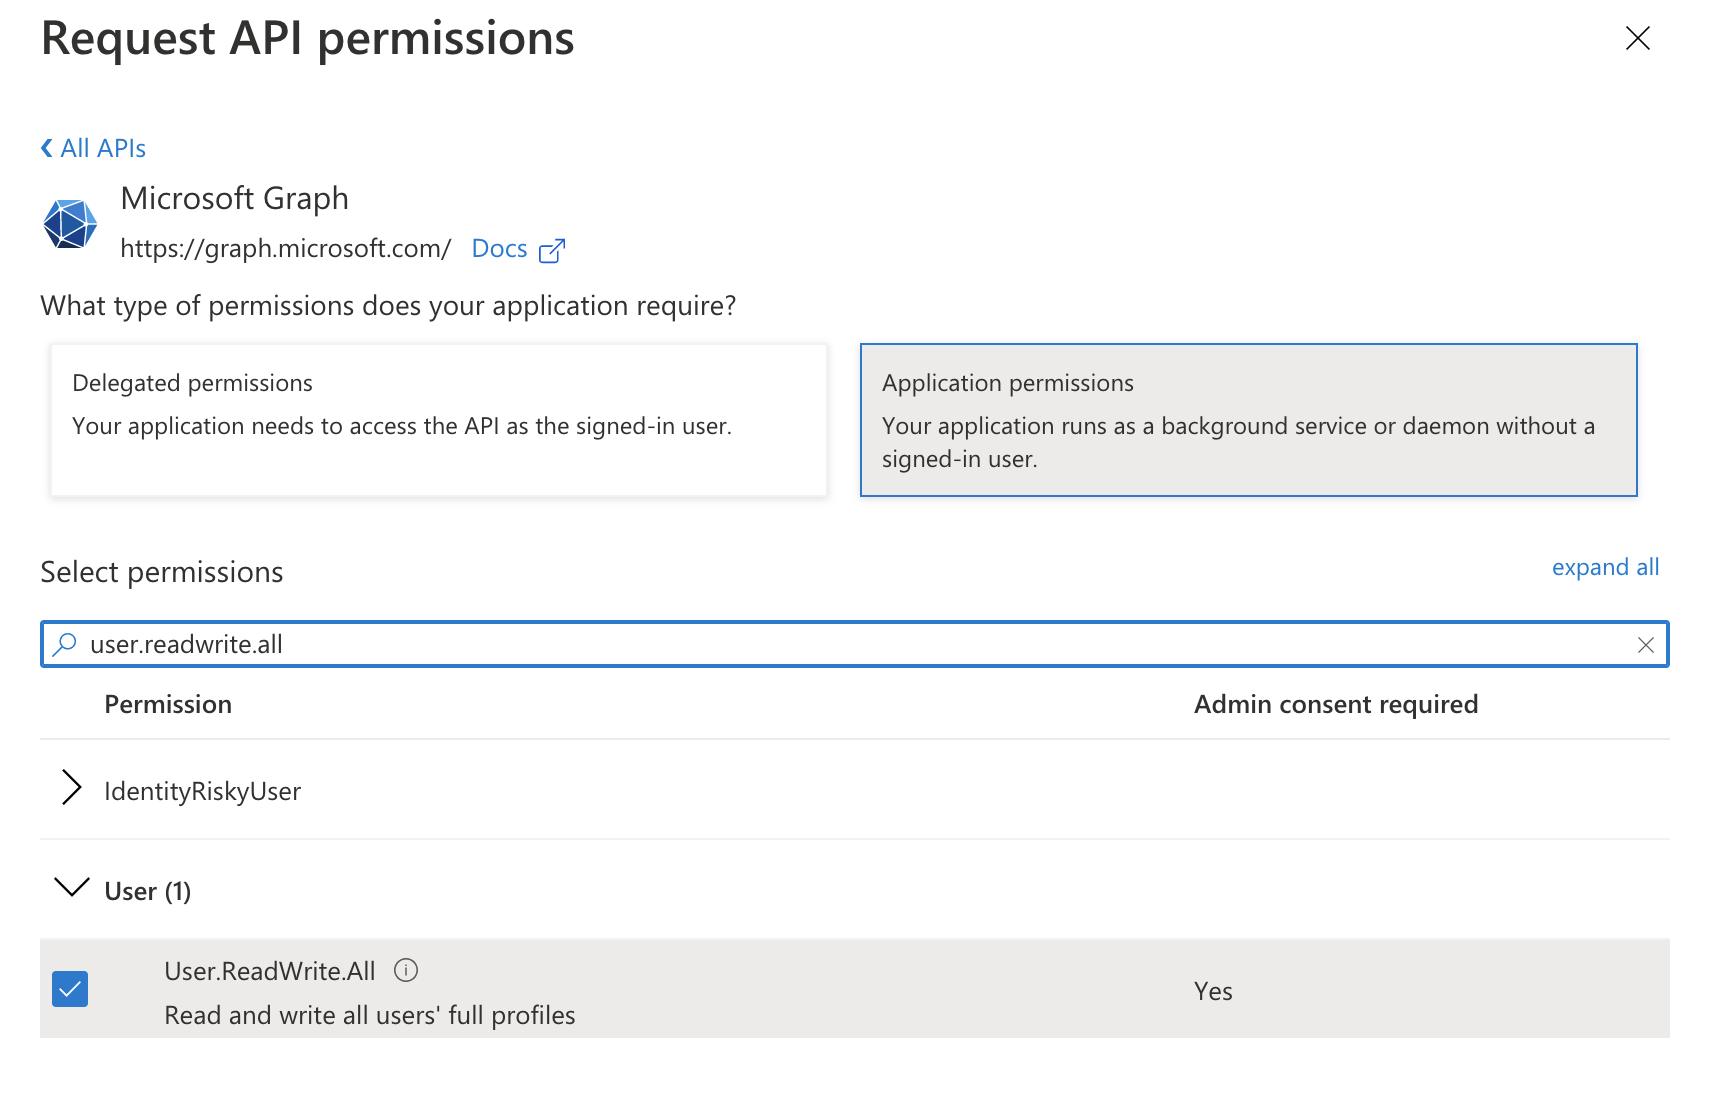
- Optionally, if you want to support remediation actions (disable user logins), add one more permission by doing the following.
- Click Add a permission again.
- Click Microsoft Graph.
- Select Application permissions (not delegated).
- Select User.ReadWrite.All.
- Click Add permissions to save the change.
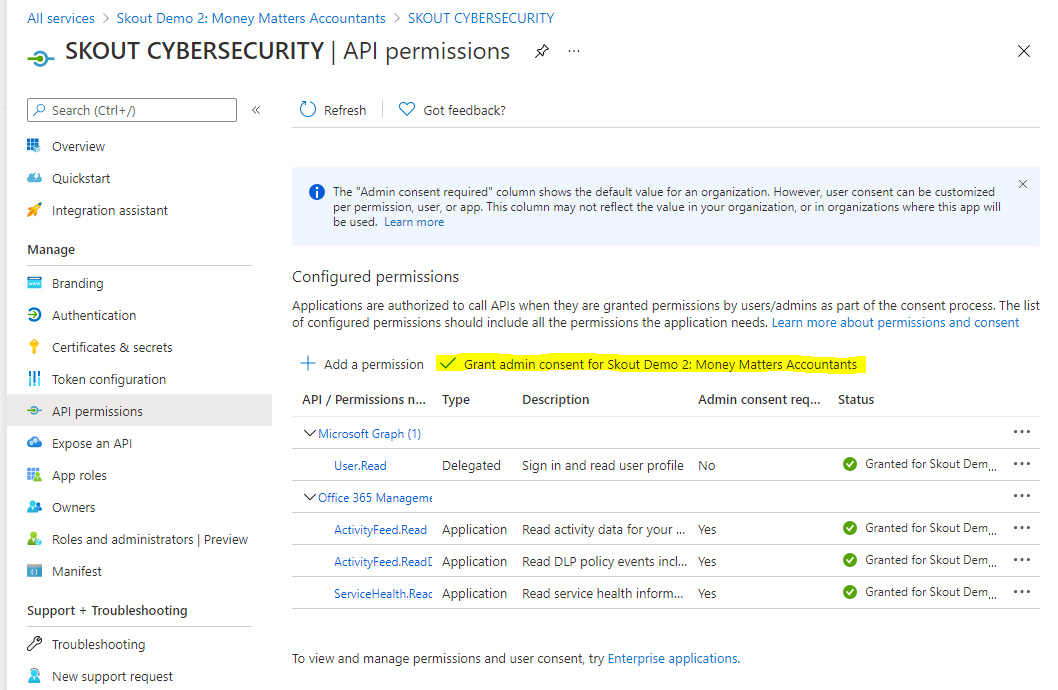
- If this is an update to a previously-configured app, make sure to click Grant admin consent after adding the new permission.
- You should now be back on the API permissions Overview page. Select Grant admin consent for Domain.
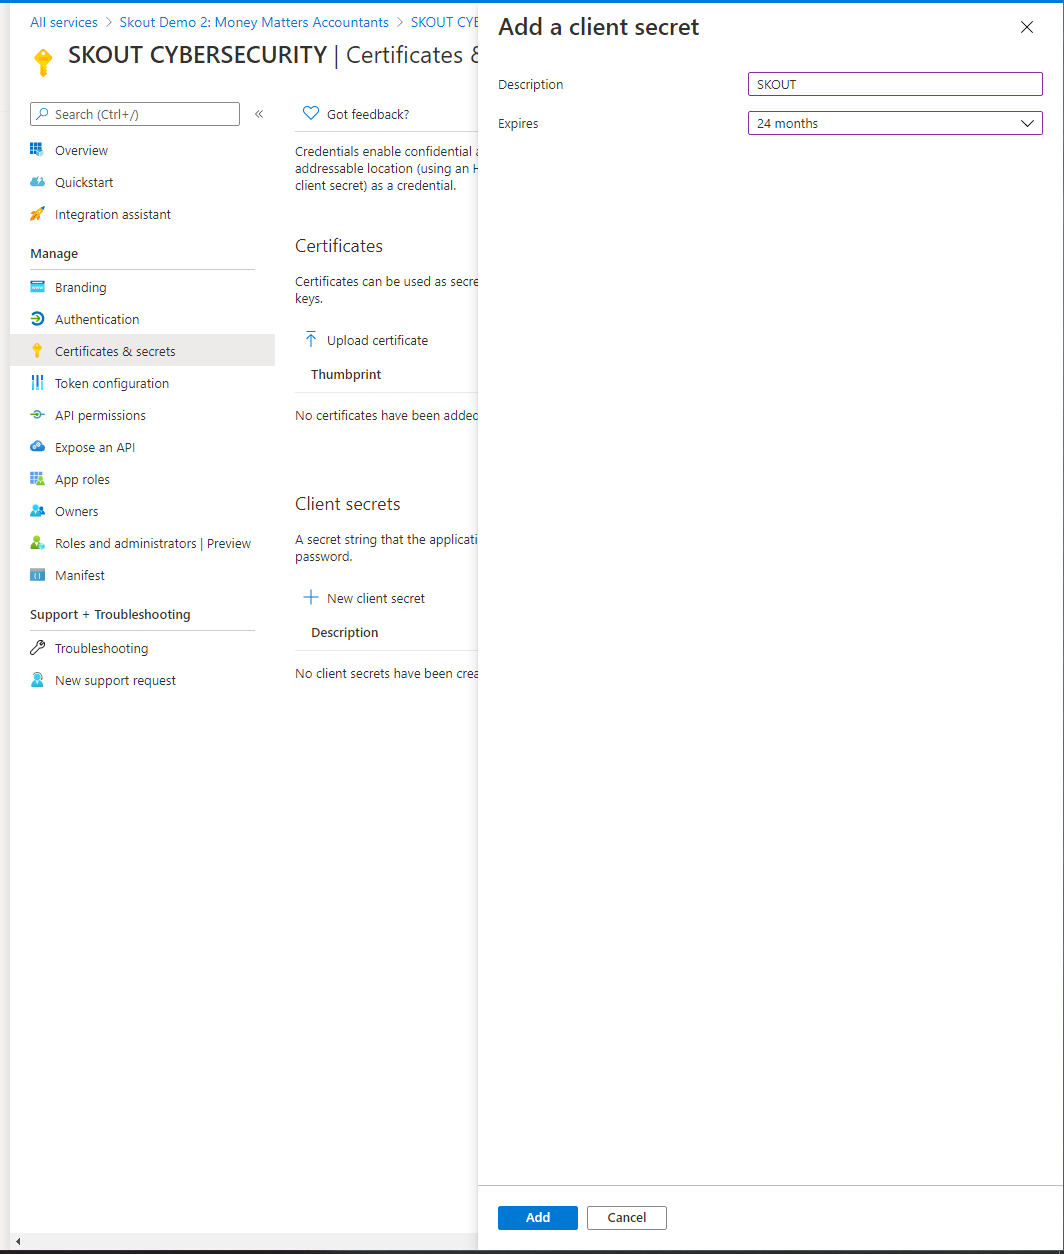
- Click Certificates & Secrets.
- Click New Client Secret.
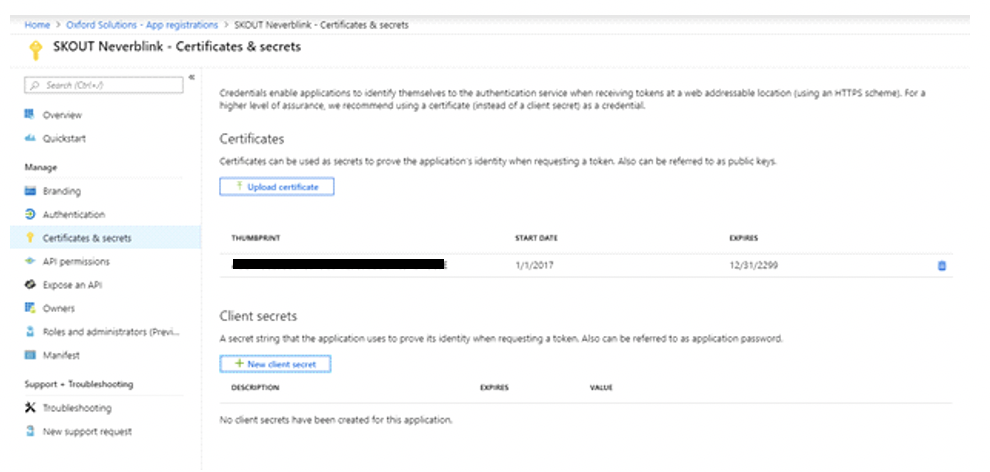
In Description, type
Barracuda XDR.In Expires, select 24 months, then click Add.
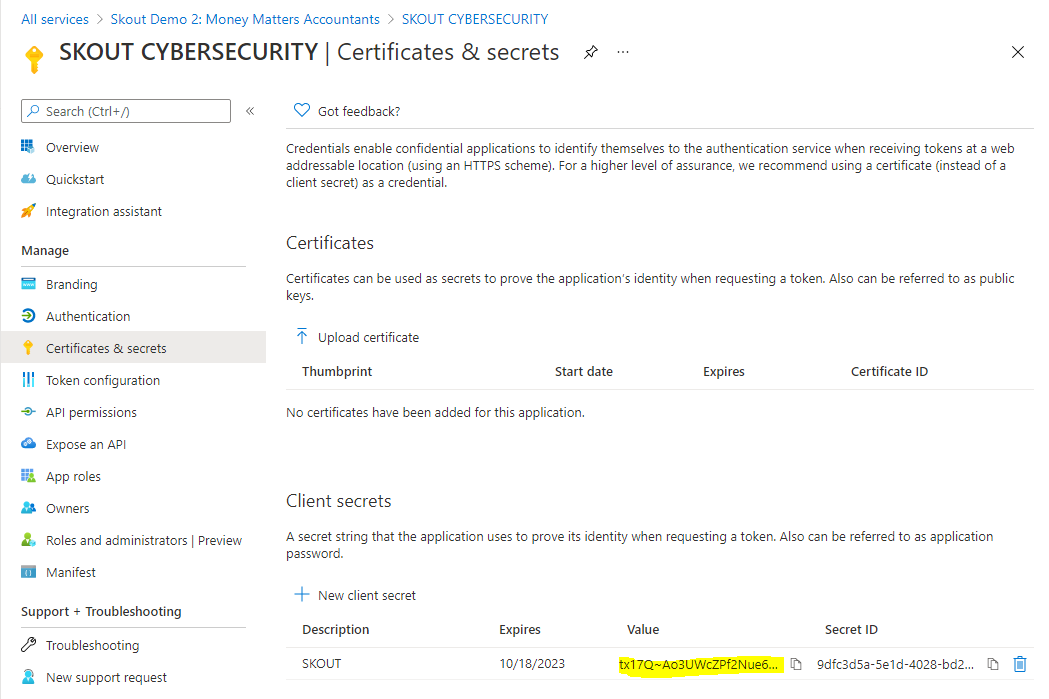
- Save the value to your notes. You'll need to paste it into the Barracuda XDR Dashboard setup screen.
To verify connection and permissions
- In Barracuda XDR Dashboard, click Administration > Integrations.
On the Microsoft 365 card, click Setup.
- Paste the application ID, directory ID, and secret value that you saved from the above steps.
Click the Test button to verify connection & permissions.
Click Save.