

If you are required to add or remove a network interface on the virtual firewall, the initial order of the interfaces might get disrupted. This happens because the assignment of interfaces to MAC addresses causes these interfaces to be sorted differently on the hypervisor.
In order not to lose the connection, both to the MIP and to all the other connected interfaces, a workaround is necessary that enables the virtual interfaces on the firewall to be reconnected to the appropriate ports of the virtual switch on the VMware hypervisor. The information for this can be obtained on the firewall. The changes must be done on the hypervisor.
Step 1. Check the Assignment of the Firewall's Interfaces to the Virtual MAC Addresses
Before making any changes to your network adapters, you must check the current assignment of the firewall's interfaces to the virtual MAC addresses.
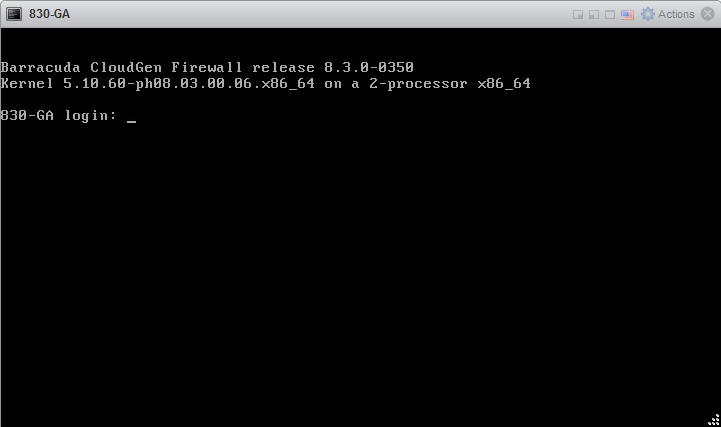
- Log into your virtual firewall with Firewall Admin.
- Go to SSH.
- Log into the terminal to get access to a shell.
- Enter the following string, and execute the related shell script to check the current assignment of the network interfaces:
/opt/phion/bin/listMacAddresses.shfollowed by pressing the Return key. - Your firewall should display something similar to this:
[root@your_VM:~]# /opt/phion/bin/listMacAddresses.sheth3 00:0c:29:3c:eb:25eth1 00:0c:29:3c:eb:11eth2 00:0c:29:3c:eb:1beth0 00:0c:29:3c:eb:2f At this point, let's assume that all interfaces are connected to different virtual switches on the hypervisor.
Interfaces MAC-Address Virtual Switch eth3 00:0c:29:3c:eb:25 4 eth1 00:0c:29:3c:eb:11 2 eth2 00:0c:29:3c:eb:1b 3 eth0 00:0c:29:3c:eb:2f 1 Write down your displayed assignment of the interfaces to the virtual MAC addresses.
Step 2. Add or Remove Network Adapters on Your Hypervisor to Match Your Requirements
- Log into your VMware hypervisor.
- In the list on the left side, click Virtual Machines.
- In the main view, enlarge the list of virtual devices and locate your firewall.
- Click the firewall in the list of the main view. This will transfer the entry of the firewall to the list on the left side.
- Click the firewall in the list on the left side. All details of the firewall will now be displayed in the main view on the right side.
- Click Actions in the main view on the right side.

- In the list, select Edit Settings.
- Option 1: Add a network adapter.
- To add a network adapter, click Add network adapter.
- In the line of the new adapter, select which virtual switch to connect the new adapter to.
- To activate the new adapter, select the check box Connect.
- To add another network adapter, repeat steps a-c.

- Option 2: Remove a network adapter.
- To remove a network adapter, click x at the end of the line of the related network adapter.

- To remove a network adapter, click x at the end of the line of the related network adapter.
- Click Save.
Step 3. Check the Assignment of Interfaces to MAC Addresses on Your Firewall
After having added or removed the required network adapters, you must check the assignment of the interfaces to their MAC addresses.
- Turn on your virtual firewall on your hypervisor.
- On your hypervisor, click Console to activate the console window.
- Wait until the console is set to receive commands via the keyboard.
- Log into your firewall via SSH.
- Enter the following string and execute the related shell script to check the current assignment of the network interfaces:
/opt/phion/bin/listMacAddresses.shfollowed by pressing the Return key.
Step 4. Compare the Output of the MAC Addresses in Your Terminal Window with the Output from Step 1
If the MAC addresses have been shifted after adding or removing a network adapter, you now must ensure that the interfaces on your firewall are connected to the appropriate virtual switch on your hypervisor. Otherwise, you may lose the connection to your firewall from Firewall Admin.
As part of this example, the following table displays the modified assignment of your interfaces to the MAC addresses and their connection to the virtual switch.
| Interfaces | MAC Addresses | Virtual Switch Allocation OLD | Virtual Switch Allocation NEW |
|---|---|---|---|
| eth3 | 00:0c:29:3c:eb:3a | 5 | 4 |
| eth1 | 00:0c:29:3c:eb:1b | 3 | 2 |
| eth2 | 00:0c:29:3c:eb:25 | 4 | 3 |
| eth0 | 00:0c:29:3c:eb:11 | 2 | 1 |
| eth4 | 00:0c:29:3c:eb:2f | 1 | 5 |
The column Virtual Switch Allocation NEW shows how the virtual network cabling must now be laid out on your virtual switch.
Step 5. Verify that Your Firewall is Reachable on Its Management IP Address
- Log into a PC and open a terminal window.
- Send some ping packets to your firewall by entering
ping <firewall's MIP>followed by pressing the Enter key. - If error messages like
"host not reachable"are displayed in the terminal window, you must recheck the connections from your firewall to the virtual switch.
If no errors are reported in the terminal window, you can now connect to your firewall via Firewall Admin.