Barracuda XDR can monitor your AWS.
- Log in to the AWS Management Console.
Navigate to AWS KMS service to create the encryption key for GuardDuty to write findings to AWS S3
In Customer Managed Key, create a new key named "guardduty-findings".
- Key type: Symmetric; Alias: "guardduty-findings"
Select "AWSServiceRoleForAmazonGuardDuty" for key administrator and key usage permissions
On the final page where it shows the Key policy, add the below policy to the array (based on documentation from https://docs.aws.amazon.com/guardduty/latest/ug/guardduty_exportfindings.html):
{"Principal": {
"Sid":
"AllowGuardDutyKey", "Effect": "Allow",
"Service": "guardduty.us-east-1.amazonaws.com"
},
"Action": "kms:GenerateDataKey",
"Resource": "arn:aws:kms:us-east-1:<ACCOUNT_NUMBER>:key/<KEY_ID>",
"Condition": {
"StringEquals": {
"aws:SourceAccount": "<ACCOUNT_NUMBER>",
"aws:SourceArn": "arn:aws:guardduty:us-east-1:<ACCOUNT_NUMBER>:detector/<GUARDDUTY_DETECTOR_ID>"
}
}
}
Navigate to AWS GuardDuty and configure it to send findings to an S3 bucket using the Configure now button.

- Select New bucket.
- Type a unique bucket name.
- Select the KMS key created above.
- Click Save.
From this moment, any AWS GuardDuty finding will also be written to S3.
A new bucket is created after the click of the save button.
Before checking out on the S3 bucket, create the SQS queue that you need to send notifications to
Navigate to AWS SQS service.
- Create a new queue of named "guardduty-findings".
- Leave the default configurations and Save.
- Make sure the access policy (permissions has S3 in it) is like below
 {
 "Version": "2008-10-17",
 "Id": "__default_policy_ID",
 "Statement": [
 {
 "Sid": "__owner_statement",
 "Effect": "Allow",
 "Principal": {
 "Service": "s3.amazonaws.com"
 },
 "Action": "SQS:*",
 "Resource": "arn:aws:sqs:us-east-1:<AWS_ACCOUNT_NUMBER>:guardduty-findings"
 }
 ]
 }
Navigate to AWS S3 and click the bucket that was just created from GuardDuty.
- Click the Properties tab
- Create a new event notification and name the event notification guardduty-findings.
- Enable the All object create events checkbox. Ensure all others are cleared.
- In the Destinations section, select SQS.
- Select the SQS you created in previous steps called guardduty-findings and click Save Changes.
From this point, all Guardduty events created in the S3 bucket are also notified in SQS queue.
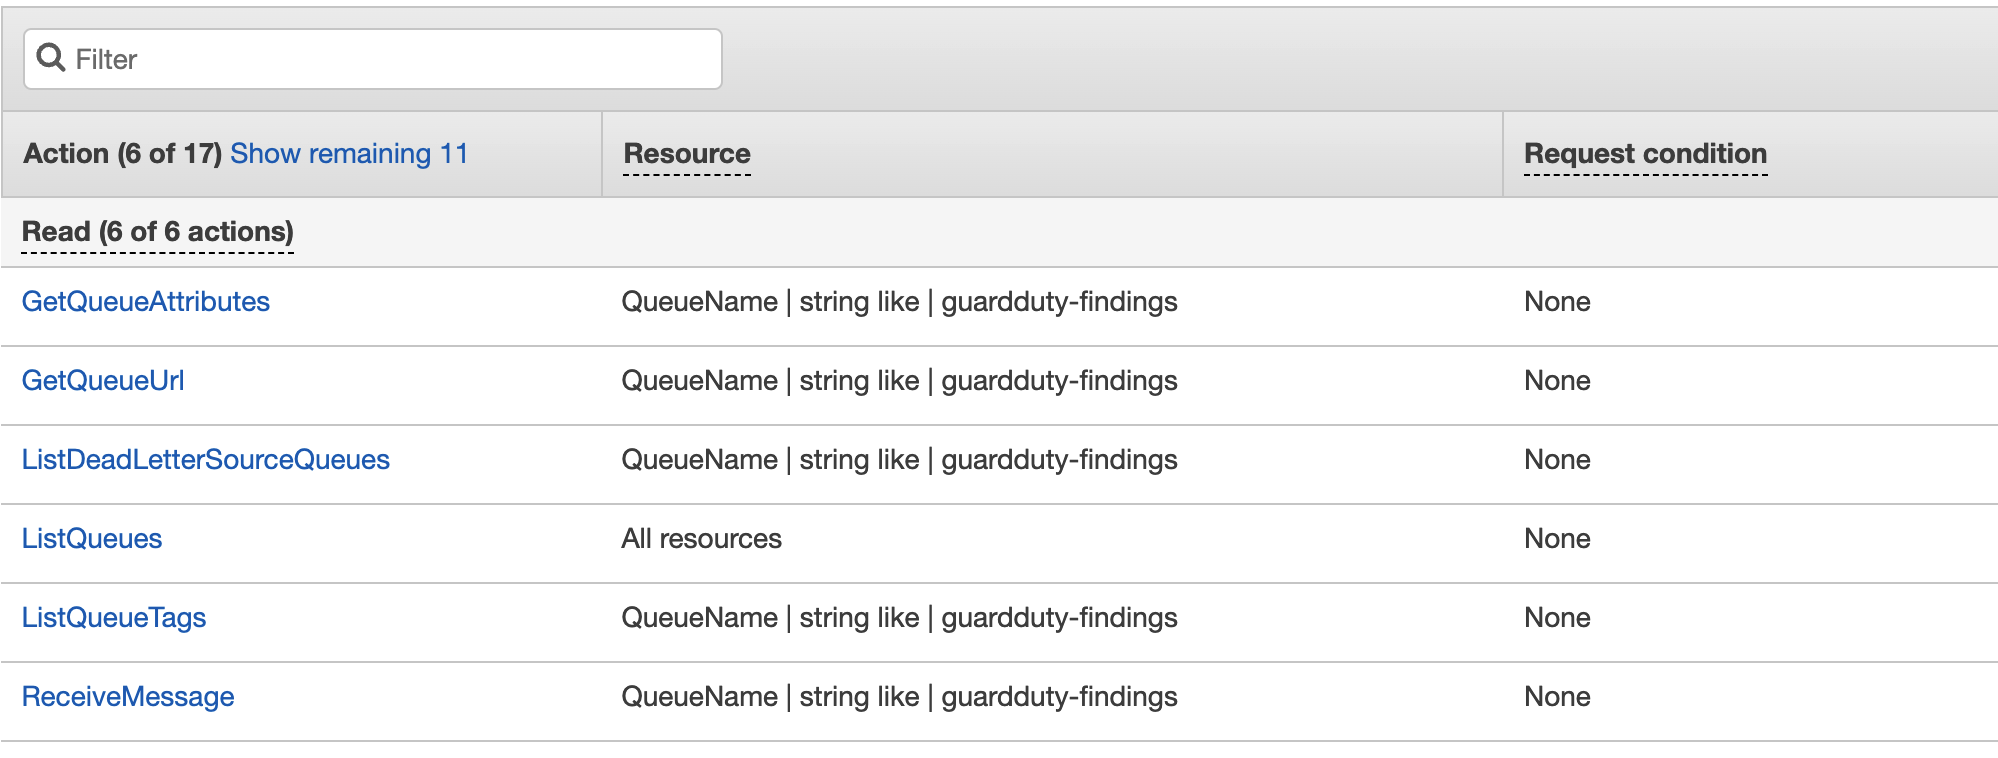
Navigate to IAM.
Create a new user with the policy that can read the SQS queue and receive messages.