

You can filter the Email Security page to concentrate on the email threats you most want to see. You can filter out the data you don't want to see to more easily find the data you're interested in.
Multiple filters can be active at any time.
Filters are active until you remove them, even if you navigate to another page. When you return to the dashboard, the filter will still be in place.
The difference between filters and quick filters
You can create filters two ways, by:
- Adding a filter
- Creating a quick filter
Adding a filter lets you select a wider variety of subjects to filter on, including account, date range, IP address, impact, keyword, message id, sender, subject, threat level, and threat type. Adding a filter also lets you create exclusion filters. For more information, see the Exclusion filter section below.
Creating a quick filter is faster, but has fewer options. To create a quick filter, simply click on an element you see on the page in the following areas:
- Analysis Results
- Top Threat Targets
- Threat Types
- Analysis Results
You can use a combination of filters and quick filters.
Exclusion filters
You can also create filters that exclude the values that you choose, so everything is displayed except for the chosen values. For example, if you select a date range of one month and then negate that condition so that all data from earlier than one month are displayed.
Filter operators
When you add filters, you have the choice to use an And or Or operator. The operator is applied to all the filters you add.
| Operator | Definition |
|---|---|
| And | Data has to fulfill all filters to be displayed. |
| Or | Data only has to fulfill one filter to be displayed. |
To create and apply a Email Security page filter
- In Barracuda XDR Dashboard, click Intelligence > Email Security.
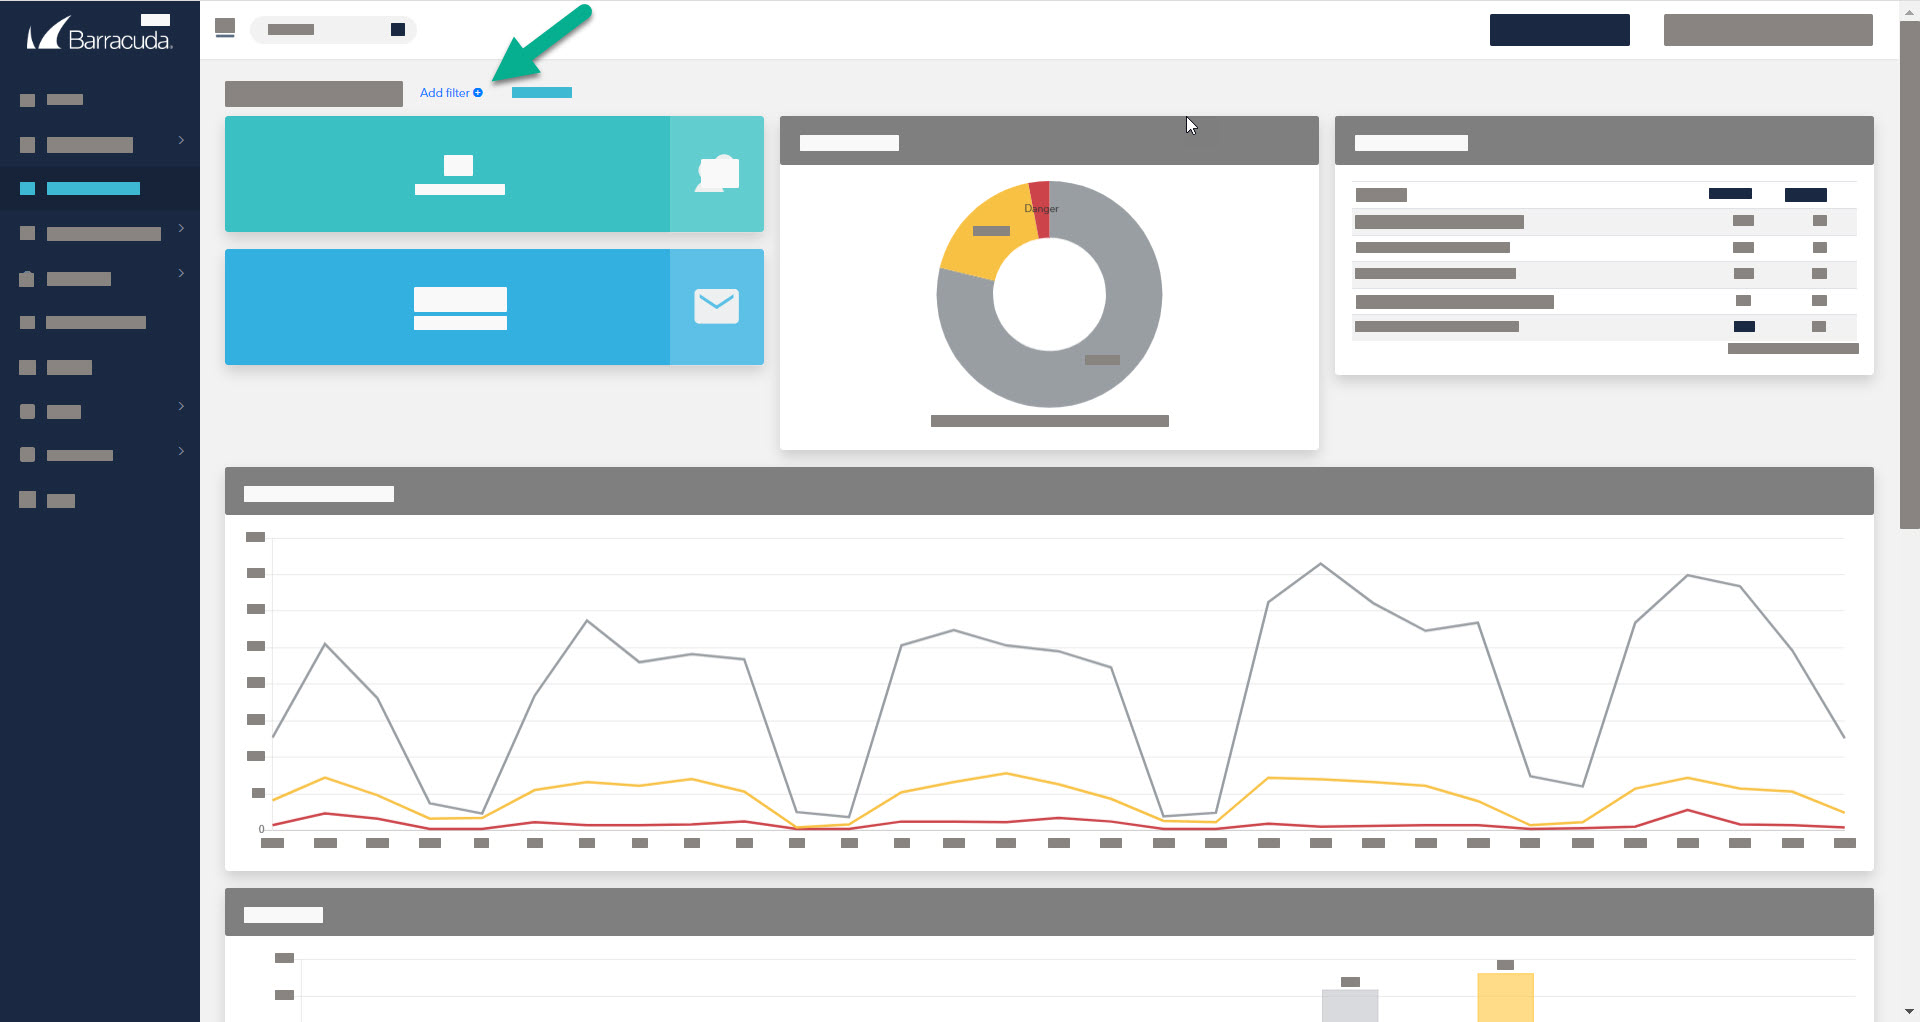
- Click Add Filter.
- In Field, select an option.
- In Value, select an option.
- Optionally, if you want to exclude the values you chose in the Field and Value fields, enable the Negate this condition check box.
- Click Apply Changes.
- Repeat steps 2-6 until you have added all the filters you want.
- Optionally, in the Filters area, click one of the following filter operators:
- And
- Or
To create a quick filter
- In the Barracuda XDR Dashboard, click Intelligence > Email Security.
- Click a row in one of the following:
- Analysis Results
- Top Threat Targets
- Threat Types
- Analysis Results
To edit a filter
- In the Barracuda XDR Dashboard, click Intelligence > Email Security.
- Click the filter you want to edit.
- In Field, select an option.
- In Value, select an option.
- Optionally, if you want to exclude the values you chose in the Field and Value fields, enable the Negate this condition check box.
- Click Apply Changes.
To remove filter
- In the Barracuda XDR Dashboard, click Intelligence > Email Security.
- Click the filter you want to remove.
- Click Remove.
To remove all filters
This procedure does not remove the default Date Range: 1 Month filter. To remove this filter, follow the To remove filter procedure above.
- In the Barracuda XDR Dashboard, click Intelligence > Email Security.
- Click Clear All.