For instances in a private subnet to send traffic through the network interface of the firewall in this subnet, you must create an AWS route table for each private subnet. Add a default route using the elastic network interface as the target device. Traffic leaving the VPC is now sent via the network interface of the firewall in the same subnet. However, internal VPC traffic is not sent through the firewall. For more information, see Segmentation Firewall for Single AZ VPCs.
AWS Reference Architectures
This article is used in the following AWS reference architectures:
Before You Begin
- Deploy a firewall instance in the public subnet of the VPC.
- The public and private subnets must be in the same Availability Zone.
- Add a network interface in the private subnet to the firewall instance. For more information, see How to Add AWS Elastic Network Interfaces to a Firewall Instance.
Step 1. Create an AWS Route Table
Create an AWS route table for each private subnet.
- Log into the AWS console.
- Click Services and select VPC.
- In the Virtual private cloud section of the left menu, click Route tables.
- Click Create route table.

- The Create route table window opens. Configure the route table:
- Name tag – Enter the name for the route table.
- VPC – Select the VPC from the list.
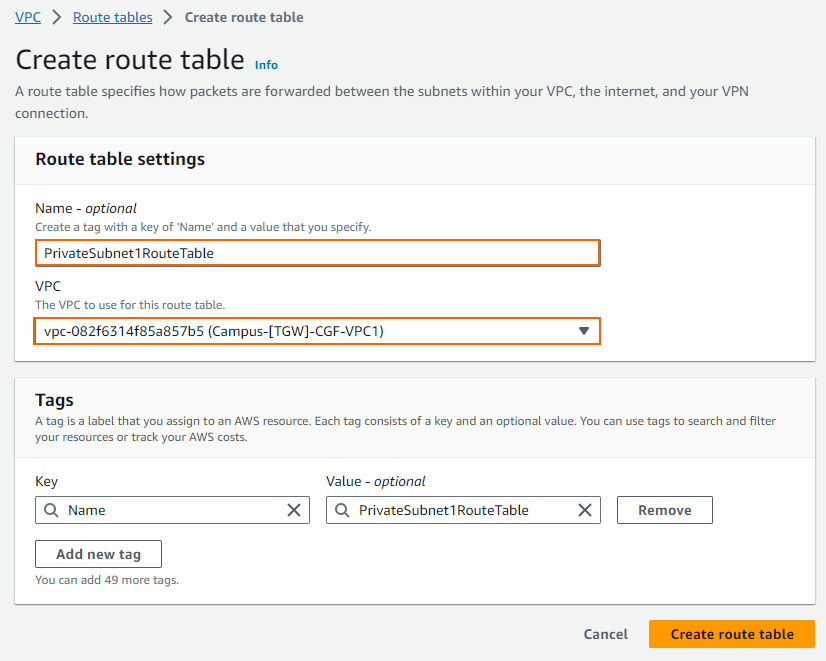
- Click Create route table.
Step 2. Associate the Private Subnet with the Route Table
If the subnet is not explicitly associated with a route table, the main route table for the VPC is used.
- Log into the AWS console.
- Click Services and select VPC.
- In the Virtual Private Cloud section of the left menu, click Route Tables.
- Select the route table created in step 1.
- In the lower half of the screen, click on the Subnet associations tab.
- Click Edit subnet associations.
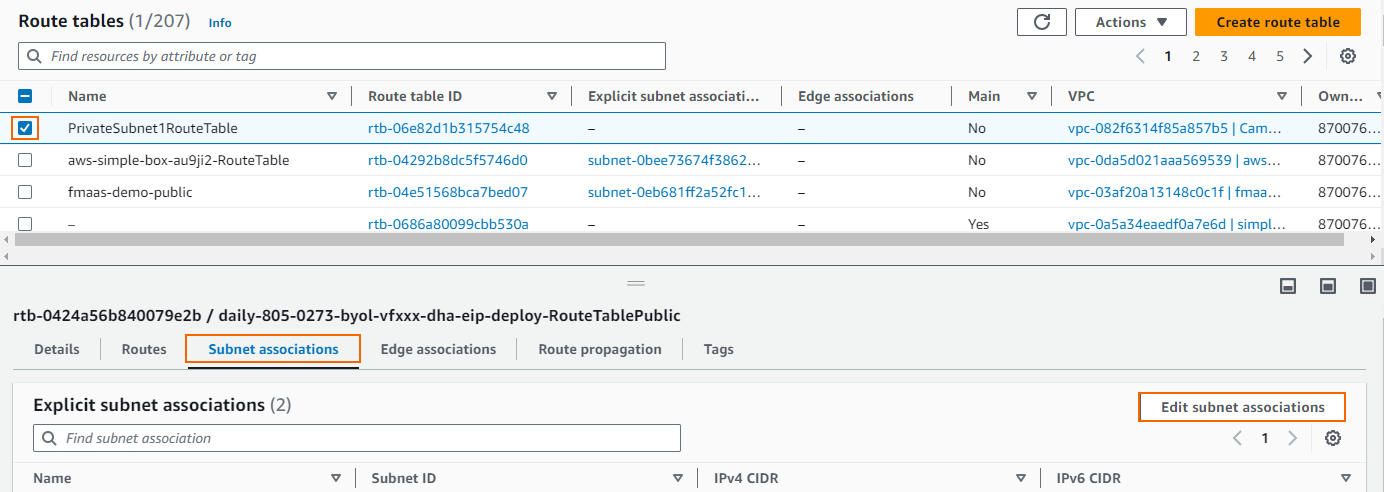
- Select the subnet you want to associate with this route table.

- Click Save associations.
The private subnet is now associated with the route table.
Step 2. Add a Default Route with the Network Interface of the Firewall as the Target
Locate the elastic network interface identifier (eni-12345678) for the network interface in this subnet.
- Log into the AWS console.
- Click Services and select EC2.
- In the Instances section of the left menu, click Instances.
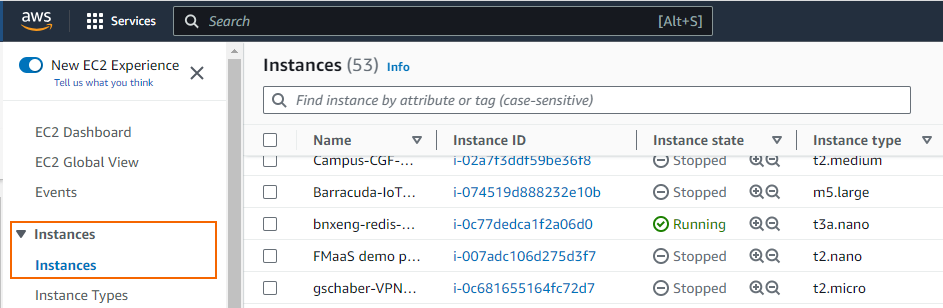
- Select the firewall instance.
- Click the Networking tab for the firewall instance.
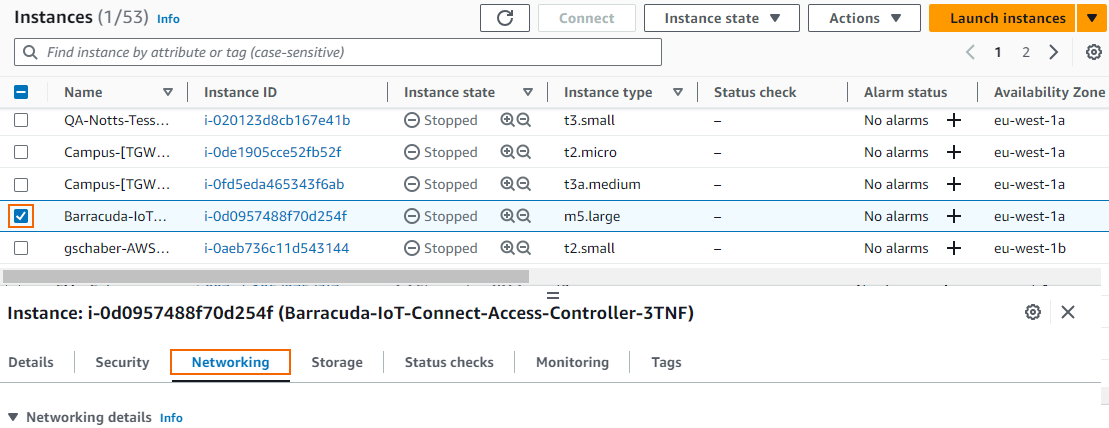
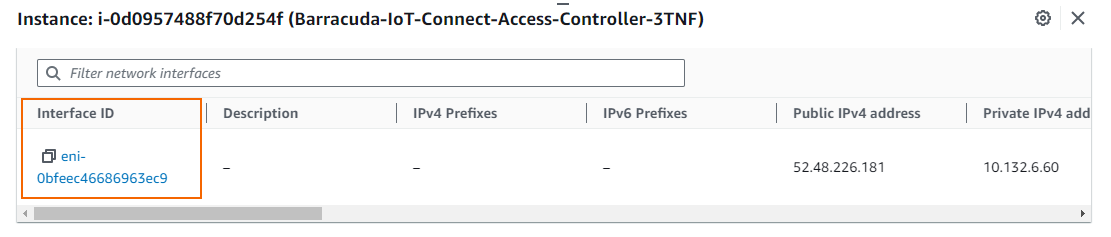
- Locate the Interface ID and copy the entry.
- In the AWS console, click Services and select VPC.
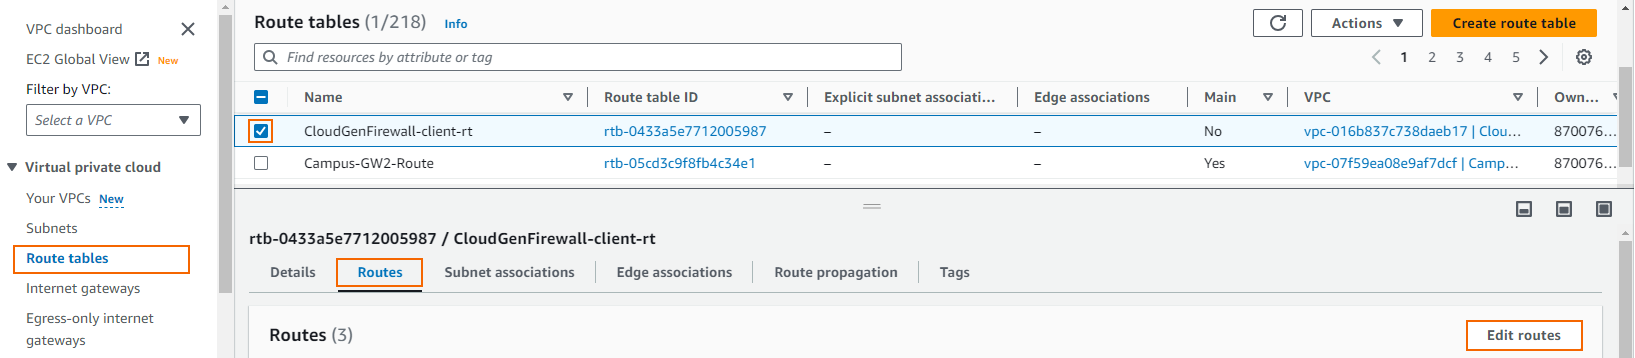
- In the Virtual Private Cloud section of the left menu, click Route tables.
- Select the route table created in step 1.
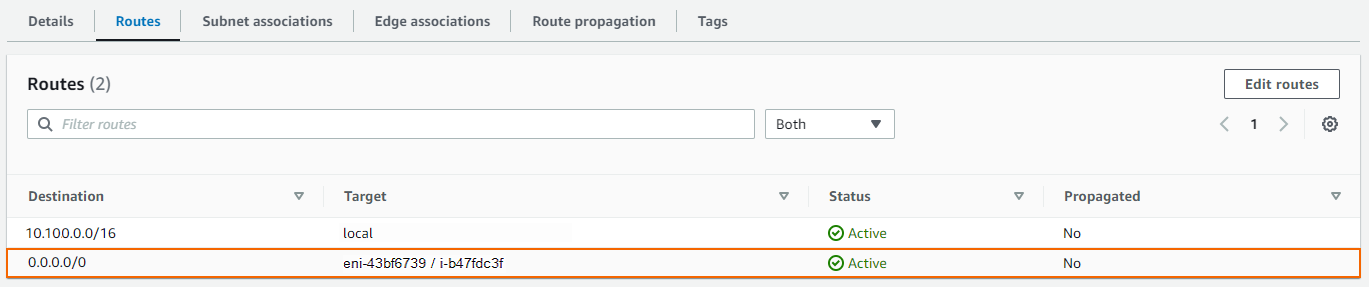
- In the lower half of the screen, click on the Routes tab.
- Click Edit routes.
- The Edit routes window opens. Click Add route.
- Configure the route:
- Destination – Enter
0.0.0.0/0. - Target – Enter the ID for the firewall network interface located in this subnet.
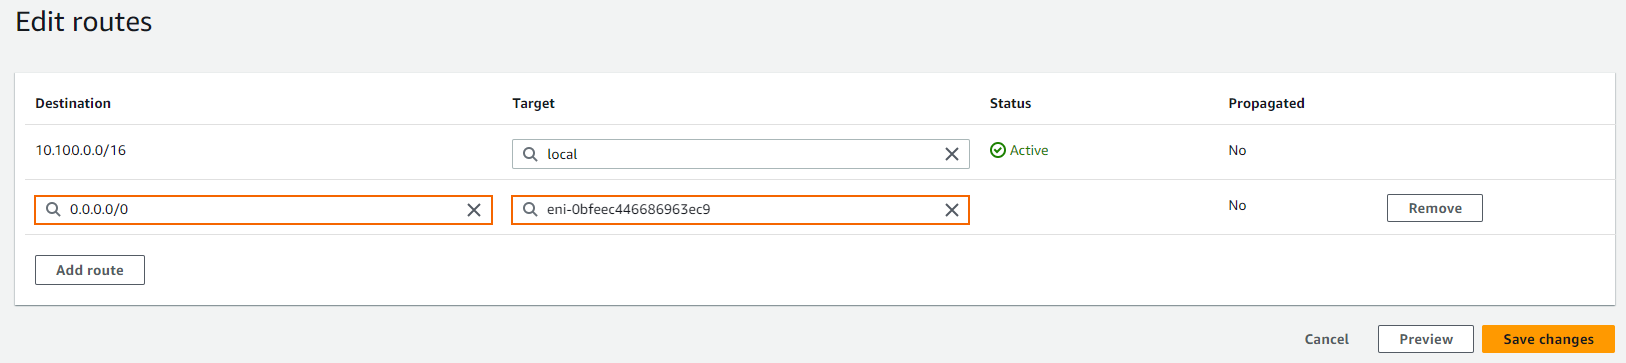
- Destination – Enter
- Click Save changes.
All traffic leaving the VPC from the associated subnet is now sent through the firewall. The status of the route must be Active.