

In some cases, you may need multiple IP addresses on a single network interface, for example to host multiple services running on the same port behind the firewall. For each private IP address on the instance, an Elastic IP address is associated. The maximum number of private IP addresses depends on the instance type.
Before You Begin
- Deploy a firewall instance in AWS. For more information, see Amazon AWS Deployment.
Step 1. Add Private IP Addresses to the Network Interface
Depending on the instance type, you can add multiple additional private IP addresses to the network interface.
- Log into the AWS console.
- Click Services and select EC2.
- In the Instances section of the left menu, click Instances.
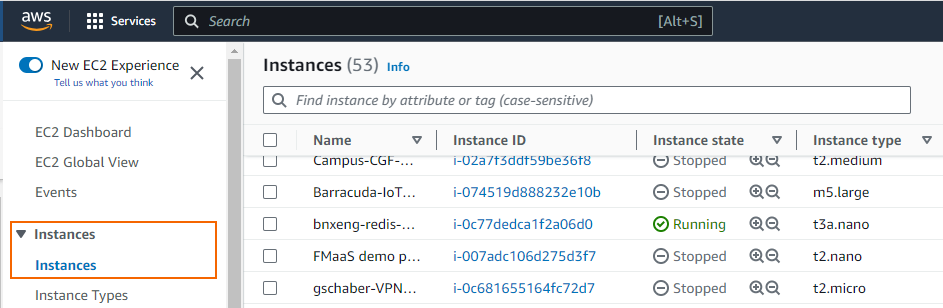
- Select the firewall instance.
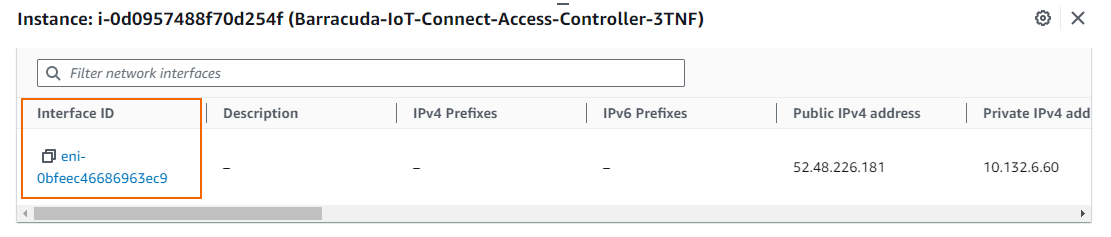
- Click the Networking tab for the firewall instance.

- Locate the Interface ID and click on the entry.
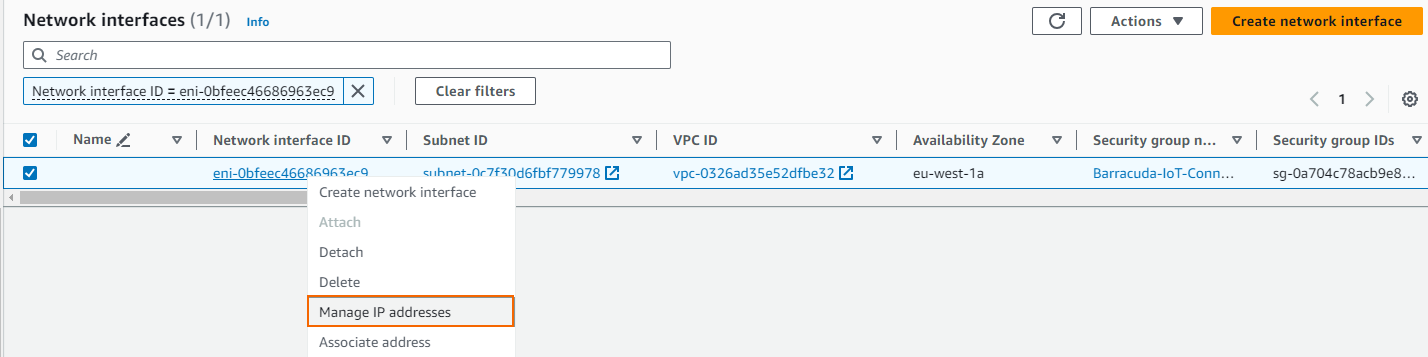
- The filtered list of network interfaces is displayed. Right-click the network interface and select Manage IP addresses.
- Click Assign new IP
- (optional) Enter a unique Private IP. Leave empty for a free IP address in the subnet to be automatically assigned.
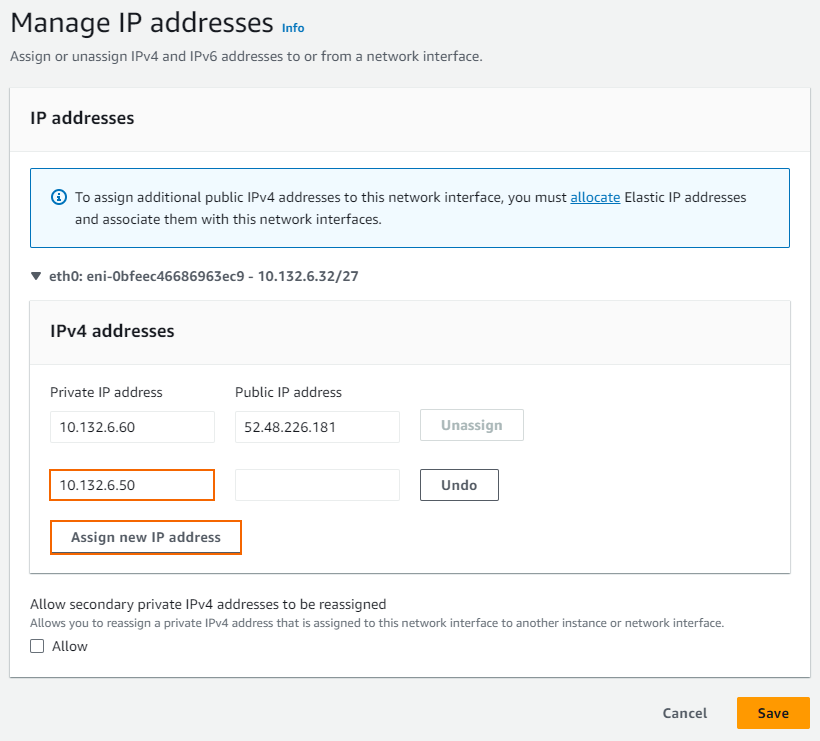
- Click Save.
Step 2. Create and Associate Elastic IP Addresses with the Private IPs
- Log into the AWS console.
- Click Services and select EC2.
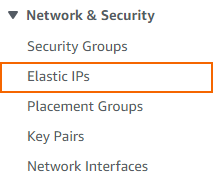
- In the Network & Security section of the left menu, click Elastic IPs.
- Click Allocate Elastic IP address.

- Click Allocate.
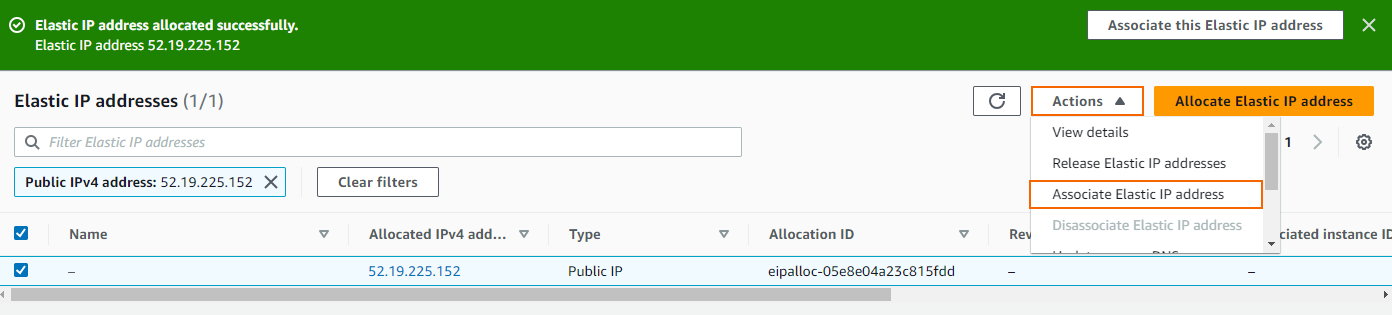
- The Elastic IP addresses window opens. Select the new elastic IP address.
- Expand the Actions menu and select Associate Elastic IP address.
- Select the instance and private IP address:
- Resource Type – Select Instance.
Instance – Select the firewall instance from the list
Private IP address – Select the secondary IP address added in Step 1 from the list.
- (optional) Reassociation – Select the check box if the Elastic IP Address is already associated with another instance.

- Click Associate.
Step 3. Add the Additional IP Address as Shared IPs
Add the custom private IP addresses of both firewalls for the additional network interfaces to the shared IP addresses. If multiple IP addresses are used in a High Availability cluster, you must add both the private IP addresses from the primary and the secondary firewall as a shared IP address.
- Log into the firewall
- Go to CONFIGURATION > Configuration Tree > Box > Network.
- Click Lock.
- In the left menu, click IP Configuration.
- In the Shared Networks and IPs section, double-click on the corresponding entry.
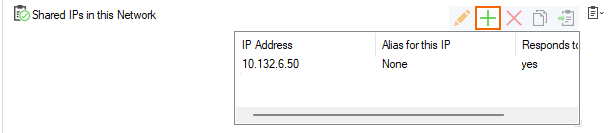
- In the Shared IPs in this Network section, click + to add the additional private IP addresses.
- Click Send Changes and Activate.
- Go to CONTROL > Box.
- In the Network section of the left menu, click Activate new network configuration. The Network Activation window opens.
- Click Failsafe.
The firewall instance is now reachable through multiple public IP addresses.
Next Steps
Adapt access rules to use the additional private IP addresses.