

Azure Route Tables, or User Defined Routing, allow you to create network routes so that your CloudGen Firewall VM can handle the traffic both between your subnets and to the Internet. For the network interfaces to be allowed to receive and forward traffic, IP forwarding must be enabled. When different route types are present in a UDR route table, user defined routes are preferred over the default system routes. When multiple routes match the destination, the more specific route is used. The default system routes always present in an Azure route table allow the following:
- Traffic within the virtual network
- Traffic to the Internet
- Traffic between different virtual networks using the Azure VPN Gateway
- Traffic from the virtual network to networks connected via the Azure VPN Gateway
Limitations
- Multiple network interfaces in one subnet are not supported for stand-alone firewall VMs.
Before You Begin
- Deploy a Barracuda CloudGen Firewall F. For more information, see Microsoft Azure Deployment.
Step 1. Create an Azure Route Table
Create a route table in the networking resource group.
- Log in to the Azure Portal: https://portal.azure.com.
- Click + Create a resource.
- Enter
route tablein the search box and press Enter. - Select Route table.
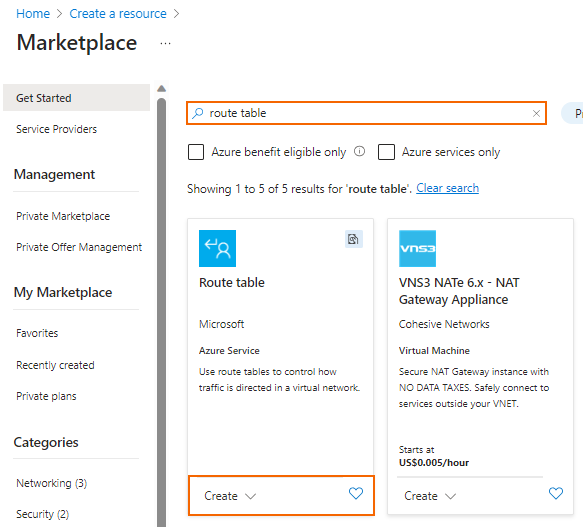
- Click Create.
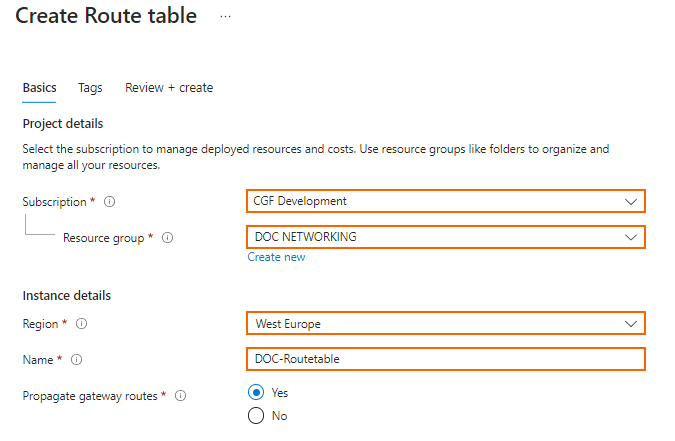
- In the Route table window, specify the following settings:
- Subscription – Select the Azure Subscription.
- Resource Group – Select an already existing resource group, or click create new an enter a unique resource group name to create a new resource group.
- Region – Select the Azure datacenter where you want to deploy your VM. The route table must be in the same location as the virtual network and the VMs.
- Name – Enter the route table name.
- Click Review + create.
- Review your settings and click Create.
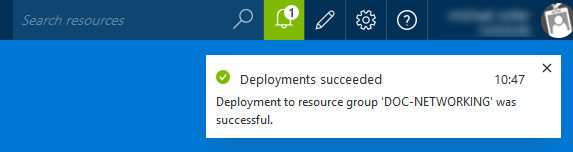
Wait for the route table deployment to finish.
Step 2. Add Routes
Create user defined routes to use your firewall VM as a gateway. If you want traffic between two subnets to pass through the firewall VM, you must also create routes to each subnet using the firewall VM as the gateway.
- Log in to the Azure Portal: https://portal.azure.com.
- Open the route table created in step 1.
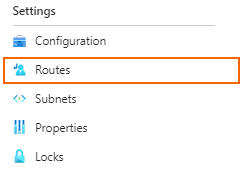
- In the Settings column, click Routes.
- In the Routes window, click + Add.
- In the Add route column, enter:
- Route name – Enter a unique route name.
- Destination type – Select IP Address. Enter the destination IP address range in CIDR. Use
0.0.0.0/0to create a default route. - Next hop type – Select Virtual appliance.
- Next hop address – Enter the private IP address of the CloudGen Firewall VM. If you are using an HA cluster, enter the IP address of the active firewall VM.
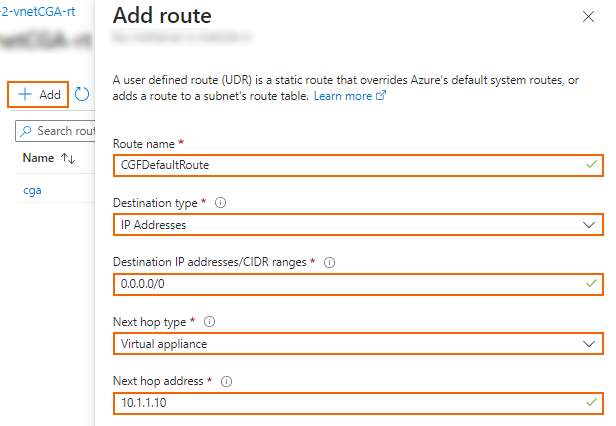
- Click Add.
- (optional) Create additional routes.
The routes you created are now accessible via your Route Tables column.
Step 3. Associate the Route Table with the Subnets
Assign the routing table to the subnets.
- Log in to the Azure Portal: https://portal.azure.com.
- Open the route table created in step 1.
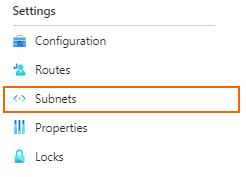
- In the Settings column, click Subnets.
- In the Subnets column, click + Associate to add a subnet.
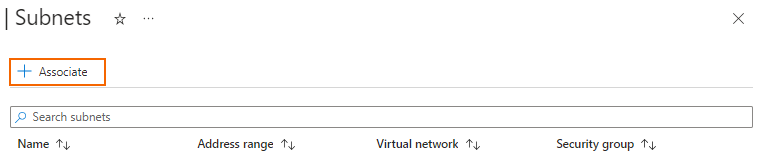
- In the Associate subnet column, expand Virtual network and select the virtual network.
- Expand Subnet and select the subnet.
- Click OK.
- (optional) Associate additional subnets with the route table.
The subnets associated with this route table are now accessible via the Subnets section of your route tables column:
Step 4. Enable IP Forwarding for the Network Interfaces of the Firewall VM
Enable IP forwarding for all attached network interfaces of the firewall VM. This enables the firewall for forward traffic with a destination IP address that does not match its own private IP address.
- Log in to the Azure Portal: https://portal.azure.com.
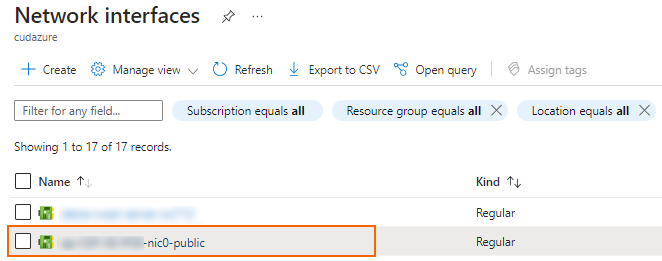
- Open the network interface attached to your firewall VM.
- In the Settings column, click IP configurations.
- Select the checkbox to Enable IP forwarding.
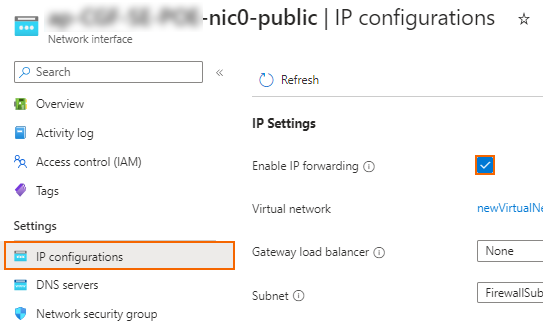
- Click Apply.
The Barracuda CloudGen Firewall VM can now forward traffic from backend VMs to the Internet.
Next Steps
- Configure Azure cloud integration. For more information, see How to Configure Azure Cloud Integration Using ARM.
- Create access rules to allow traffic from the backend VMs to the Internet. For more information, see Access Rules.