Companies with a bring-your-own-device (BYOD) policy cannot rely on MDM to manage and push out the VPN configuration to the users' smartphones and tablets. The Barracuda CloudGen Firewall mobile portal allows users to automatically install the VPN configurations on their iOS devices by clicking the provisioning link in the mobile portal.
Self-provision the Built-in IPsec Client
- Log into the web portal with your iOS device.
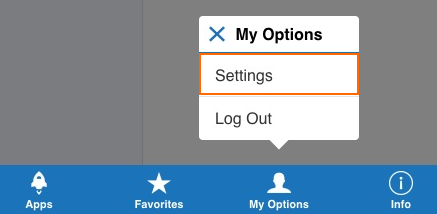
- Go to My Options and tap Settings.
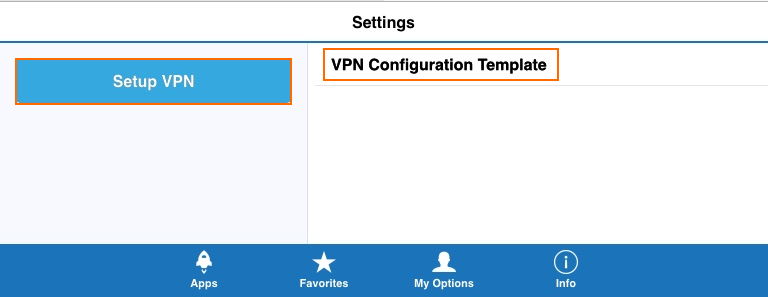
- Tap Setup VPN. All available VPN templates are listed.
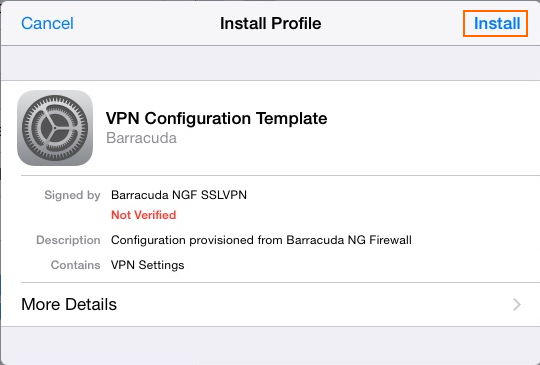
- Tap on a VPN template. This is the Display Name of the VPN File's SSL VPN resource. The Install Profile window opens.
- Click Install.
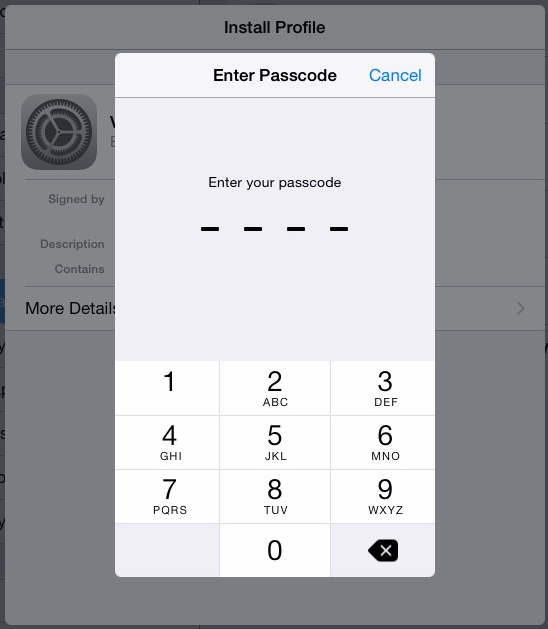
- Enter your passcode.
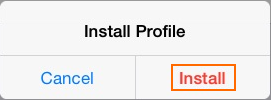
- Click Install.
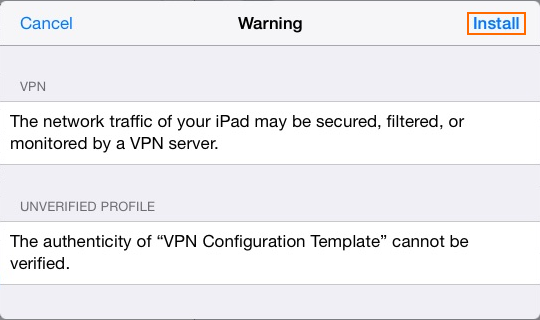
- Click Install. The VPN profile is installed.
- Click Done.
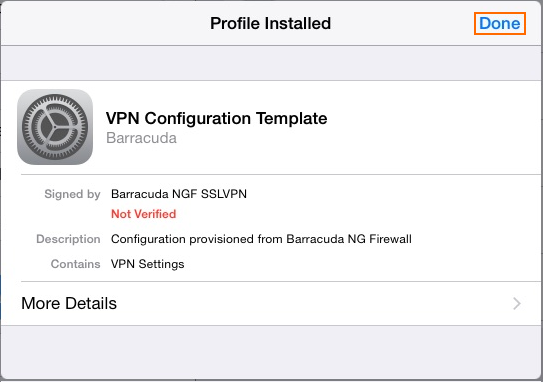
You can now connect to the IPsec VPN on your iOS device.
Establishing a VPN Connection
After you have installed the IPsec VPN configuration, your iOS device can connect to the Barracuda CloudGen Firewall via IPsec VPN.
- From the home screen of your iOS device, go to Settings and tap General.
- Tap VPN.
- Set the VPN slider to ON. The iOS device initiates the VPN connection.
When the VPN connection is established successfully, the VPN icon is displayed in the status bar.
