A CloudGen Firewall Auto Scaling cluster automatically scales with demand, thereby creating a cost-effective, robust solution for securing and connecting to your cloud resources. The firewall cluster integrates tightly with AWS services and APIs. Configuration changes are synchronized securely over the AWS backend, with all instances sharing the same configuration. For the admin, the firewall cluster handles like a single CloudGen Firewall. The firewall cluster uses the PAYG image of the Barracuda CloudGen Firewall in the AWS Marketplace to allow you to quickly deploy without the need for long-term licensing commitments. CloudGen Firewall clusters cannot be managed by a Control Center. The following custom metrics are collected from the firewall cluster:
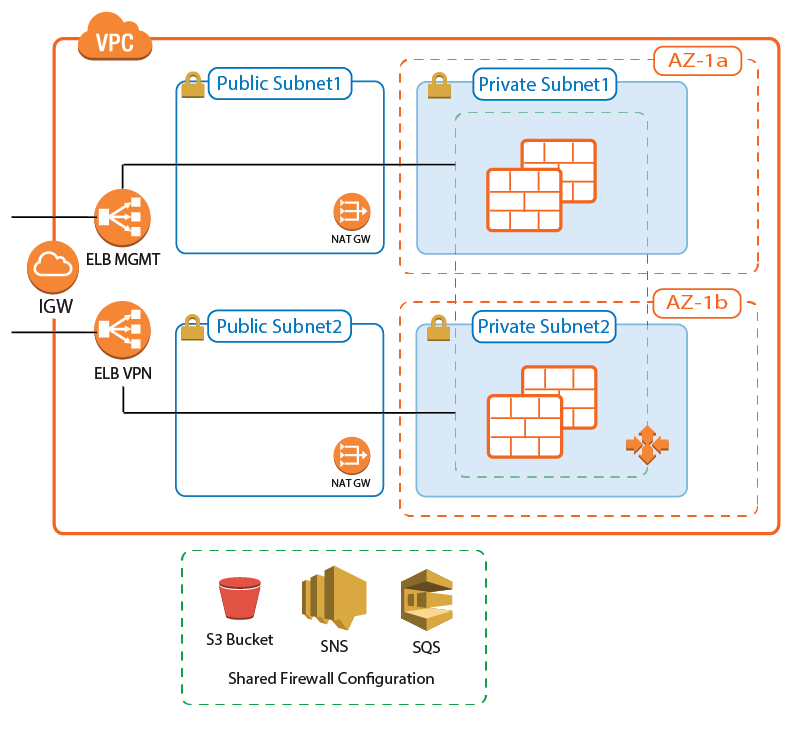
AWS Reference Architectures
This article is used in the following AWS reference architectures:
- AWS Reference Architecture - CloudGen Firewall Auto Scaling Cluster
- AWS Reference Architecture - CloudGen Firewall Cold Standby Cluster
Before You Begin
- Download the template from the Barracuda Network GitHub account: https://github.com/barracudanetworks/ngf-aws-templates.
- CloudGen Firewall Auto Scaling Cluster – Download autoscale.json
- CloudGen Firewall Cold Standby Cluster – Download coldstandby.json
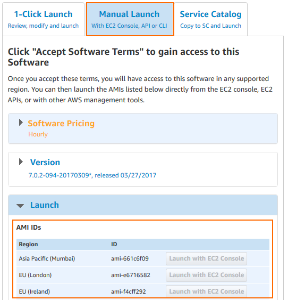
- Verify that the AMI image IDs used in the CloudFormation template match the IDs for the CloudGen Firewall image listed in the AWS Marketplace. The AMI disk images change for every released version and differ for each region.
Step 1. Select the AWS Data Center
- Log into the AWS console.
- In the upper right, click the data center location, and select the data center you want to deploy to from the list.
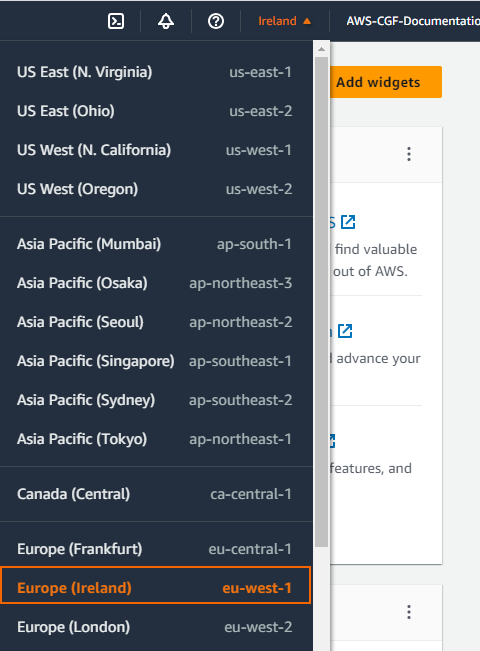
The selected data center location is now displayed in the AWS console.
Step 2. Create an IAM Role for the Firewall
Create an IAM Role to allow the firewall instances to make the required API calls.
For more information, see How to Create an IAM Role for a CloudGen Firewall in AWS.
Step 3. Subscribe to the Barracuda CloudGen Firewall F-Series PAYG AMI in the AWS Marketplace
To be able to deploy a CloudGen Firewall PAYG image via the CloudFormation template, you must agree to the Terms of Service and subscribe to the image in the AWS Marketplace. You need to do this only once per account.
- Go to the AWS Marketplace: https://aws.amazon.com/marketplace/
- Search for
Barracuda. - Click the Barracuda CloudGen Firewall for AWS - PAYG or Barracuda CloudGen Firewall for AWS - BYOL image.
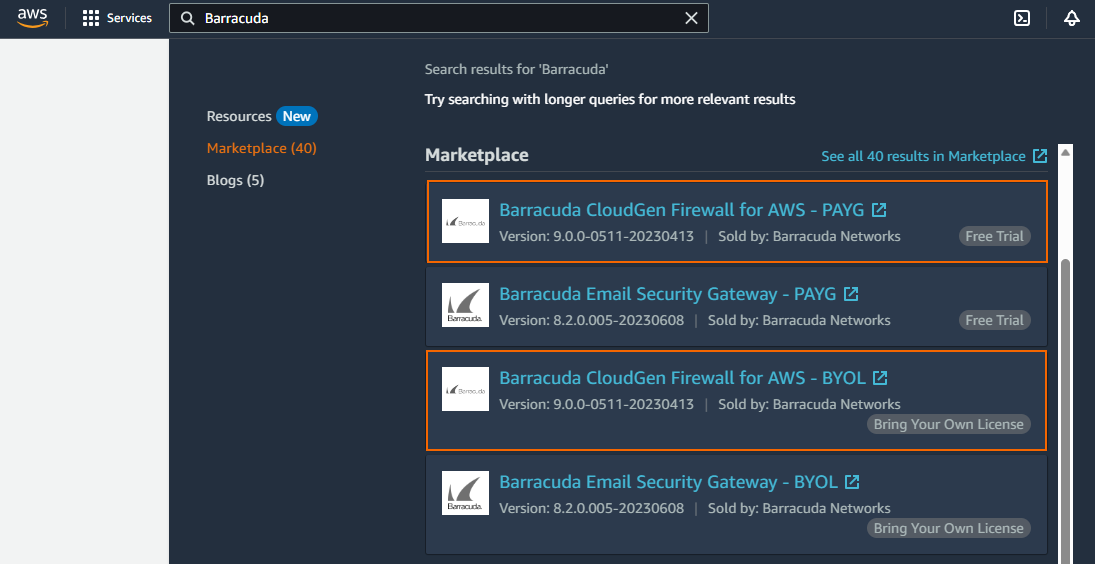
- Click Continue to Subscribe.

- Click Accept Terms.
- Click Continue to Configuration.
You will receive an email from Amazon confirming your subscription. You can now use the provided AMI in your CloudFormation templates.
Step 3. Deploy the CloudFormation Template
CloudFormation templates can be deployed via the AWS web console, CLI, REST, or PowerShell.
- Log into the AWS console.
- Click Services and select CloudFormation.
- Click Create Stack

The Create stack window opens. Select Upload a template file.
Click Choose file and select the template file.

- Click Next.
- Enter the Stack name.
- Fill in the template Parameters.
- Stack Name – Enter a name.
- AMI – Enter the ID for the Barracuda CloudGen Firewall PAYG AMI for your AWS region.
- BucketName – Enter the name for the S3 bucket used to store the firewall configuration.
- IAMProfile – Enter the IAM role created for the CloudGen Firewall.
- InstanceType – Enter a supported instance type. Default
m4.large. - Key – Select the key pair from the list. You must have access to the private key of the selected key pair to log in via SSH.
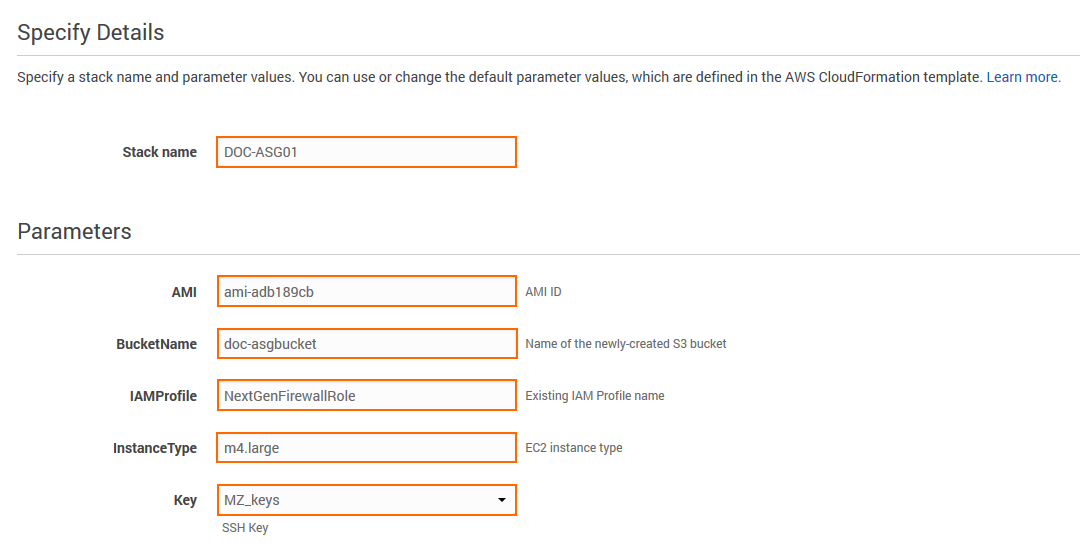
- Click Next.
- (optional) Enter Tags for your stack.
- In the Advanced section, set additional options for your stack:
- Notification options
- Timeout – Set the timeout in minutes.
Rollback on failure – When set to yes, the deployment will be rolled back if any errors are encountered.
- Click Next.
- Review the settings and click Submit.
The resources defined in the template are now deployed. This may take a couple of minutes. When the Status column shows CREATE_COMPLETE, the template has been deployed successfully. If the firewall fetches a PAR file from a Control Center, it may take a couple of minutes for the firewall to be available.

Step 4. Configure Log Streaming to AWS CloudWatch
Log files are generated and stored on each firewall instance in the Auto Scaling Group. To aggregate and store the log files generated on the firewall cluster, configure the CloudGen Firewall cluster to stream all logs to AWS CloudWatch.

For more information, see How to Configure Log Streaming to AWS CloudWatch.
