

In larger Service Center environments, there may be benefits to separating the SCMessaging web site to its own application pool for performance reasons. This also allows you to stop Service Center communication in a way that allows data to finish processing before shutting down the services for maintenance or upgrades.
- Log into the Service Center Application Server.
- Launch the Internet Information Services (IIS) Manager (inetmgr.exe).
- On the left navigation pane, expand the settings for the Server and click on Application Pools.
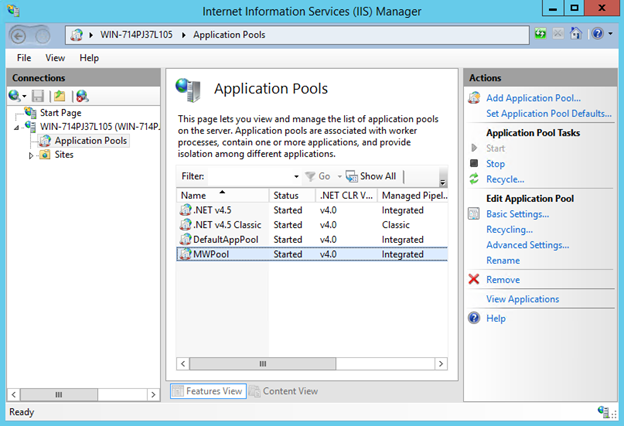
- On the Actions pane, click Add Application Pool.
- In the Name field, type
MWSCMessaging. - Make sure that the .NET CLR Version is set to .NET CLR Version v4.0.XXXXX.
- Make sure that the Managed pipeline mode is set to Integrated.

- Click OK.
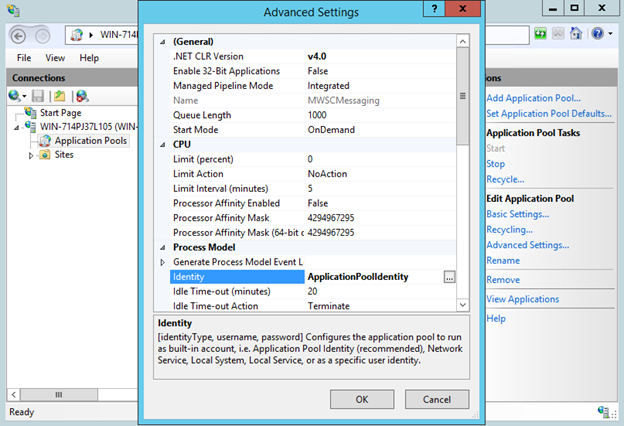
- Right-click the newly created SCMessaging application pool and choose Advanced Settings.
- Locate the Identity and click the “…” button.
- In the dropdown list below Built-in account, select LocalSystem.
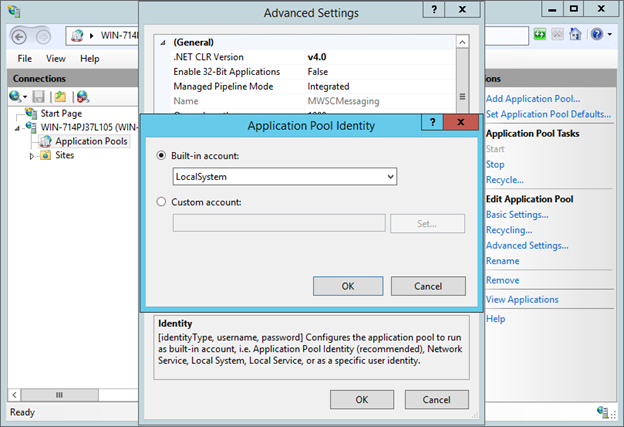
- Click OK, and then click OK again to save the Advanced Settings.
- Right-click MWPool and choose View Applications.
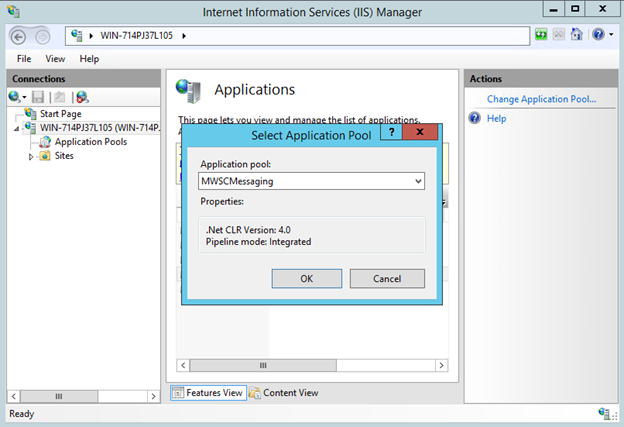
- Right-click /SCMessaging and choose Change Application Pool….
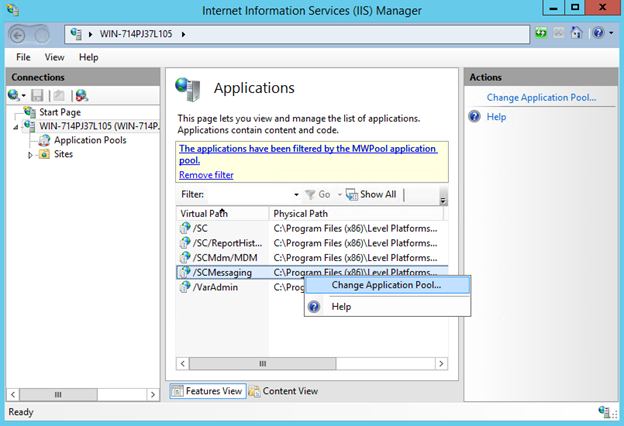
- In the Application pool dropdown, choose SCMessaging.
- Close the Internet Information Services (IIS) Manager.