

Microsoft Entra ID (formerly Azure Active Directory) is the identity provider responsible for authenticating users accessing web applications hosted in the Microsoft Azure cloud. Microsoft Entra ID is a directory service that allows authentication and authorization of network users by providing single sign-on, conditional access, and multifactor authentication to help secure corporate network assets and protect against a wide range of cybersecurity attacks. For CloudGen Firewalls deployed in the Microsoft Azure cloud, you can configure the authentication service to sync group information for users with Microsoft Entra ID credentials.
Before You Begin
- You need a CloudGen Firewall deployed in the Microsoft Azure cloud. For more information, see Microsoft Azure Deployment.
- Locate the directory (tenant) ID, application (client) ID, and client secret. To do so:
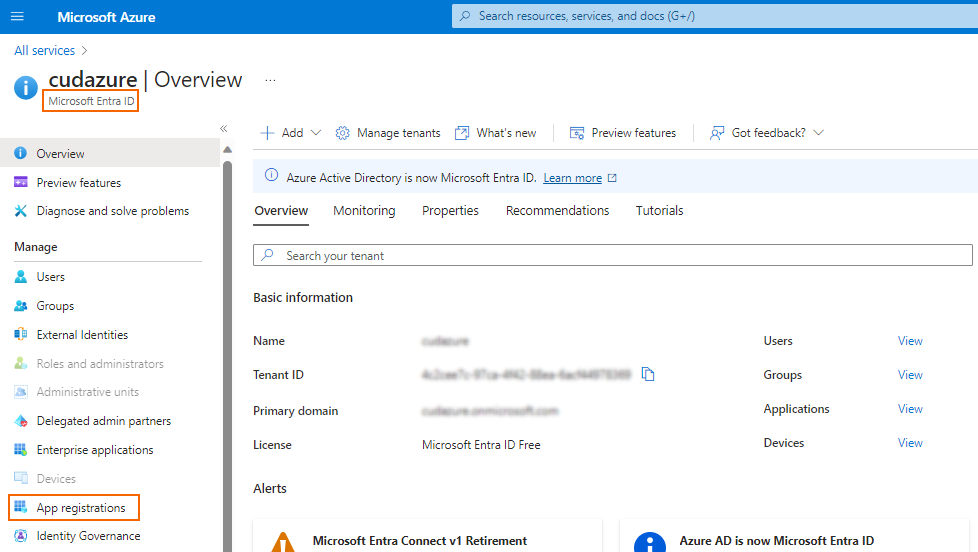
- Log into the Azure portal, and navigate to Microsoft Entra ID (formerly Azure Active Directory).
In the left menu, select App registrations.
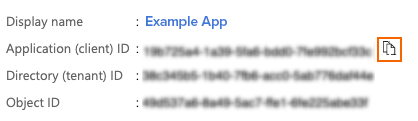
Select the Microsoft Entra ID app you wish to find the IDs for.
- Click the Copy to clipboard icon next to Application (client) ID and Directory (tenant) ID, and paste the values to a file.
In the left menu, select Certificates & secrets.
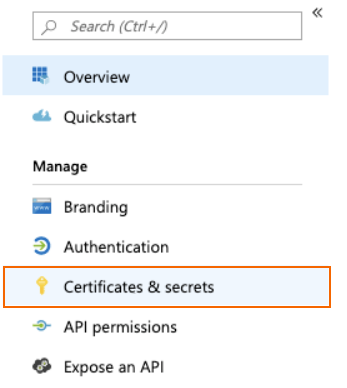
- Copy and paste the value of the Client secret.
Configure Azure AD Client Authentication for Microsoft Entra ID
- Go to CONFIGURATION > Configuration Tree > Box > Infrastructure Services > Authentication Service.
- In the left navigation pane, select Azure AD Client.
- Click Lock.
- Select Yes for Activate Scheme to enable the external directory service.
- In the Tenant ID field, enter the unique identifier of your Microsoft Entra ID instance.
- Enter the application (client) ID in the Client ID field.
- Enter the Client Secret.
In the Group Filter Patterns table, you can add patterns to filter group information from the directory service.
Example:- Group Filter Pattern:
*SSL* - User01:
CN=foo, OU=bar, DC=foo-bar, DC=foo - User02:
CN=SSL VPN, DC=foo-bar, DC=foo
In this example, User01 does not have the
*SSL*pattern in its group membership string and will not match in group-based limitations.- Group Filter Pattern:
- Click OK.
- Click Send Changes and Activate.