The local Web UI is the web user interface of your local appliance. Unlike https://se.barracudanetworks.com, you can configure only the appliance you are connected to. The local Web UI is mainly used to establish a manual connection between your appliance and the Barracuda SecureEdge service, or for troubleshooting purposes.
Connecting to Your Local Web User Interface
- Open a web browser on a device in the same network as the appliance.
- Enter https://<ip_of_appliance>.
Note the default ip address is 192.168.200.200. Enter
rootas username and the password of the appliance and click SIGN IN.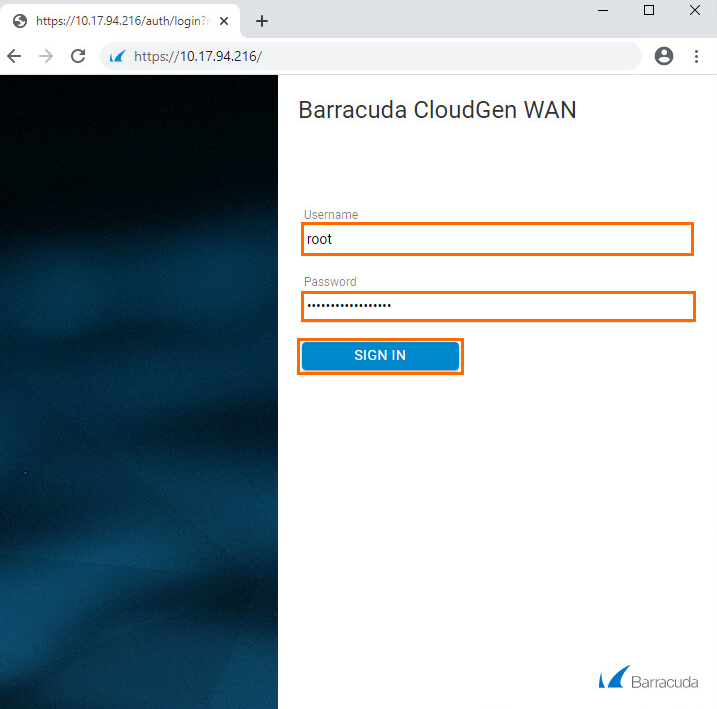
- The Local Web UI dashboard opens. You can verify the status of your connected appliance.
Accessing Information on the Local Web UI
The Local Web UI dashboard organizes information into elements and provides the following details:
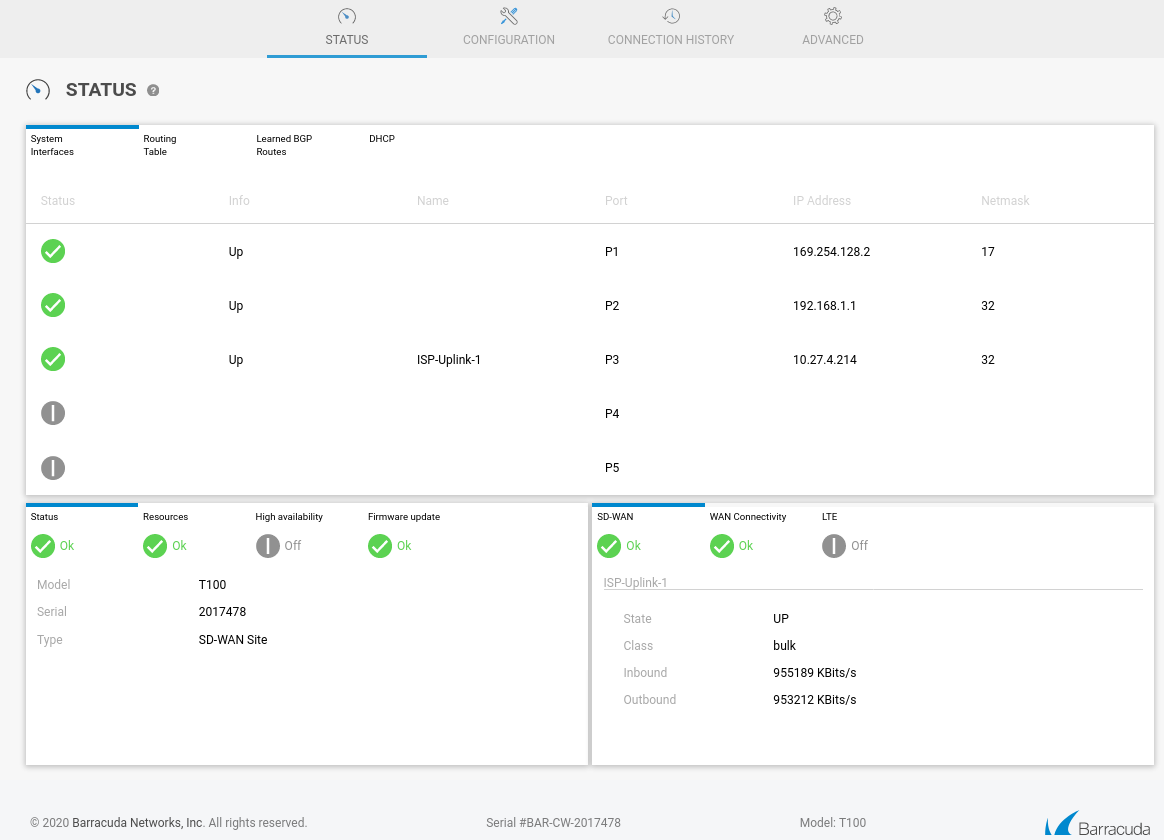
STATUS
To access information on the Local Web UI, click STATUS. The STATUS page opens. The STATUS page gives you an overview of System Interfaces, Routing table, Learned BGP Routes, and DHCP settings of your connected appliance.
System Interfaces – The System Interfaces tab provides information on the status of your connected system interfaces such as Info, Name, Port, IP Address, and Netmask. To access the System Interfaces tab, go to STATUS > System Interfaces.
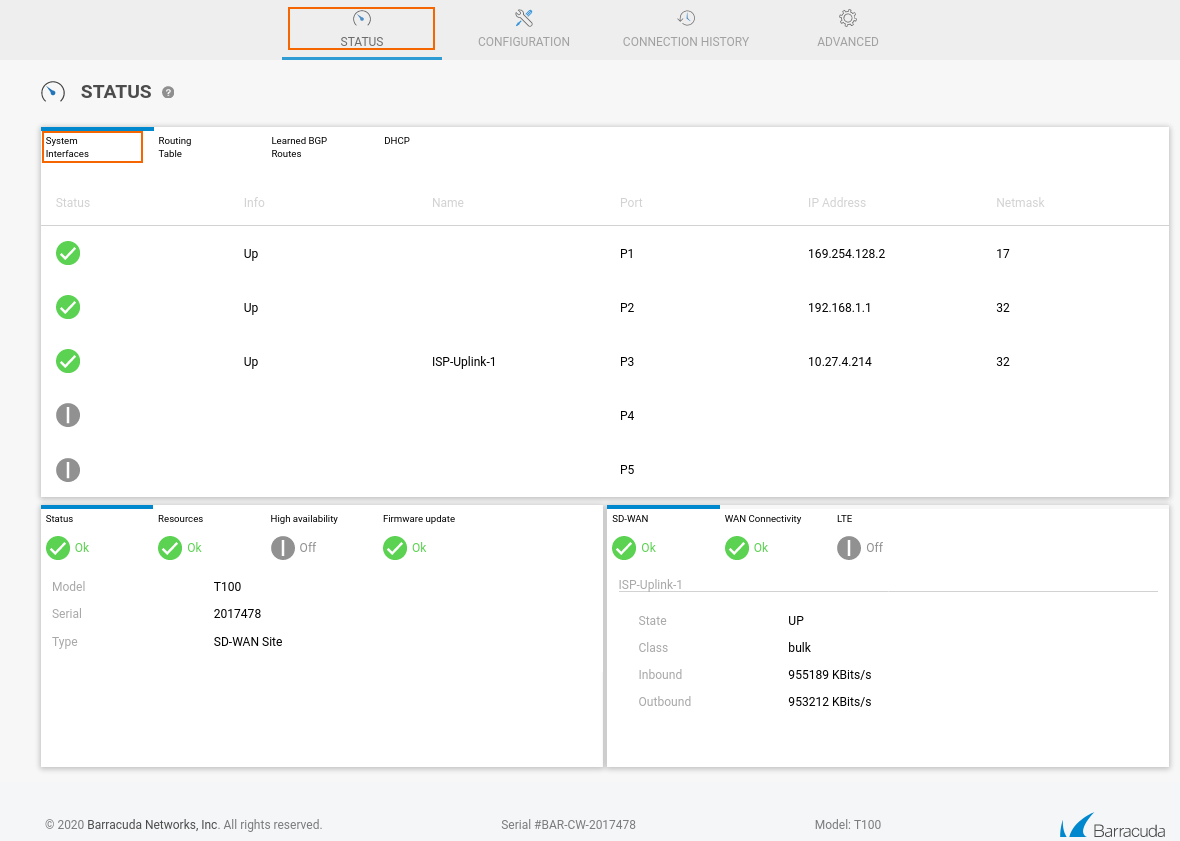
In addition, the STATUS page also displays the status of various elements such as Resource, High availability, Firmware update, SD-WAN, and WAN Connectivity. To get more detailed information, click on an individual element.
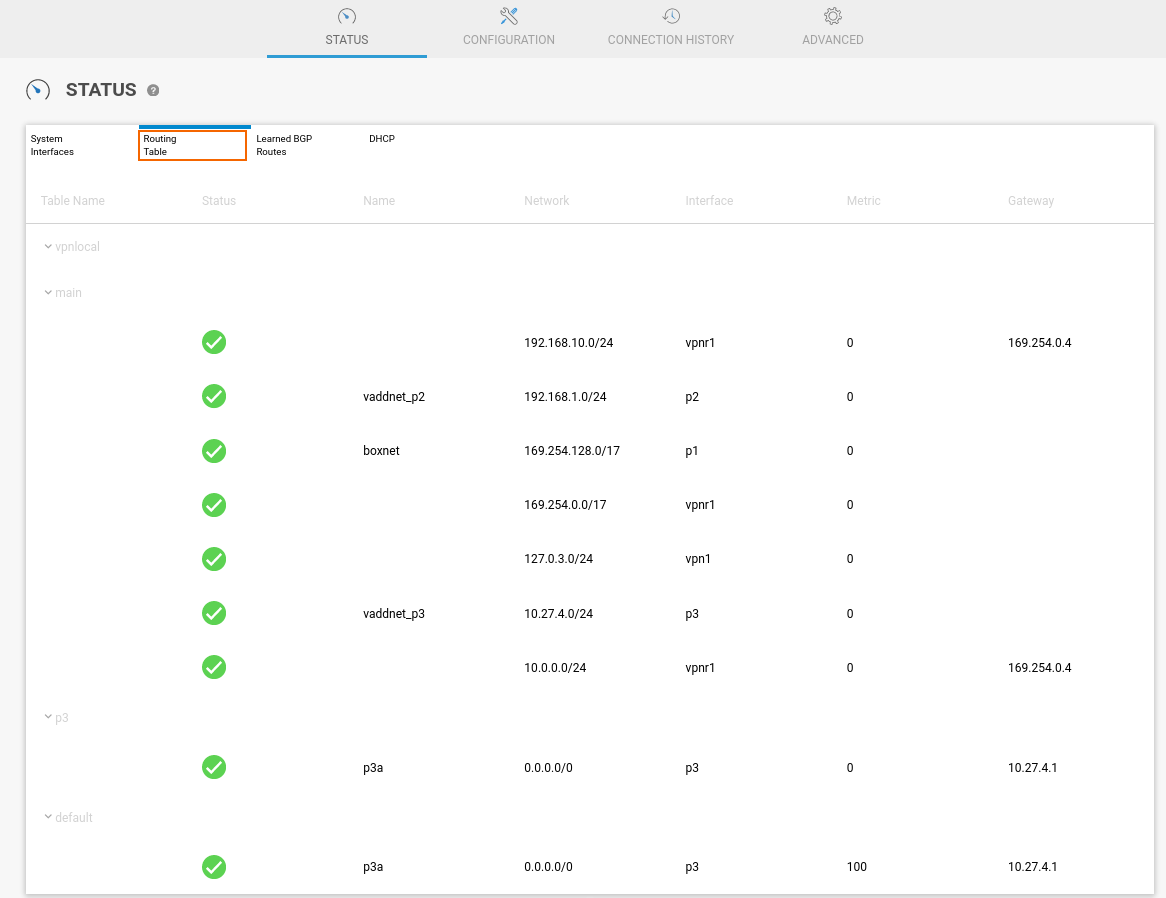
Routing Table – The Routing Table displays details about various parameters such as Table Name, Status, Name, Network, Interface, Metric, and the Gateway of your connected appliance. To access the Routing Table page, go to STATUS > Routing Table.
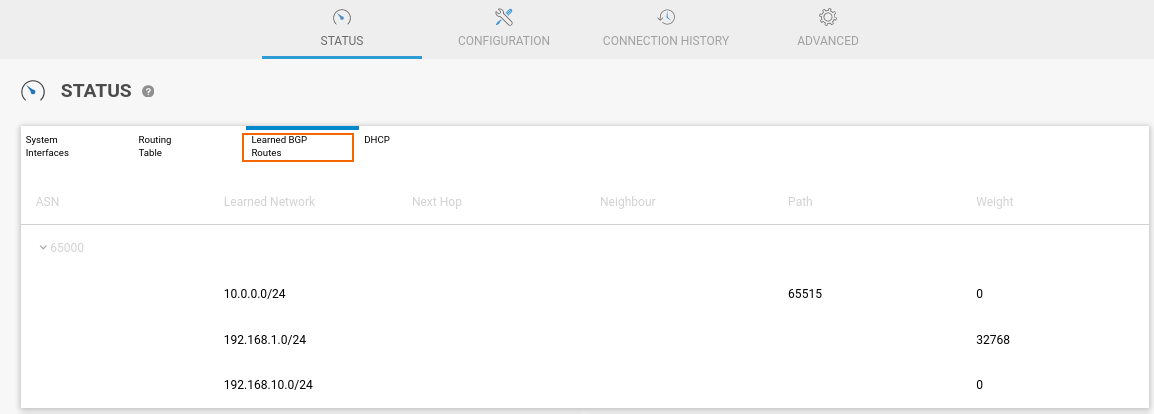
- Learned BGP Routes – The Learned BGP Routes tab displays details about ASN, Learned Network, Path, and Weight of your connected appliance. To access the Learned BGP Routes page, go to STATUS > Learned BGP Routes.
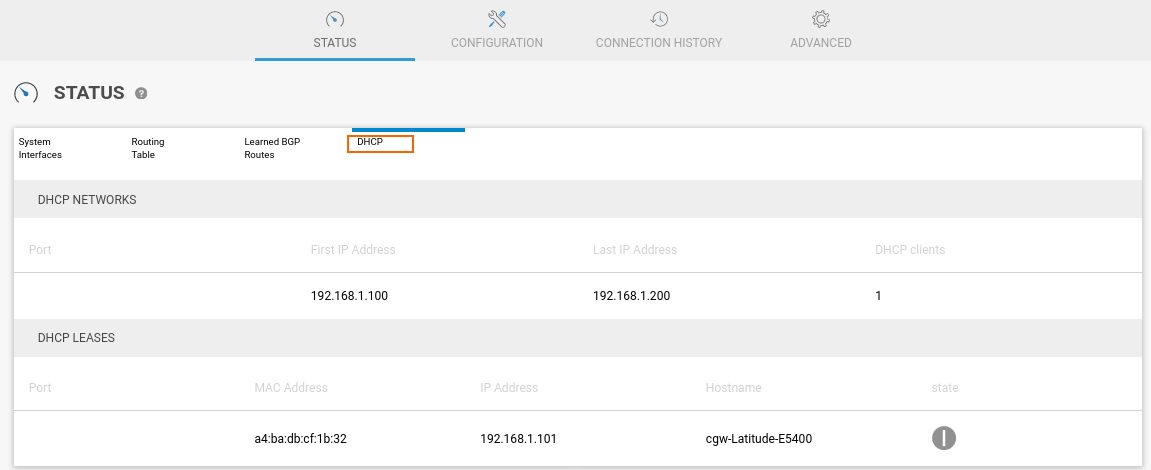
- DHCP – The DHCP tab displays information about DHCP NETWORKS and DHCP LEASES of your connected appliance. To access the DHCP page, go to STATUS > DHCP.
CONFIGURATION
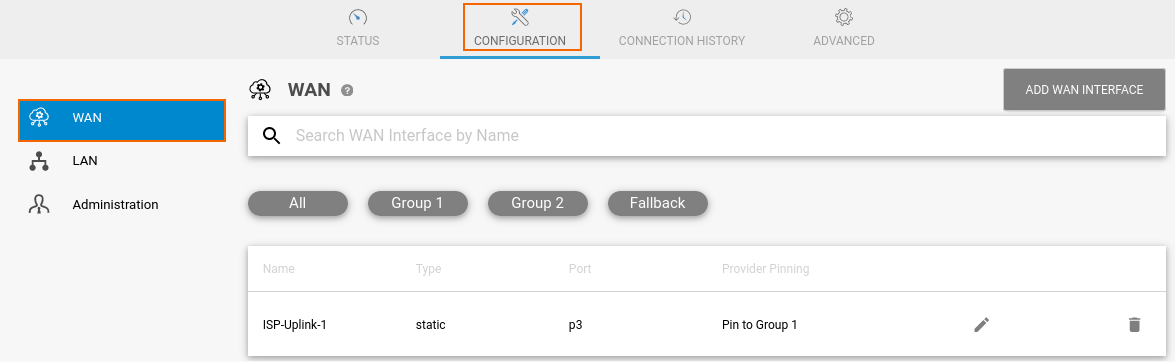
To access the configuration page on the Local Web UI, click CONFIGURATIION. The CONFIGURATION page opens. The Configuration page gives you an overview of WAN, LAN, and Administration settings of your connected appliance. The CONFIGURATION page provides the following details:
- WAN – The WAN tab displays details about the WAN connection such a the Name, Type, Port, and Provider Pinning settings of your connected appliance. To access the information about WAN settings, go to CONFIGURATION > WAN.
- To edit or update an existing WAN interface, click on the pencil icon next to the WAN interface.
- To remove an existing WAN interface, click on the trash can icon next to the WAN interface.
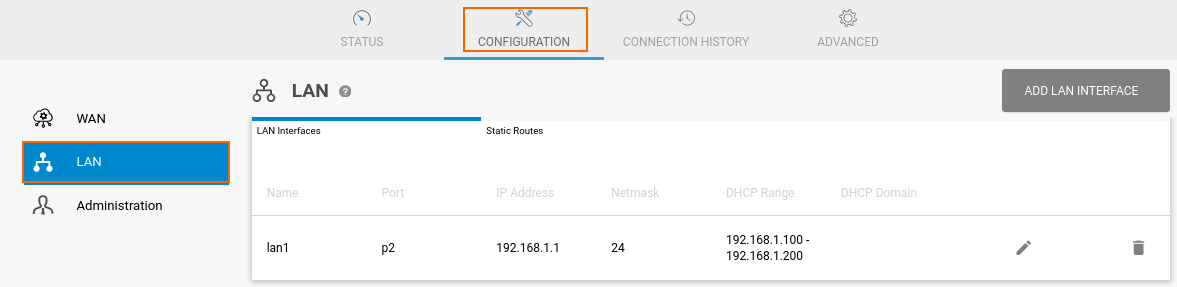
- LAN – The LAN tab displays details about the LAN connection such as Name, Port, IP Address, Netmask, and DHCP Range of your connected appliance. To access the information about LAN settings, go to CONFIGURATION > LAN.
- To edit or update an existing LAN interface, click on the pencil icon next to the LAN interface.
- To remove an existing LAN interface, click on the trash can icon next to the LAN interface.
- Administration – The Administration tab displays information about password and DNS Server settings.
To change the administration settings, go to CONFIGURATION > Administration. The Administration page opens. Edit the value you are interested in and click Save Changes. 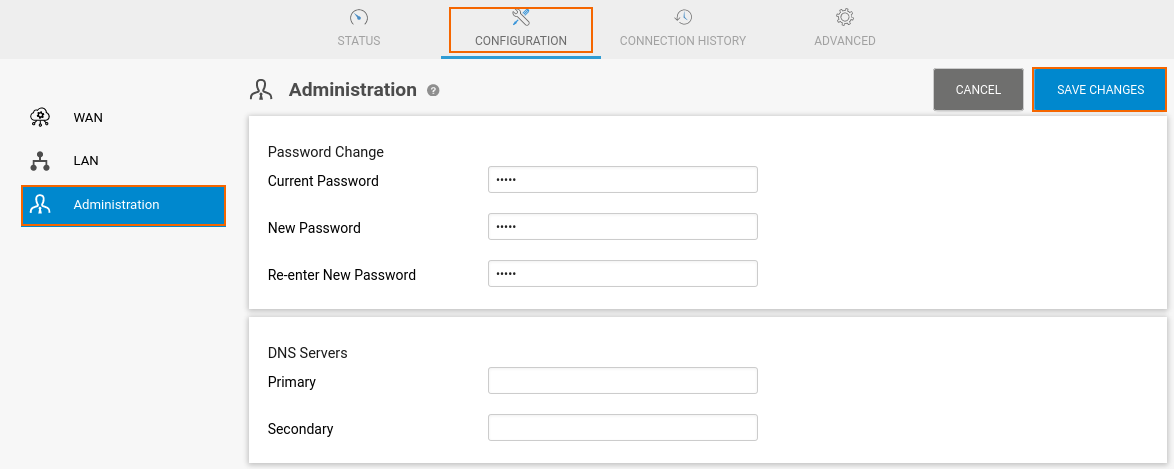
CONNECTION HISTORY
The Connection History page displays information about the connection history, and allows you to view or filter closed sessions of your connected appliance such as Site, Private Edge Service, or IoT appliance.
To access the information about the connection history, click CONNECTION HISTORY. The CONNECTION HISTORY page opens. Specify values for the Filtering Options:
- Time Frame – Select the desired time frame from the drop-down list. Note: Time frame ranges from 1 to 7 days.
- Log Type – Select the log type from the drop-down list. You can choose either a Connection History or Threat History.
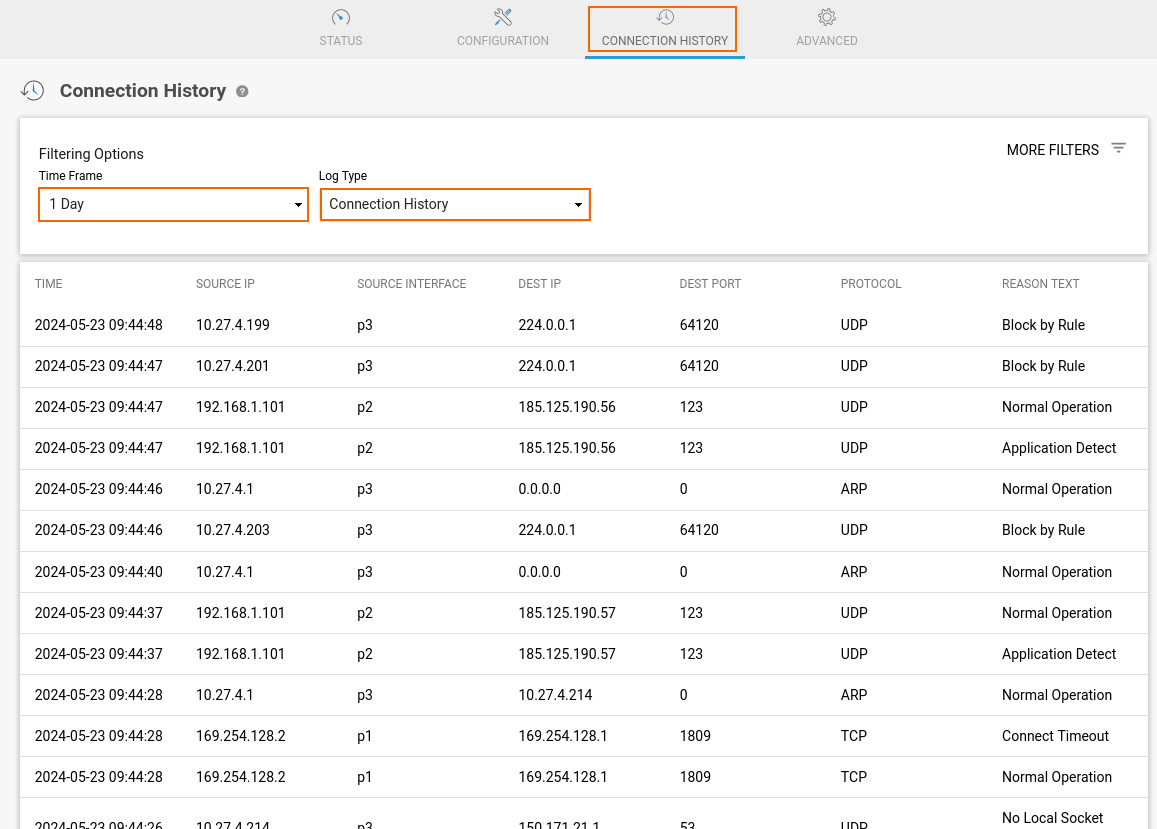
With respect to your desired time frame and log type, you can see details about the connection history of your connected appliance.
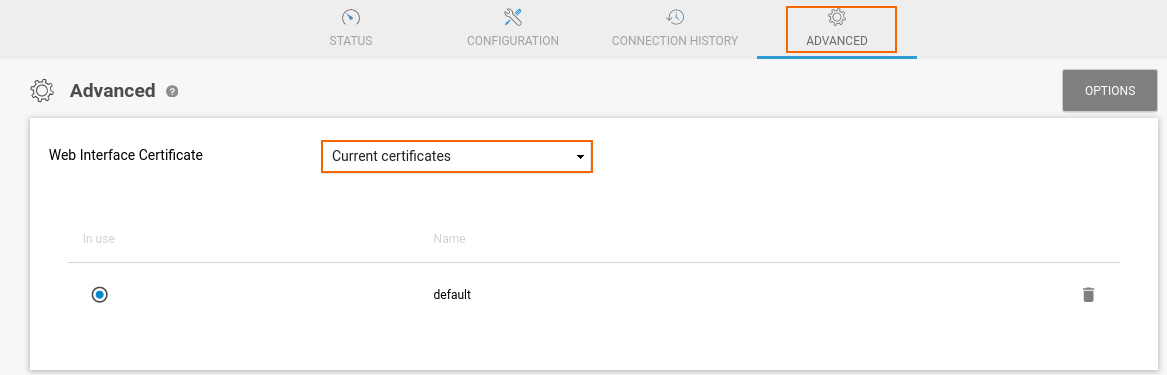
ADVANCED
The ADVANCED page displays information about the Web Interface Certificate.
To access information on the Advanced page, click ADVANCED. The ADVANCED page opens. Specify a value for the following:
- Web Interface Certificate – Select the desired certificate from the drop-down list. You can choose either Current Certificates or Upload Certificate. For example, in this case, the Web Interface Certificate is Current certificates.