

Follow this procedure to create a single-tenant application. To create a multi-tenant application, see Integrating a multi-tenant Microsoft Defender application.
The steps to integrate a single-tenant Microsoft Defender application are the following:
Create a single-tenant application in Azure
Integrate the application with Barracuda XDR
See the procedures below.
Creating a single-tenant application in Azure
Follow this procedure to create a single-tenant application or see below to create a multi-tenant application.
Creating a single-tenant application in Azure involves doing the following:
- Creating an application in Azure Active Directory.
- Adding API permissions and grant admin consent.
- Creating a Secret Key.
When you've finished this procedure, you complete the integration by entering the Client ID, Secret Key, and Tenant ID in the Barracuda XDR Customer Security Dashboard.
To create a single-tenant application in Azure
- Log in to Azure with a user that has the Global Administrator role.
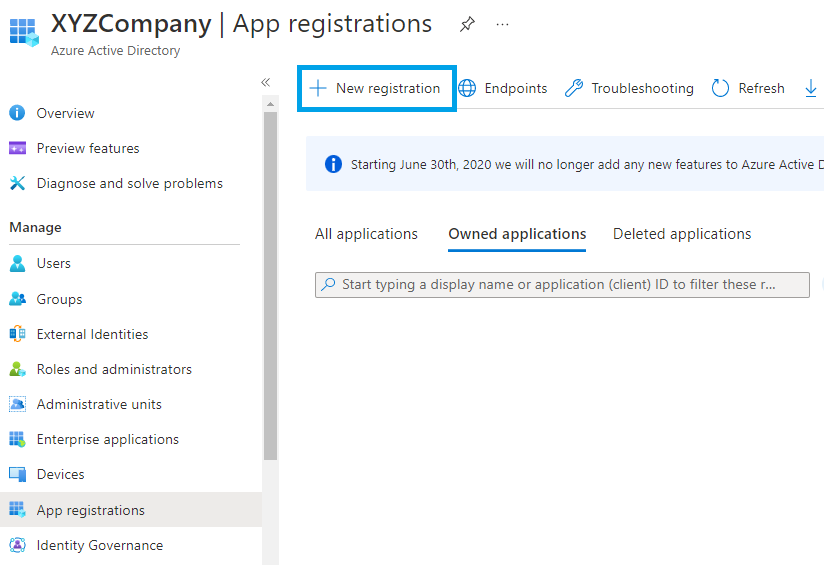
- Click Azure Active Directory > App registrations.
- Click New registration.
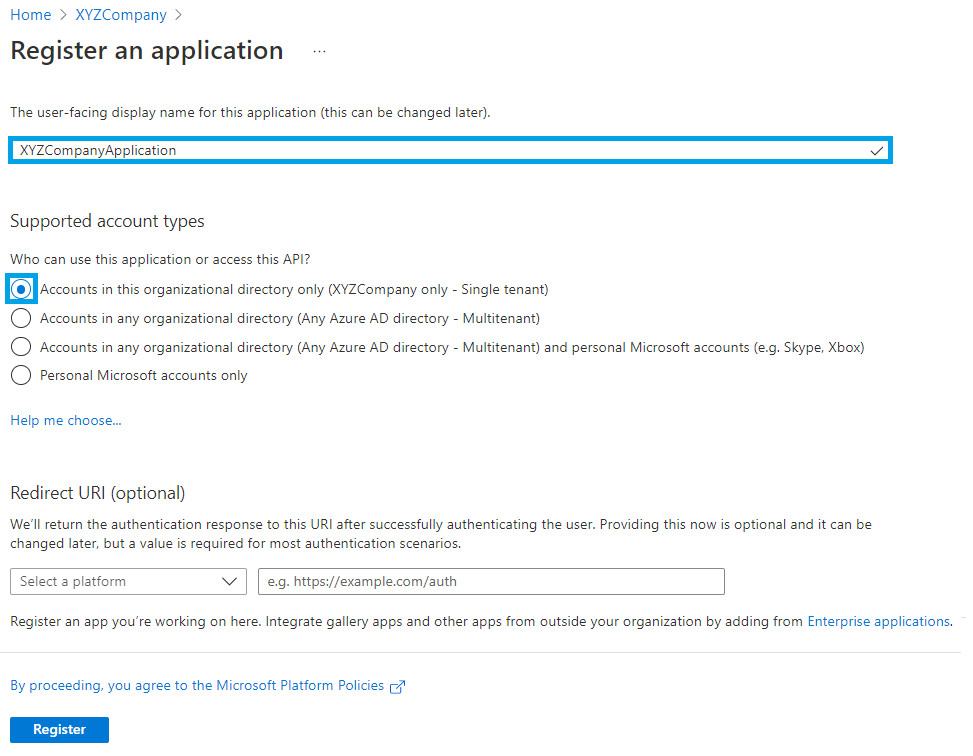
- On the registration form, choose a name for your application, select Account in this organizational directory only (single-tenant), then click Register.
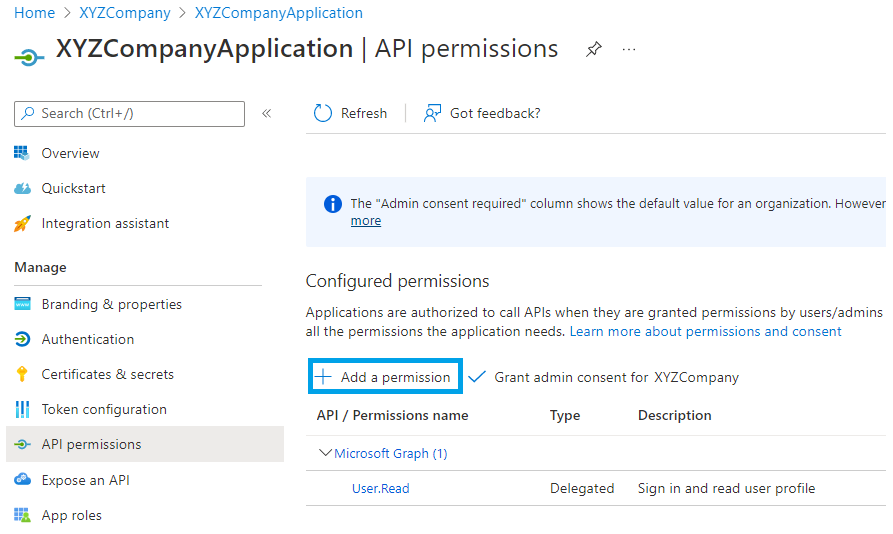
- On your application page, select API Permissions > Add a permission > APIs my organization uses.
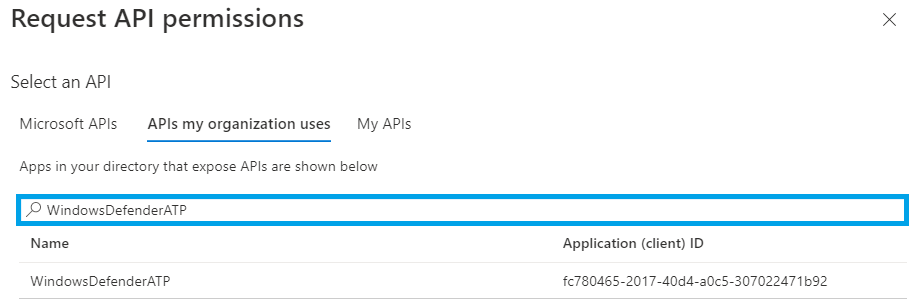
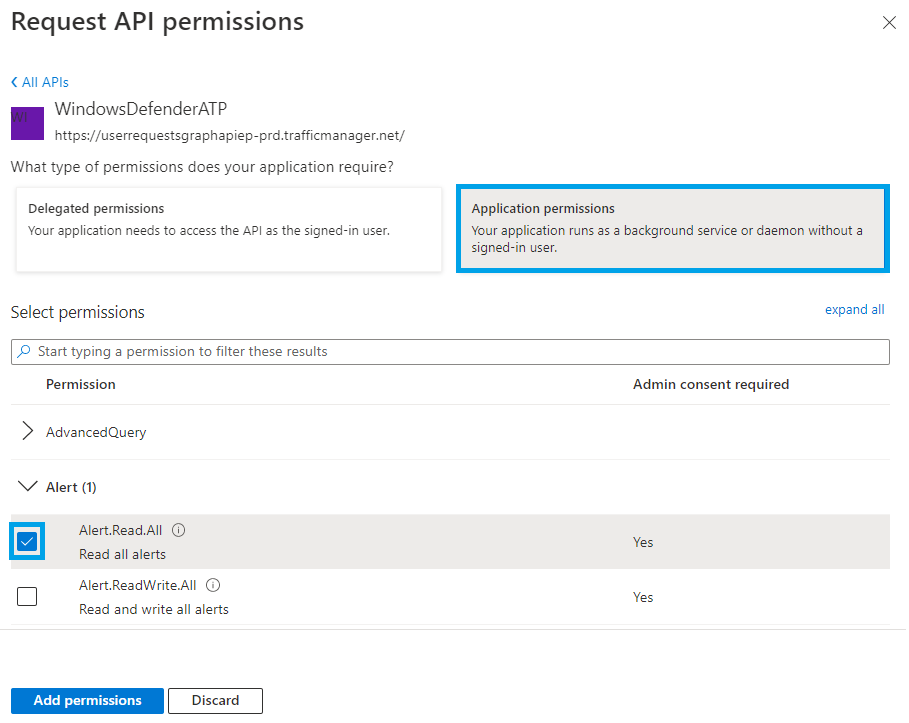
- Type WindowsDefenderATP, and then select WindowsDefenderATP.
- Click Application permissions > Alert. Click Alert.Read.All. Then click Add permissions.
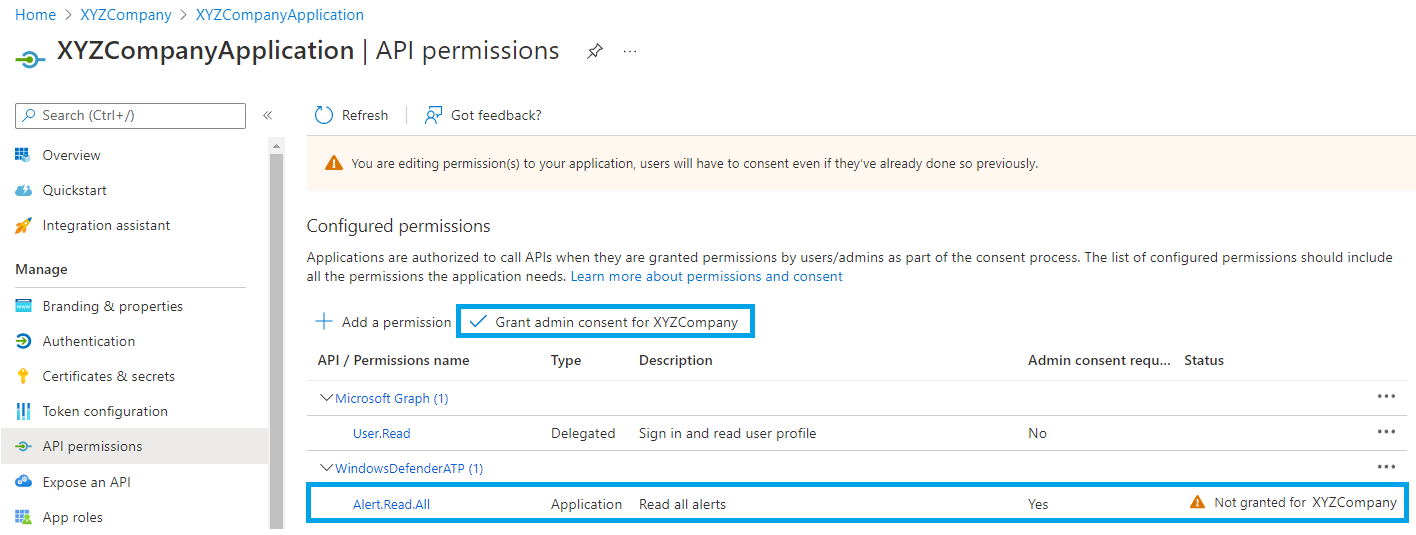
- Select the Application permission and click Grant admin consent for your company name .
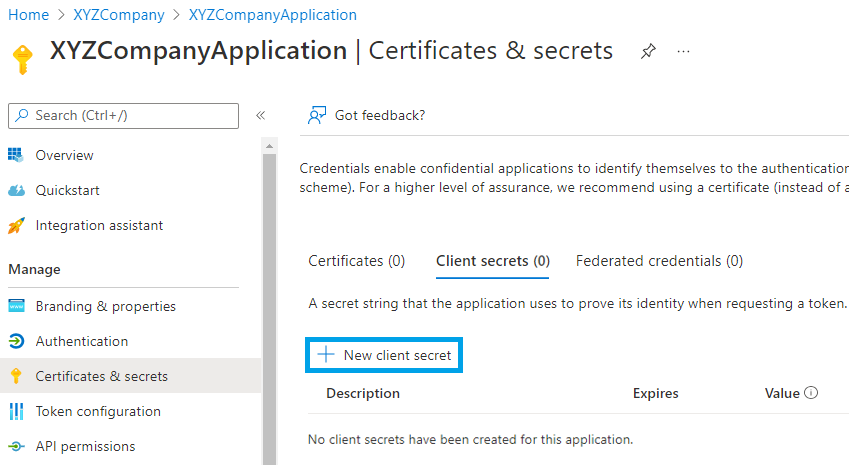
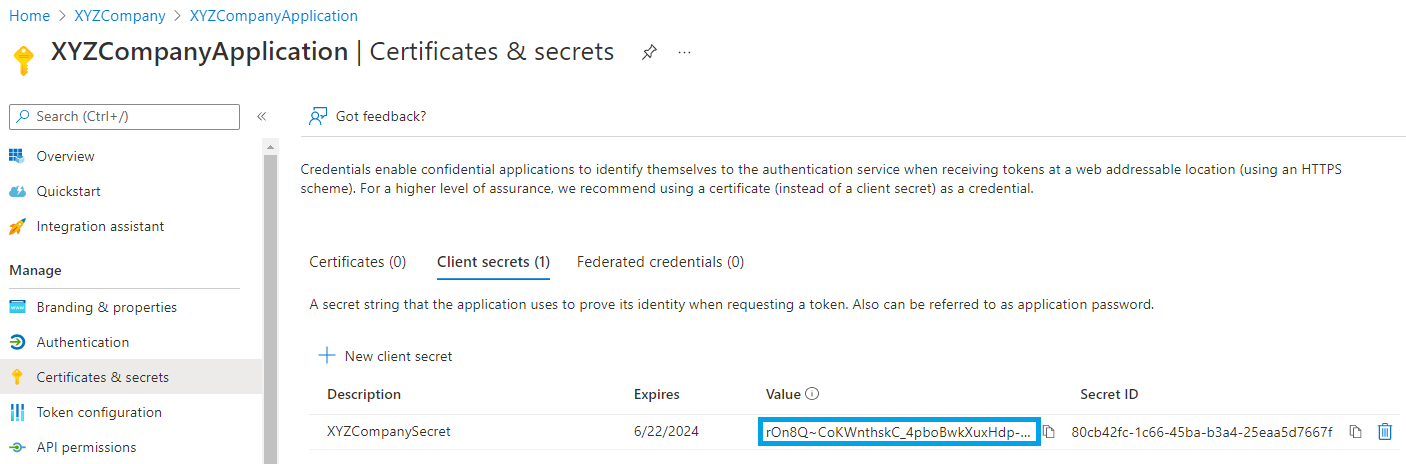
- To add a secret to the application, select Certificates & secrets, add a description to the secret, and then click Add.
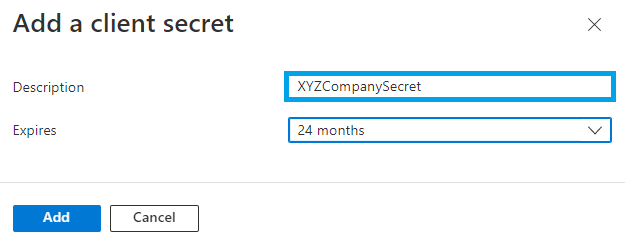
After you click Add, copy the generated Secret Key value.
- Select Overview and copy the Application (client) ID and Directory (tenant) ID.
- Proceed to the To integrate the application with Barracuda XDR Dashboard procedure below.
Integrating the application with Barracuda XDR
When you've finished the procedure above, complete the integration by entering the Client ID, Secret Key, and Tenant ID in the Barracuda XDR Customer Security Dashboard.
To integrate the application with Barracuda XDR Dashboard
- In the Account list, select the name of the company you created in the previous procedure.
- In Barracuda XDR Dashboard, click to Administration > Integrations.
- In the Microsoft Defender card, click Setup.
- Enter the Client ID, Secret Key, and Tenant ID.
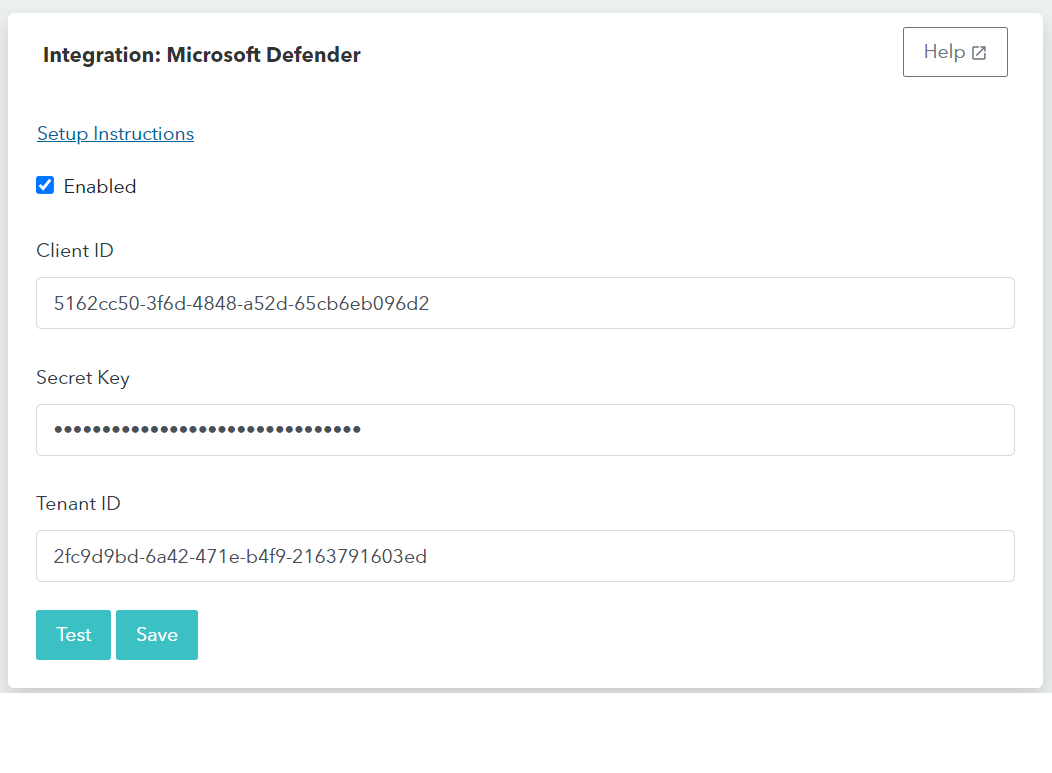
- Click Save.