

The virtual sensor for Azure requires two NICs. The procedure for setting up an NIC can be found here.
In Barracuda XDR Dashboard, click Downloads > Virtual Sensors.
In the Step 2 box, select VHD (Azure).
Click VHD (Azure) 7Z.
Wait for the download to complete.Navigate to your download folder and extract the compressed file.
Log in to your Azure portal.
Upload the extracted VHD image.
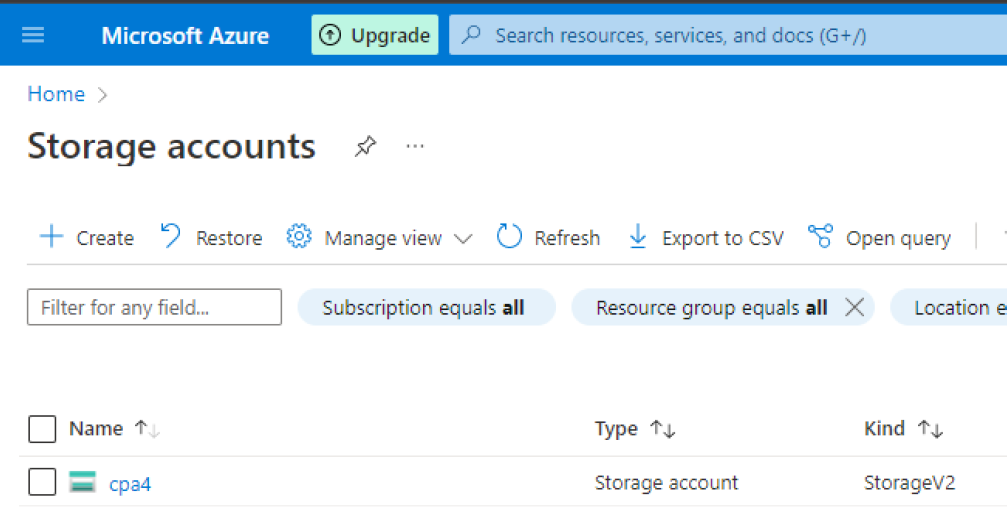
Click Storage Accounts and select the storage account.
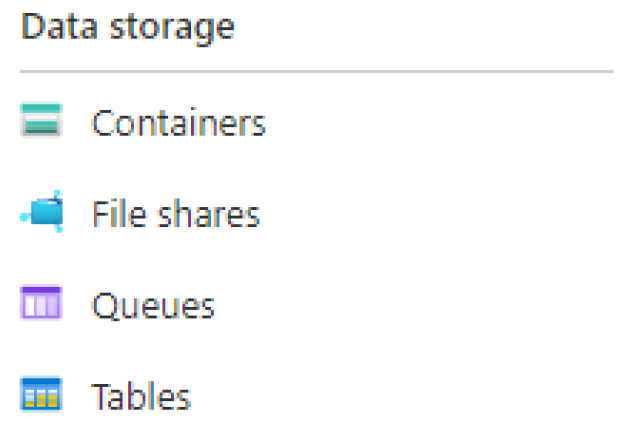
Under Data Storage, click Containers.
Select a container to upload the VHD file.
Click Upload, then select a VHD file.
Set Blob type to Page Blob.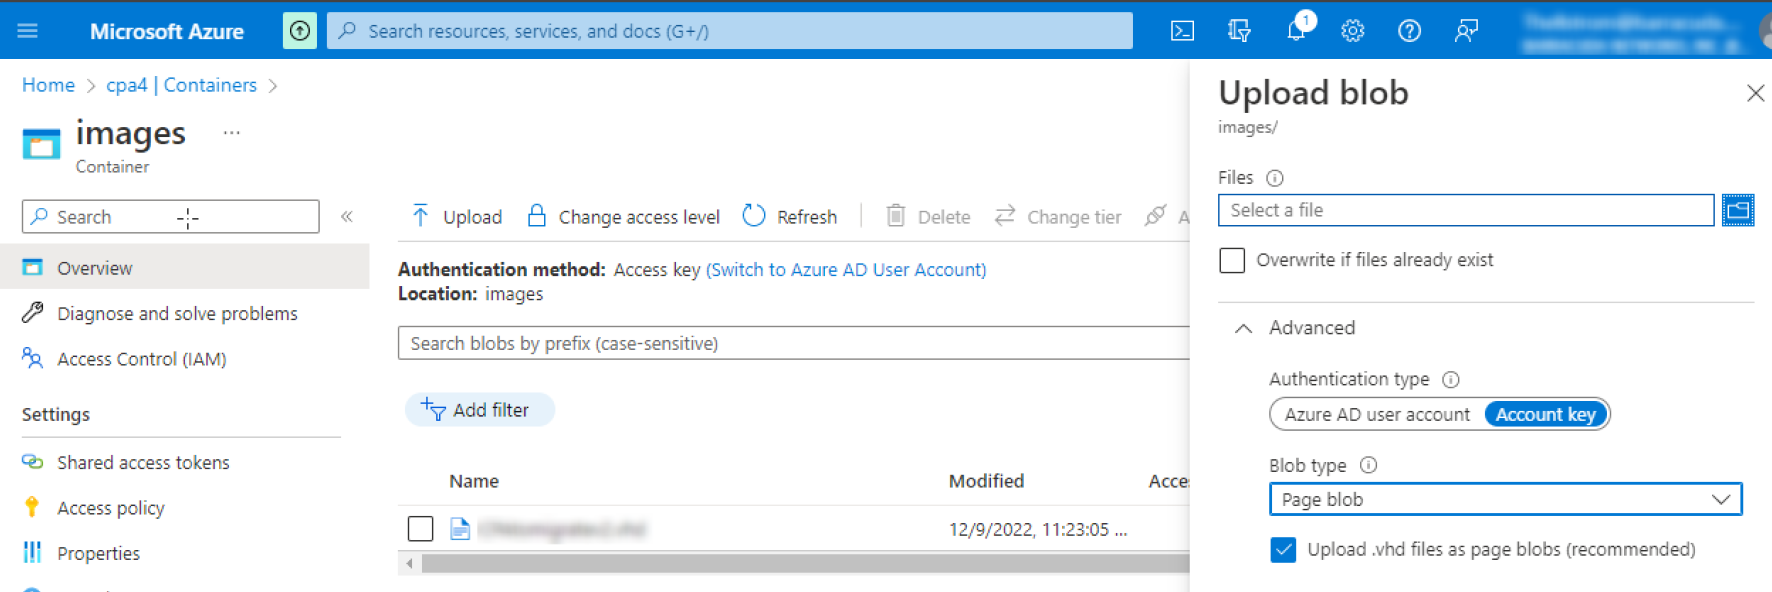
To create an image in the Azure Portal, select Images and click Add.
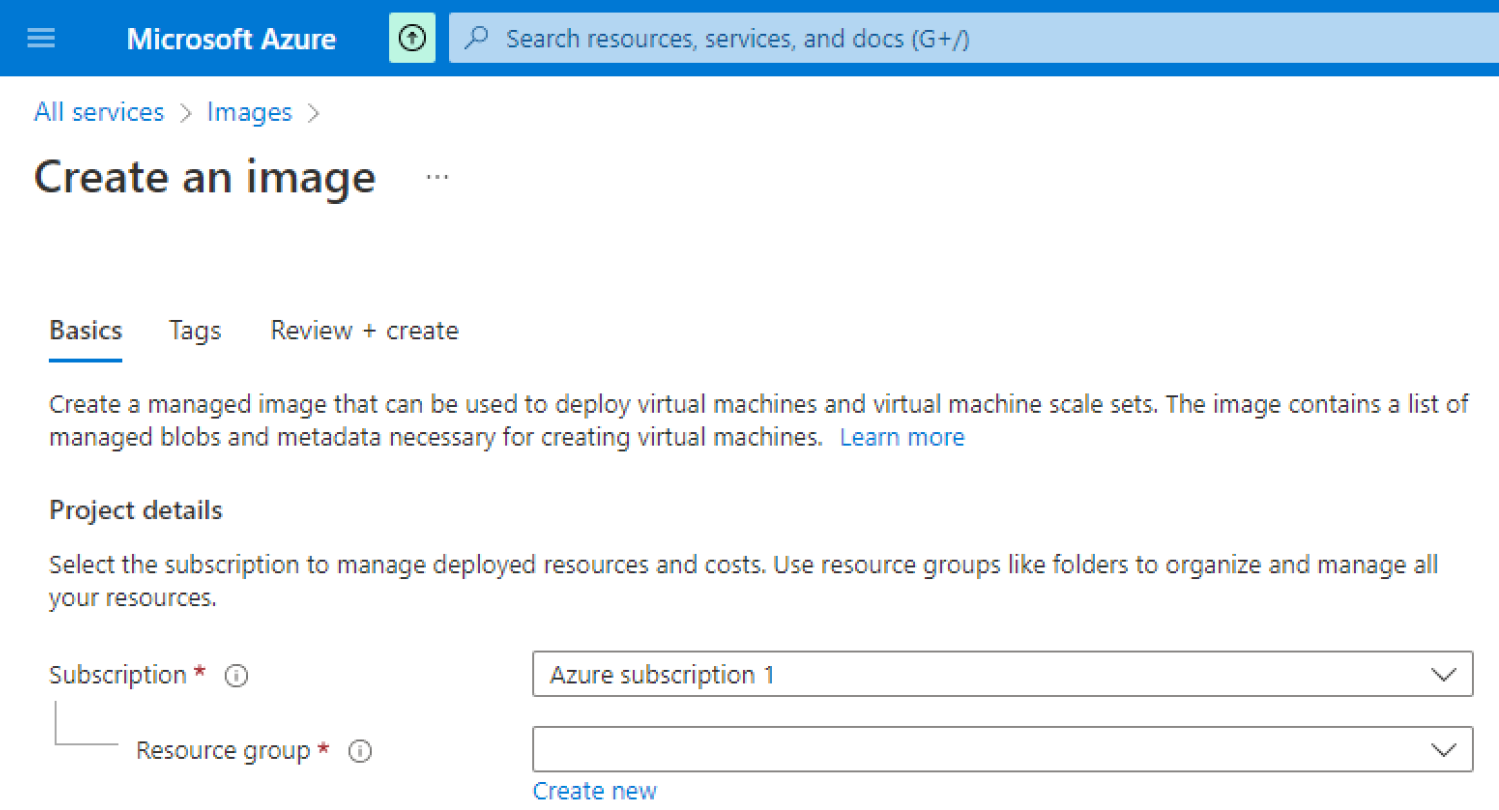
Type a name for the image.
Ensure the location is the same as the location of your storage account.
In the OS Disk section, do the following:
Select Linux and the OS Type.
In the Storage Blob field, click Browse.
Select the VHD file that was uploaded.
Click Create to start the image creation process.
Once the image has been created, navigate to the Images panel and verify the image there.
Navigate to All services > Images and select the image you created.
Click Create VM to create a VM and launch with reference to the Azure documentation here: https://docs.microsoft.com/en-us/azure/virtual-machines/linux/quick-create-portal.
Select the following Settings (if not specified, keep default value):
Size: Standard D2sv3 (recommended) or Standard B2s (minimum)
OS disk type: Standard SSD
Authentication type: SSH public key (This is not used but the authentication type is a requirement for Azure.)
Public inbound ports: none
Licensing: Other
The following are the minimum recommended settings for the Review + create page: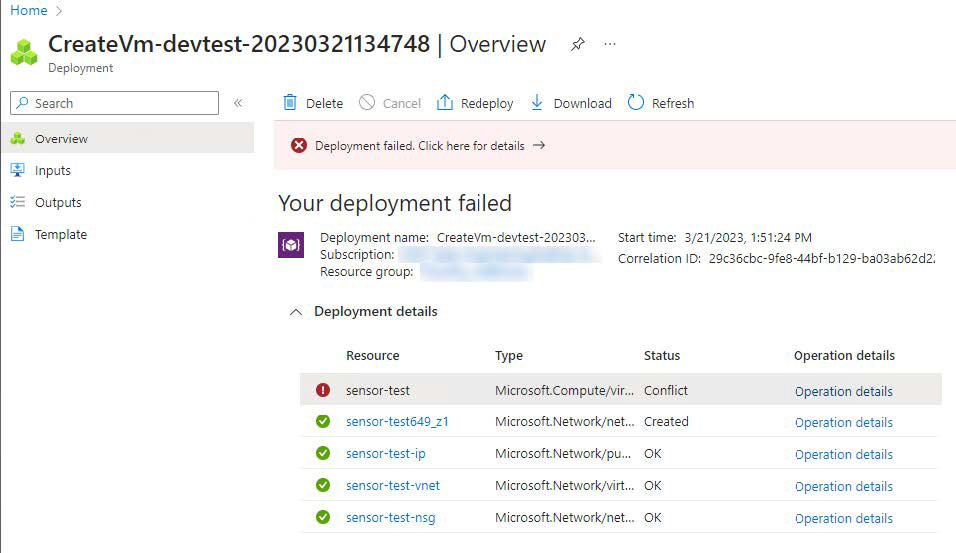
Set up a second NIC. You can find the procedure here.