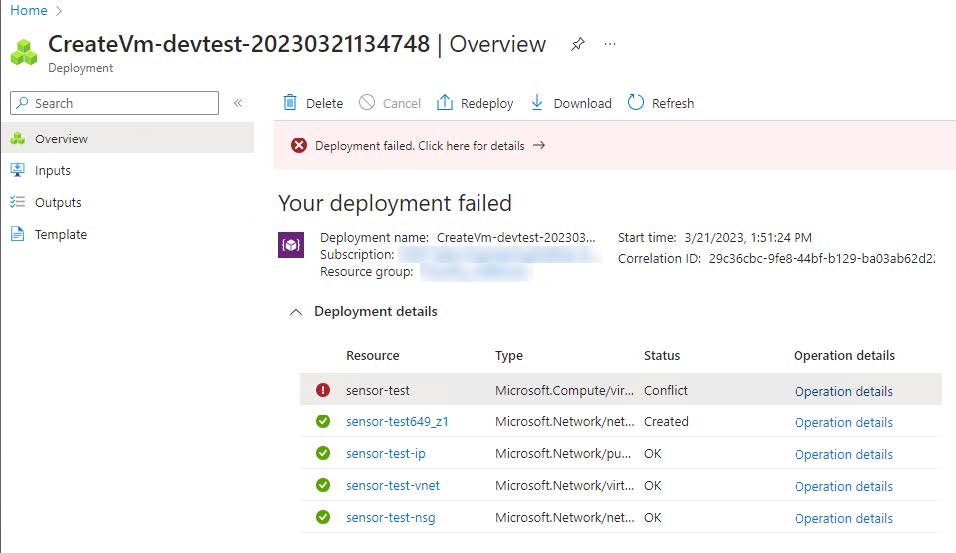
If you encounter an error setting up a Virtual Sensor for Azure, see Troubleshooting Deployment Failures for Azure Virtual Sensors.
- In Barracuda XDR Dashboard, click Downloads > Virtual Sensors.
- In the Step 2 box, select VHD (Azure).
- Click VHD (Azure) 7Z.
Wait for the download to complete. - Navigate to your download folder and extract the compressed file.
- Log in to your Azure portal.
- Upload the extracted VHD image.
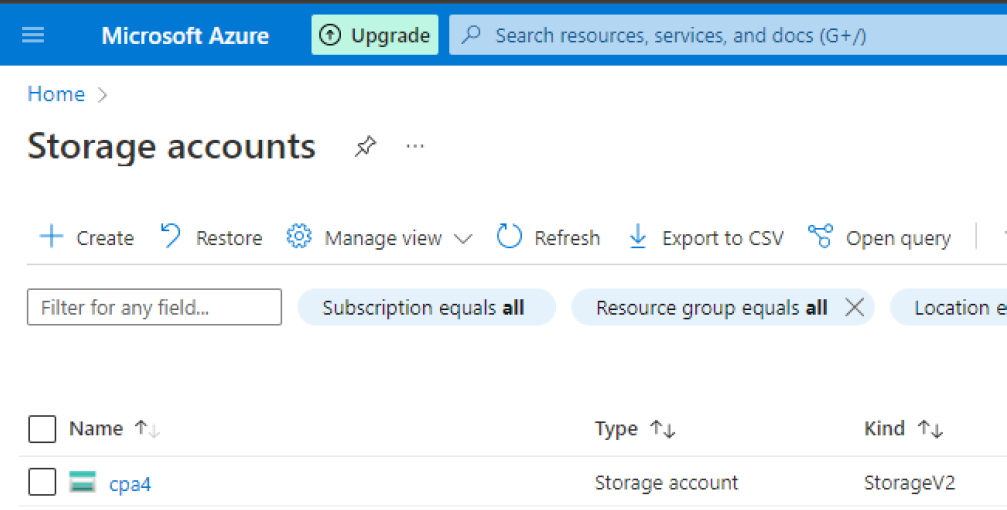
- Click Storage Accounts and select the storage account.
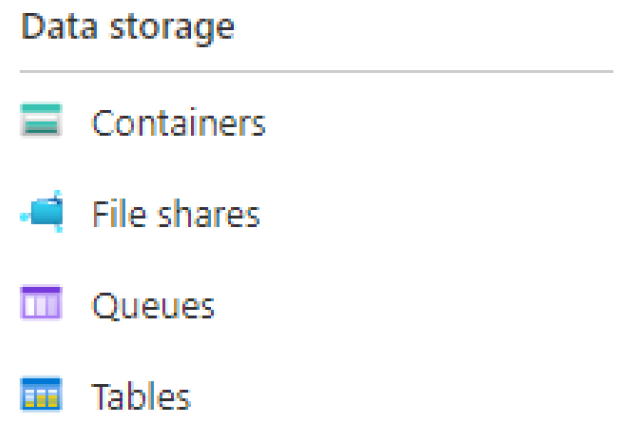
- Under Data Storage, click Containers.
- Select a container to upload the VHD file.
- Click Upload, then select a VHD file.
Set Blob type to Page Blob.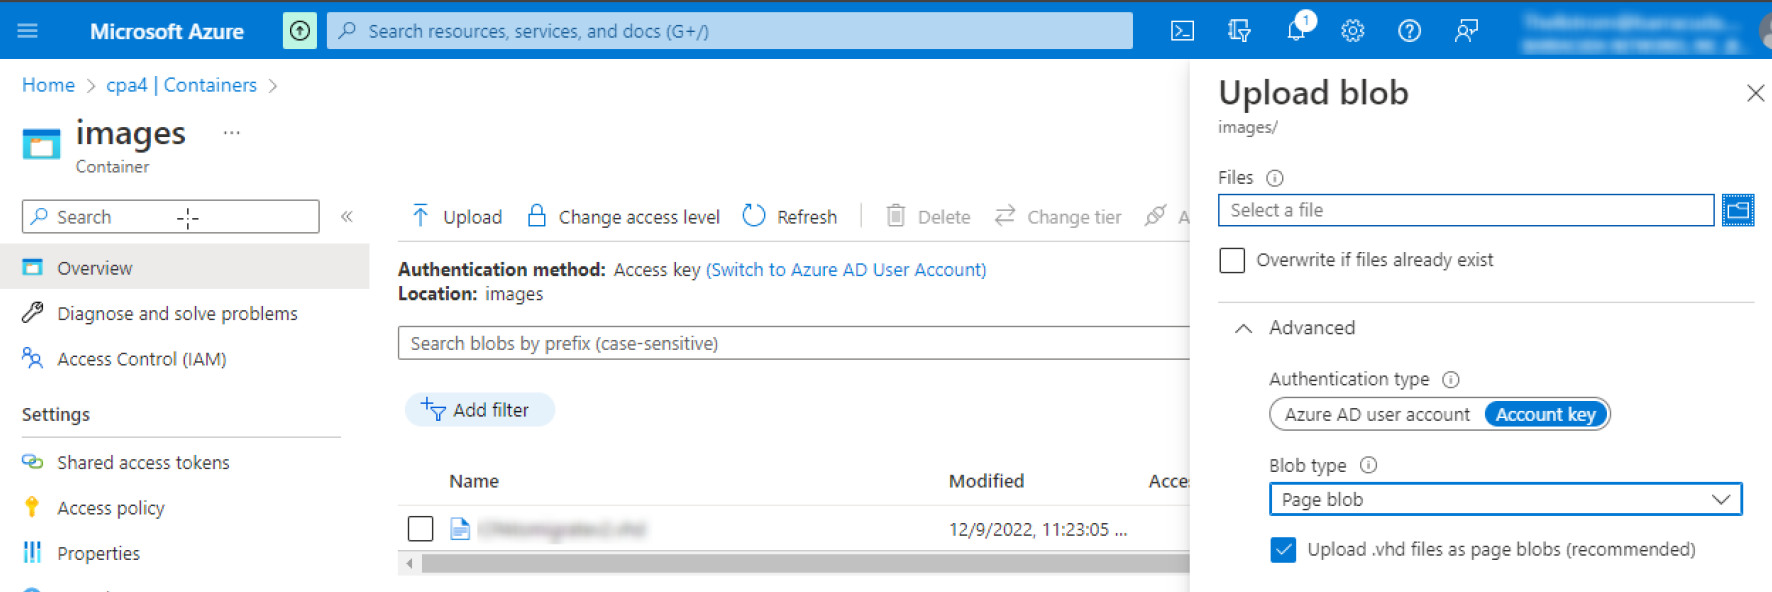
- Click Storage Accounts and select the storage account.
- To create an image in the Azure Portal, select Images and click Add.
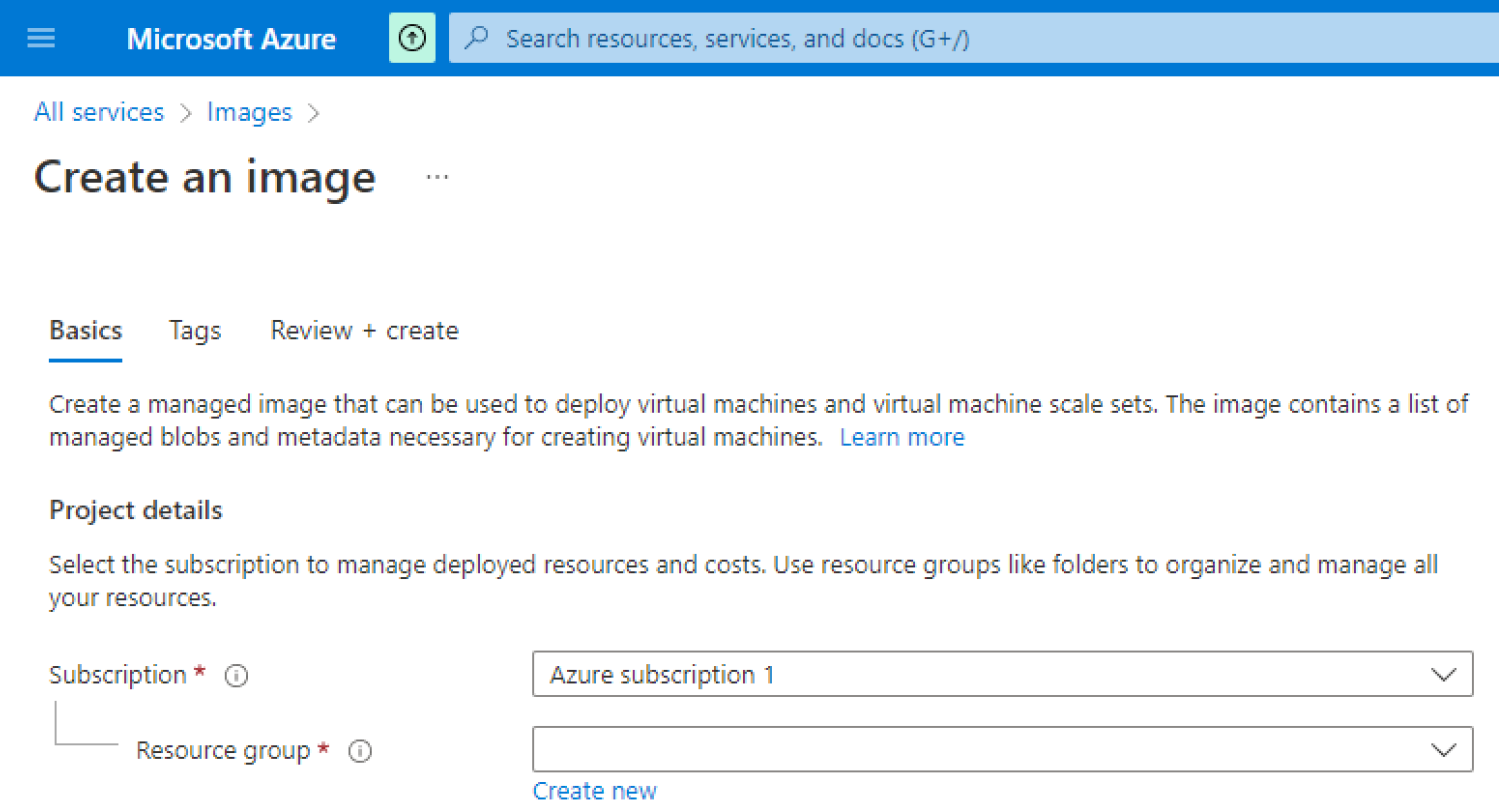
- Type a name for the image.
- Ensure the location is the same as the location of your storage account.
- In the OS Disk section, do the following:
- Select Linux and the OS Type.
- In the Storage Blob field, click Browse.
- Select the VHD file that was uploaded.
- Click Create to start the image creation process.
- Once the image has been created, navigate to the Images panel and verify the image there.
- Navigate to All services > Images and select the image you created.
- Click Create VM to create a VM and launch with reference to the Azure documentation here: https://docs.microsoft.com/en-us/azure/virtual-machines/linux/quick-create-portal.
- Select the following Settings (if not specified, keep default value):
- Size: Standard D2sv3 (recommended) or Standard B2s (minimum)
- OS disk type: Standard SSD
- Authentication type: SSH public key (This is not used but the authentication type is a requirement for Azure.)
- Public inbound ports: none
- Licensing: Other
The following are the minimum recommended settings for the Review + create page: