

The Barracuda Email Protection Add-In supports Outlook and Outlook on the web for Microsoft Office 365. If you are using the legacy Barracuda Outlook Add-in, see Barracuda Outlook Add-In for information.
Depending on how you or your administrator deployed the Email Protection Add-In, the Microsoft 365 authorization pop-up may temporarily appear after you take an action with the Add-In. This briefly confirms your credentials and then disappears. There is nothing you need to do.
Determine How to Handle Reported Email
Once a messages has been reported as suspicious, it will be sent to Barracuda Networks for further analysis and moved out of the Inbox to a selected folder. To determine which folder:
Log into Outlook or Outlook on the web and select a message. The read message pane opens.
Depending on the Outlook/ Outlook on the web version and your operating system, find and click one of the following:
the Barracuda Email Protection Add-In button at the top of the window, which may look like this…
or this…
or click the three dots at right, click Apps, and then select the Barracuda Email Protection Add-in app.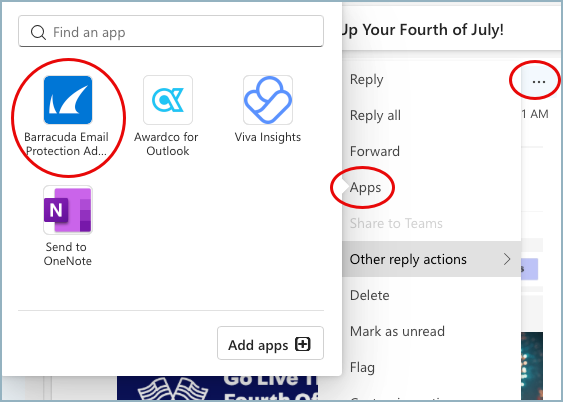
In the Outlook simplified menu bar, it may look like this after clicking the three dots: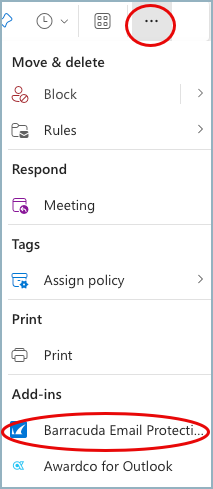
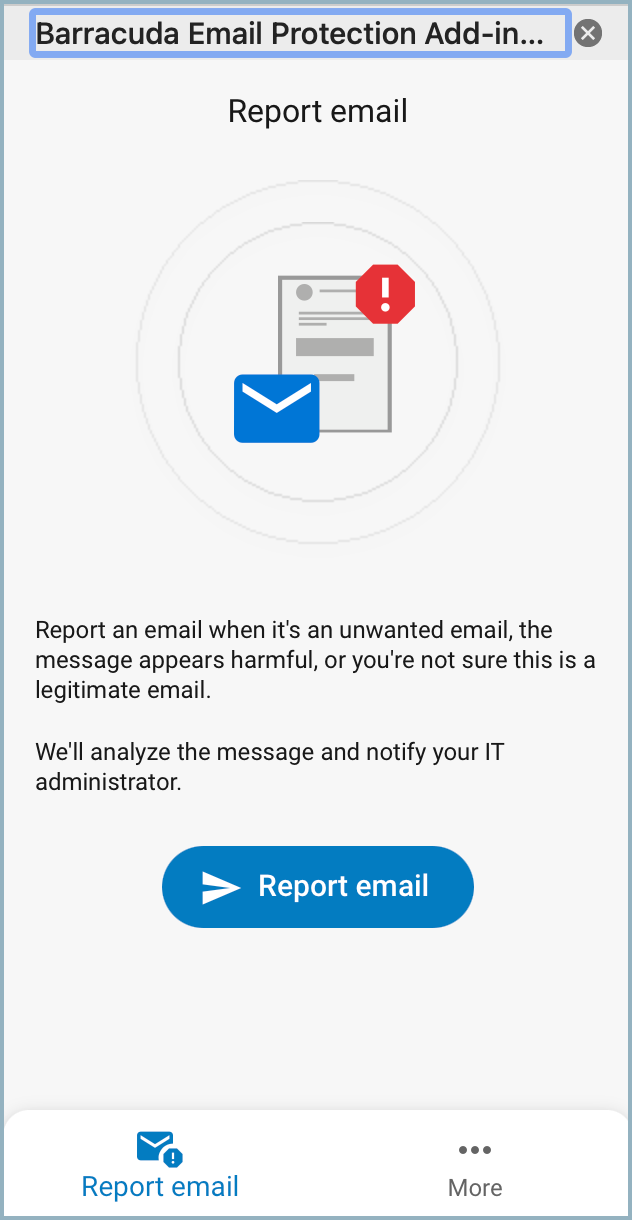
The Report phishing emails screen is displayed.
Decide where you want your reported messages to be moved. (Note: if you have already chosen a folder, skip this and go to step 6.)
Click More at the bottom and select Settings.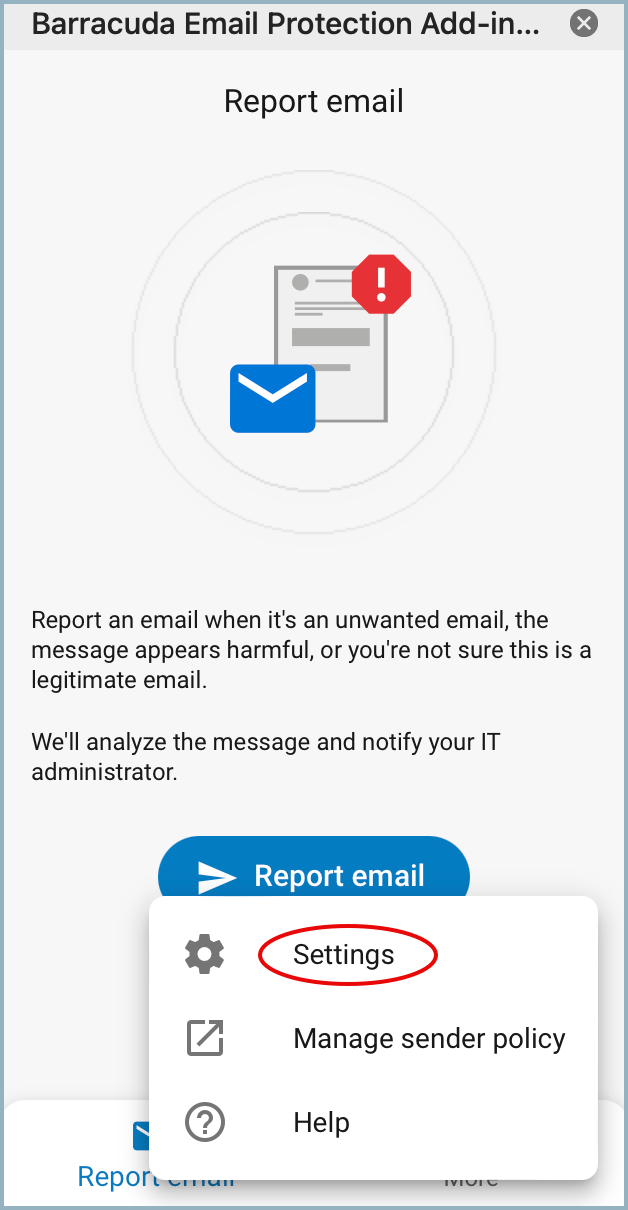
Click the arrow to the right of Move email to and select the account folder that will receive reported messages (i.e. Deleted Items, Junk Email, a custom folder, etc.)
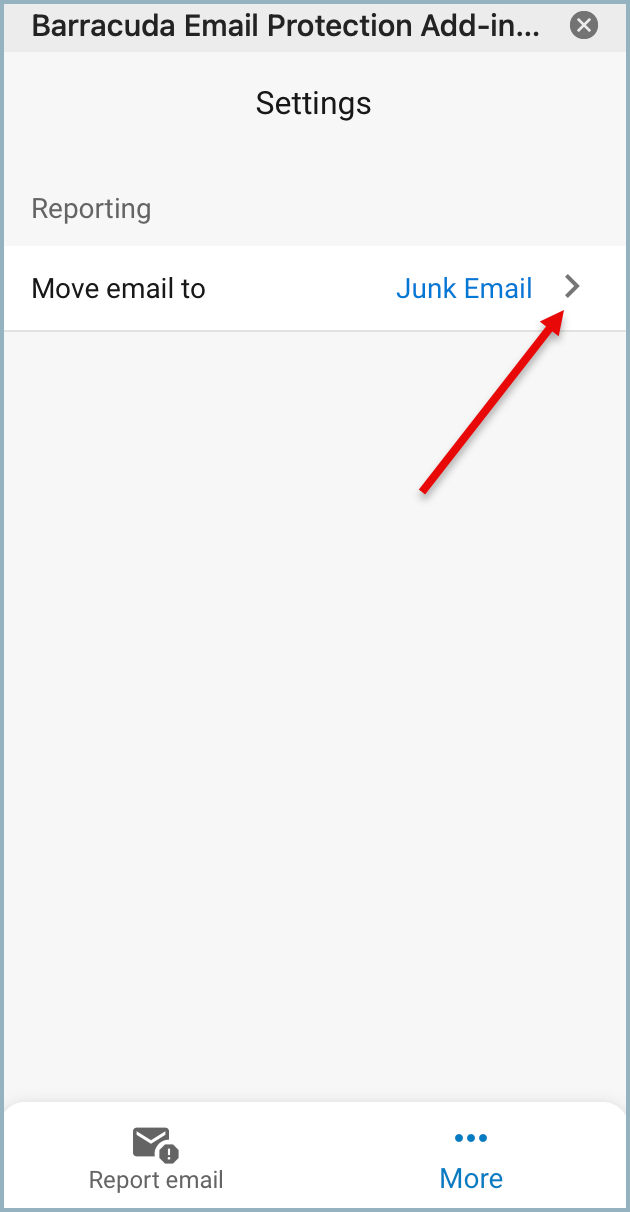
Then click the arrow at top-left to return to the previous screen.
Report Suspicious Email
You can report a suspicious email to Barracuda Networks, provide some feedback about the message, and move the message to the folder of your choice. (Junk Email is the default folder. See the steps above to change to a different folder.)
To report a suspicious email:
Select a message in Microsoft Outlook or Outlook on the web.
Click the Report Email icon in the menu bar above the message. The icon can look like this:

Or this:

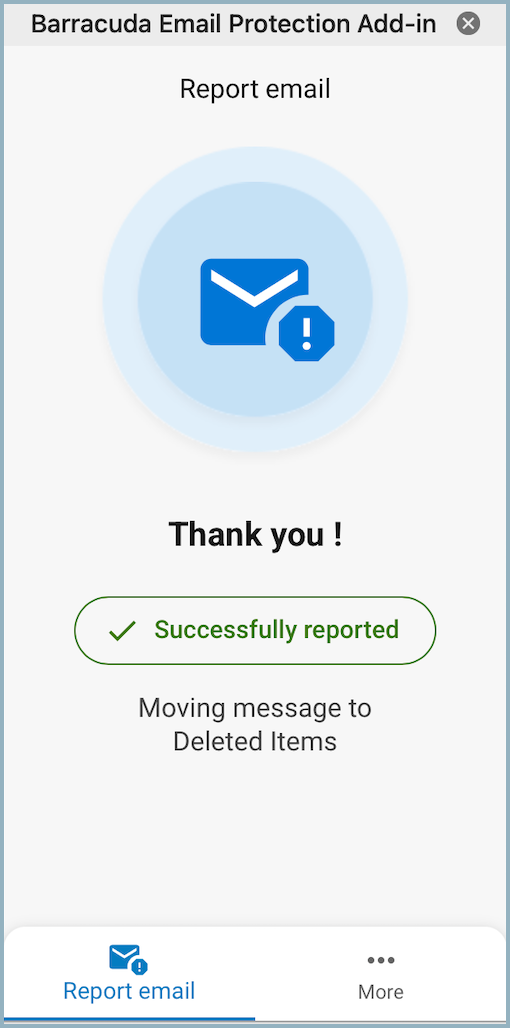
The Barracuda Email Protection Add-in opens. Click the Report email button.

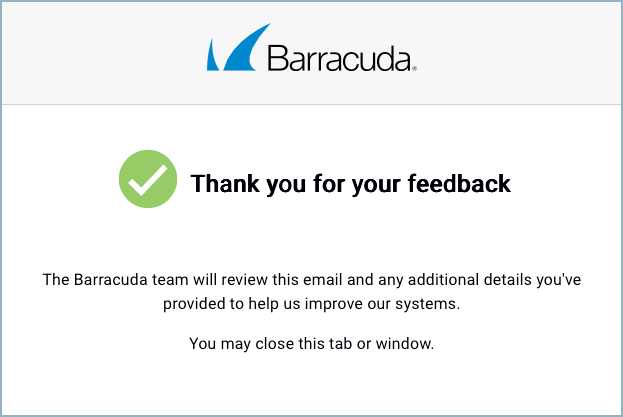
The message is then reported and moved to the folder configured above. The Thank you screen briefly displays and then the Add-in app closes.
A feedback form will open in your default browser.
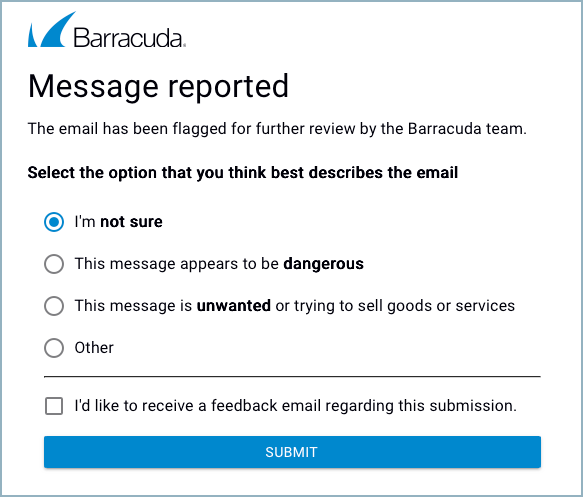
Select the reason that best describes the email.
If you would like to receive feedback regarding this submission to Barracuda Networks, click to check the box at the bottom.Click Submit.
Depending on your company’s infrastructure, you may see the following screen after clicking the Report email button in step 3.
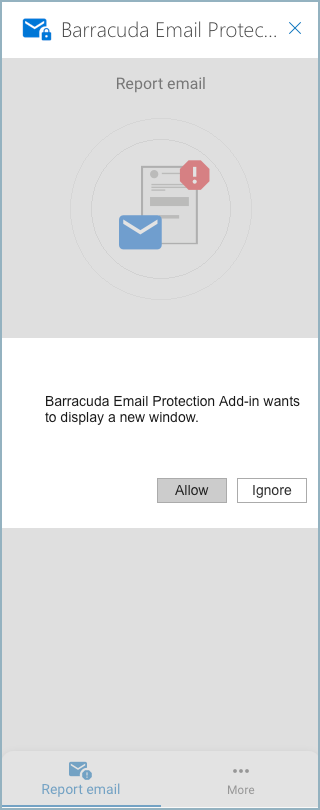
After clicking Allow, the email will be reported to Barracuda, but the feedback form may not open. The Barracuda Email Protection Add-in will briefly display Thank you before closing. There is nothing more you need to do.
Send Encrypted Messages
Encrypt outbound messages for secure message transmission.
To encrypt an outbound message:
Log into Outlook or Outlook on the web, and select to create, forward, or reply to a message. The compose message pane opens.
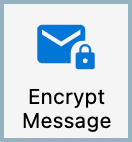
Click on the Encrypt Message button.
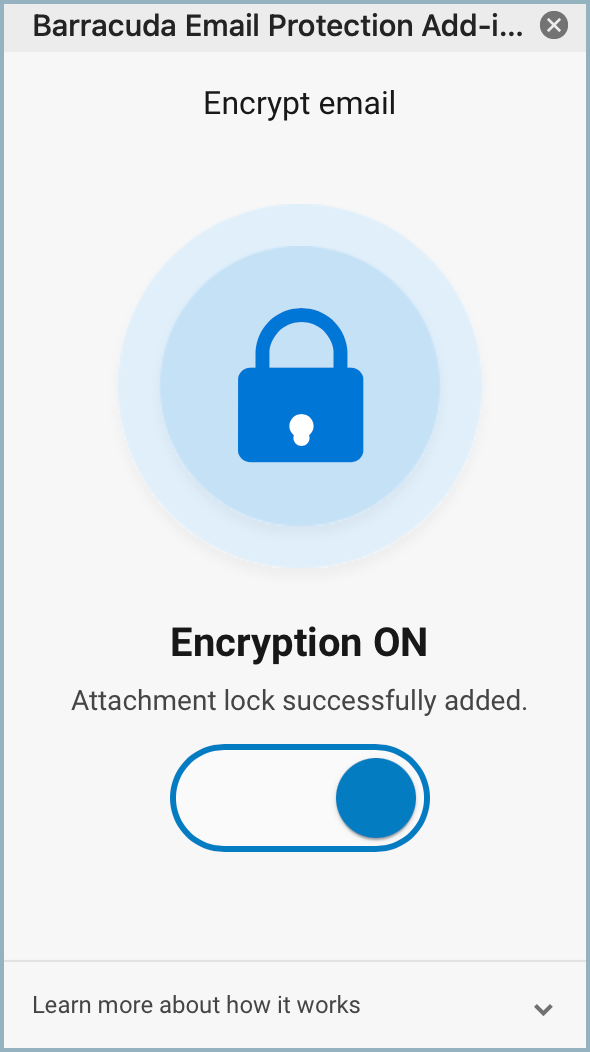
The actions panel opens. By default, Encryption is OFF.
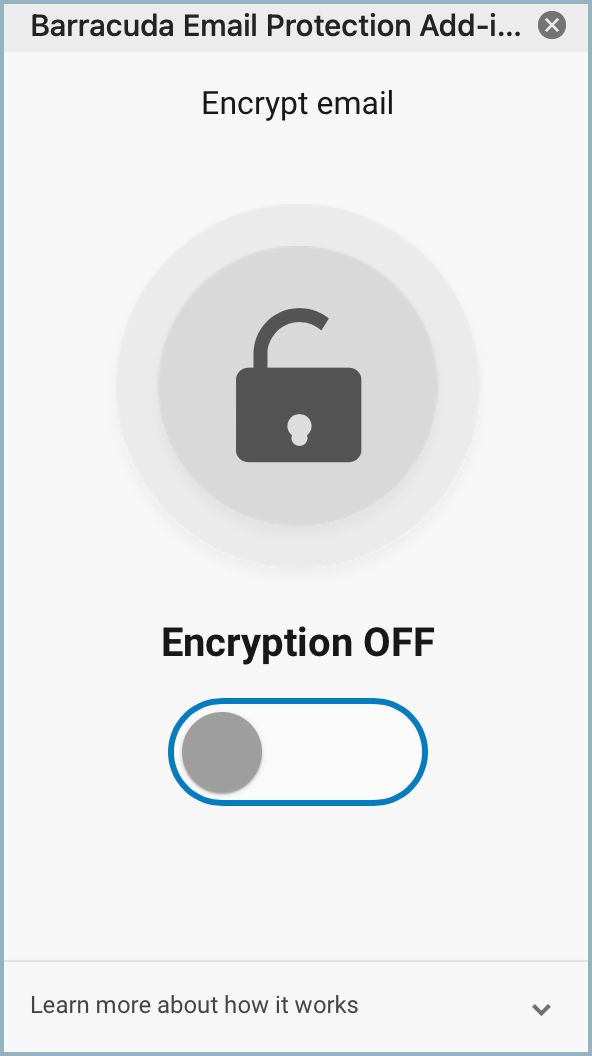
Click to toggle Encryption to ON. The encryption attachment is added to your message.
Complete and send the message. The Add-In will close once the message has been sent.