

File content policies contain rules that block or allow the transfer of files. Each policy defines a set of criteria that can be combined with either a Boolean AND or OR. You can prioritize file transfers by changing the assigned QoS band for the duration of the transfer.

For information on how to customize default policy profiles, see How to Configure Policy Profiles.
Before You Begin
Make sure that SSL Inspection is enabled in the Security Settings. For more information, see How to Configure Outbound TLS Inspection.
Create a File Content Policy Profile
Create an explicit file content policy profile to match your individual requirements.
- (On the Control Center) Go to CONFIGURATION > Configuration Tree > Multi-Range > Global Settings > Global Firewall Objects.
- Click Lock.
- In the left menu, expand Policy Profiles.
Select File Content.
- To add a new policy profile, click the plus icon (
 ) at the top right of the window, enter a profile name, and click OK.
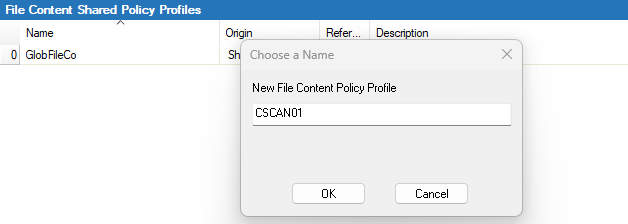
- Click Send Changes and Activate.
The policy profile now appears in the File Content Shared Policy Profiles list, and you can create explicit policies for it.
Create an Explicit File Content Policy
- (On the Control Center) Go to CONFIGURATION > Configuration Tree > Multi-Range > Global Settings > Global Firewall Objects.
- (On a CloudGen Firewall) Go to CONFIGURATION > Configuration Tree > Box > Assigned Services > Firewall > Forwarding Rules.
- Click Lock.
- In the left menu, expand Policy Profiles.
Select File Content.
- Select the profile you wish to create the policy for. The policy list appears under the corresponding tab in the lower window.
- To add a new policy, click the plus icon (
 ) at the top right of the lower window. You can also right-click the list and select Add Policy.
 - Specify values for the following:
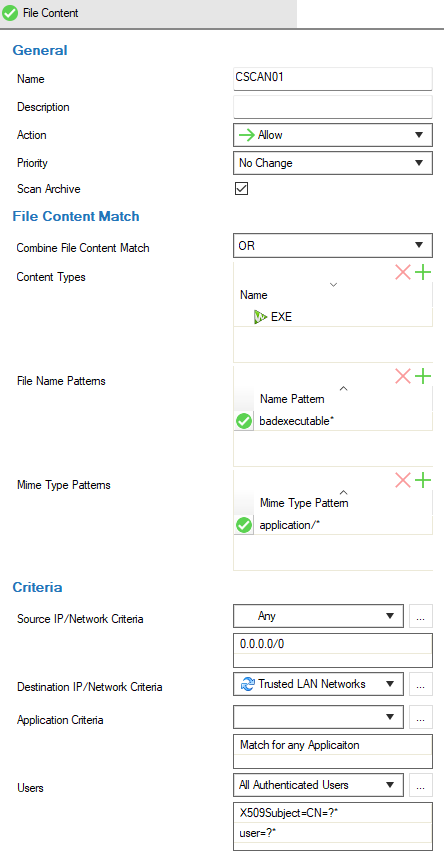
- Name – Enter a descriptive name for the explicit policy.
- Description – Enter a description for the policy.
- Action – Select an action.
- Allow – Allow file transfer, log the traffic, and show file content information in Firewall Live, History, or Monitor.
- Alert – Allow the file transfer and show file content information in Firewall Monitor.
- Block – Block the file transfer, log the traffic, and show file content information in Firewall Live, History, or Monitor.
- Do not log – Allow the transfer, but do not log. Do not show file content information in Firewall Live, History, or Monitor.
- Priority – Select the priority for the traffic the policy should apply to.
- Scan Archives – Select the check box to enable archive scanning for file types like .zip, .rar, .exe, .iso, .tar, .tgz, .cab, .msi
- Combine File Content Match – Select if the matching criteria in the the policy should be combined with a Boolean AND or OR.
- Content Types – Click + to open the content type list and double-click the entry you wish to create the policy for.
- File Name Pattern – Click + to add one or more file name patterns. File name patterns may contain the * and ? wildcard characters.
MIME Type Pattern – Click + to add one or more MIME type patterns. MIME type patterns may contain the * and ? wildcard characters.
- Source / Destination IP/Network Criteria – Select the source and destination network, or select <Explicit Network> and enter an IP address / network or a domain that gets resolved to an IP address for the matching.
- Application Criteria – Define the application match condition. Add an application the policy should apply to, or create explicit applications. To open the selection menu, double-click the corresponding field. Selecting applications in the application editor works similar to the process in the objects configuration for the application rule set. For more information, see How to Create an Application Object and How to Create a Custom Application Object.
- Users – Select the users or groups the policy should apply to.
- Click OK.
- Click Send Changes and Activate.
The policy is now listed in the lower window and can be selected as Policy in your forwarding rules. For more information, see the last step in How to Configure Policy Profiles.