

Barracuda SecureEdge Access allows administrators to configure custom Access Agent networks with respect to each Private Point of Presence. The Barracuda SecureEdge Access Agent running on the client connects to the SecureEdge unified cloud UI. In addition, you can enforce agent web filtering policies to the web traffic that the clients connect to via the SecureEdge Access Agent in order to establish a secure connection to access internal and external company resources.
Configure Access Agent Network
Go to https://se.barracudanetworks.com and log in with your existing Barracuda Cloud Control account.
The chosen Tenant/Workspace is displayed in the top menu bar.
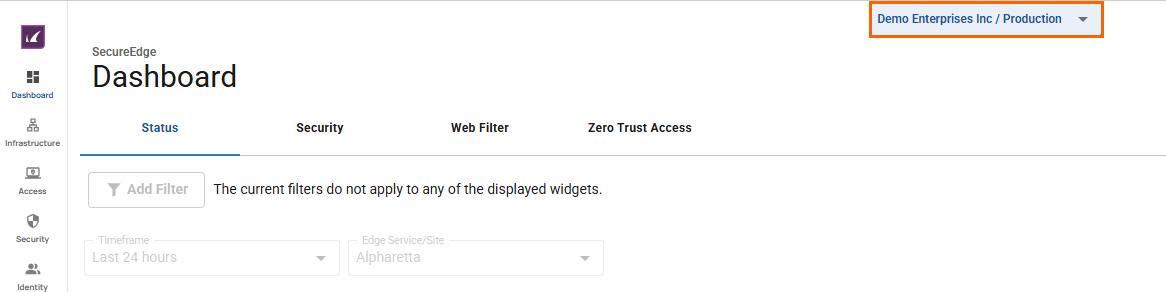
From the drop-down menu, select the workspace your SecureEdge Access should be configured for.
Go to Infrastructure > Settings.
Expand the Settings menu on the left and select Access Agent Network.
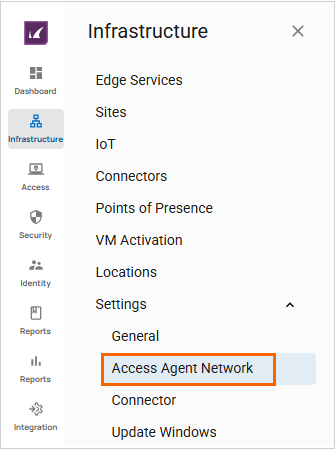
The Access Agent Network page opens.
In the Access Agent Network Configuration section, specify a value for the following:
Network DNS Suffix – Enter a DNS suffix to be used for your client network.
Use Manual Configuration – Click to enable/disable.
If Use Manual Configuration is enabled, specify values for the following:
Device IP Range – Enter the device IP range. Note: If you enter 100.64.0.0/10 as your device IP range, or if you enter any public range, you will get an error.
Pool Bitmask – Enter the bitmask of the network pool to allocate each agent access point.
If Use Manual Configuration is disabled, you are not allowed to set any values.
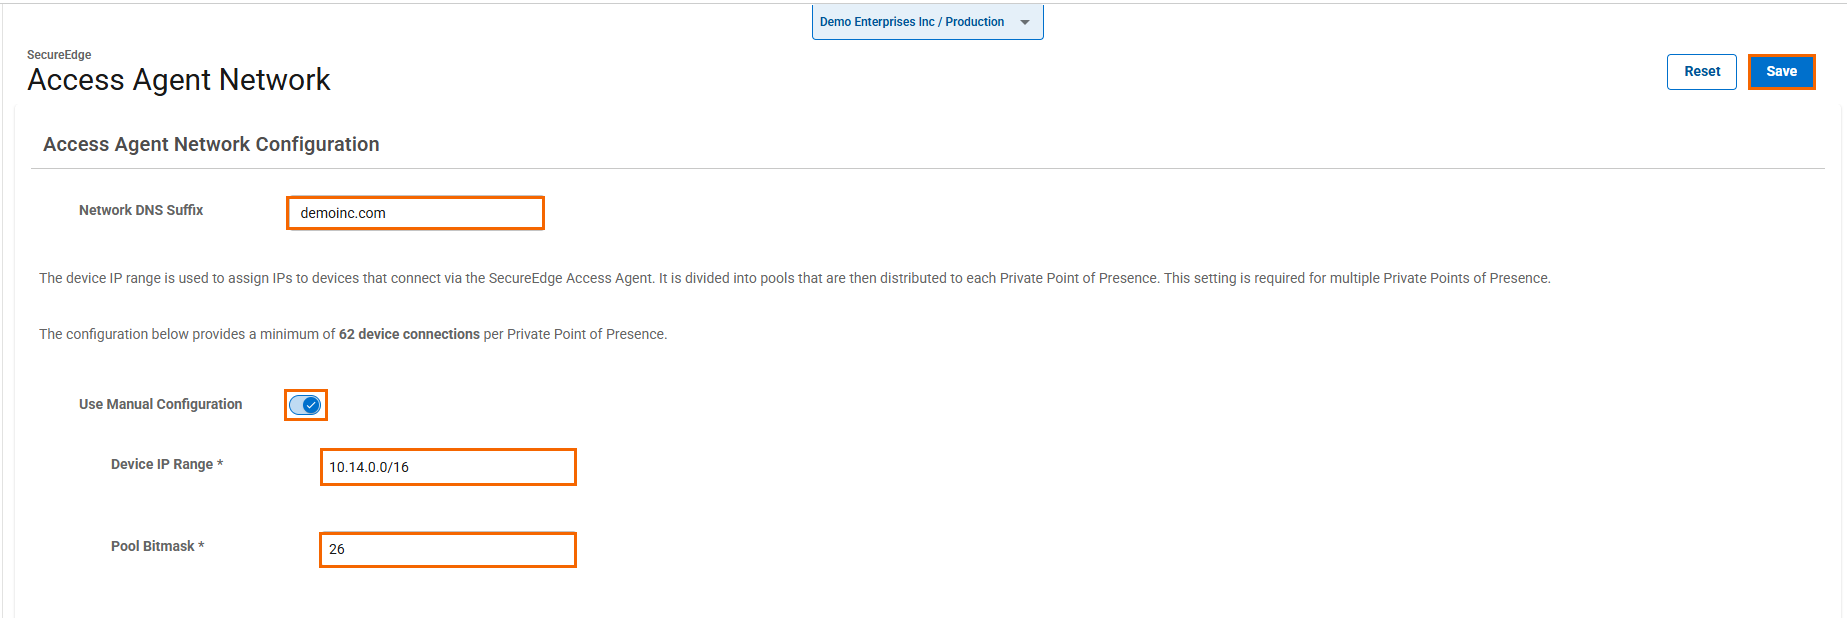
Click Save.
In the CloudGen Firewall Client Certificate section, click Download certificate.

Install this root certificate on all your clients to assure parallel operations with CloudGen Firewall client-to-site and SecureEdge Access Agent.