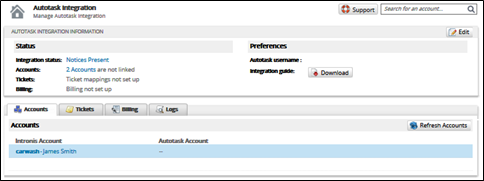
To map tickets to Autotask companies, perform the following steps.
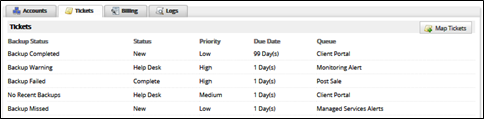
- At the Autotask Integration page, click the Tickets tab.
The Tickets page is displayed.
- Click the Map Tickets button.
The Map Tickets page is displayed.
- Select the Add Ticket Mapping drop-down arrow.
The Mapping Status Menu options are displayed.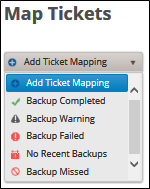
- Select the status options you want to map.
You can map the following backup statuses:- Backup Complete
- Backup Warning
- Backup Failed
- Backup Missed
- No Recent Backups
The options you selected are displayed.
The following example displays all the status options added.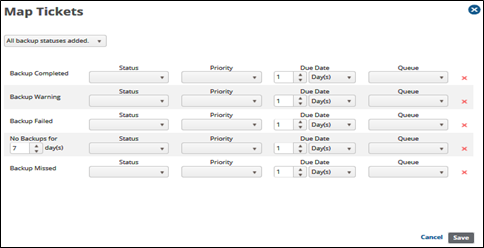
- For each ticket that you would like to send to Autotask, select the appropriate Status, Priority, Due Date, and Queue from your available options using the drop-down menus in each row.
The following example displays a completed ticket page.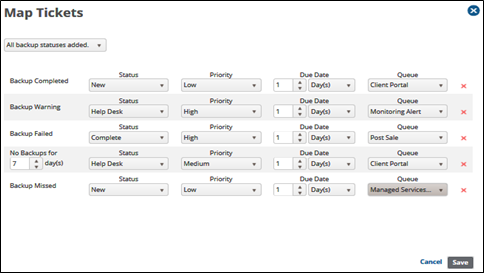
Note : The Due Date fields range from 1 - 99 days. - When you are done, click the Save button.
Your mapped tickets are displayed on the Tickets page.