

In order to use the Barracuda DNS Filtering Service, you must direct your computer(s) (laptop / desktop) to the assigned Barracuda Domain Name Server (DNS). The IP address for the Barracuda DNS nameservers are shown on the Configure DNS page of the Add Location popup, which you access on the DNS FILTERING page.
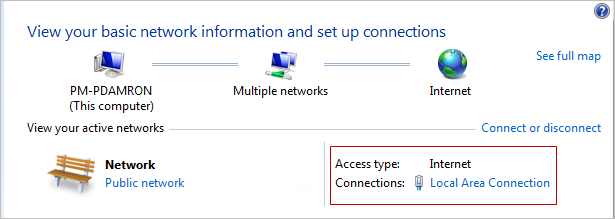
- From the Windows 8 Desktop, right click the Networks icon and select Open Network and Sharing Center.
Click on your primary connection or Local Area Connection under Active Networks.
- While in the Open Network and Sharing Center, click the current active connection or the connection that you want to configure the Barracuda nameserver on.
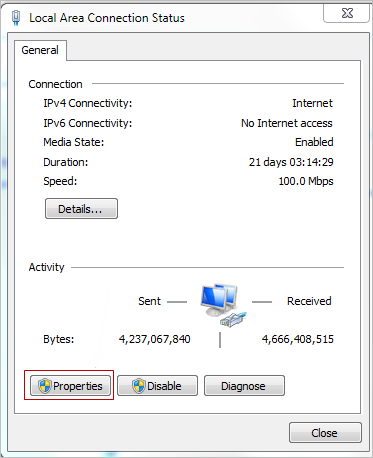
- Choose/open the properties for that connection.
- Highlight the Internet Protocol Version 4 (TCP/IPv4) option, then click Properties.
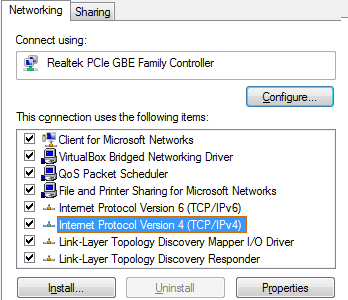
-
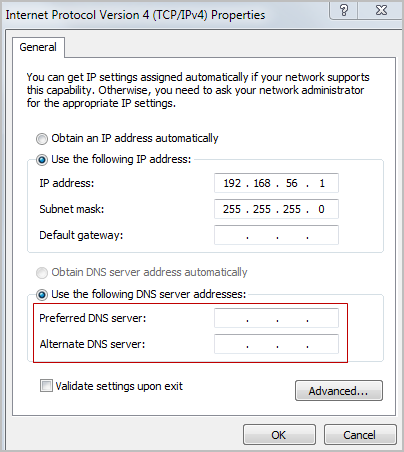
Select Use the following DNS server addresses and fill out the Preferred DNS server and Alternate DNS Server fields with the Barracuda DNS server IP addresses. Click OK.
Clear your browser and DNS cache. This ensures that your new DNS configuration settings take effect immediately.