

With BCS Plus, you can either use preset filtering policies or create customized policies for a particular user or group, and base policies on either categories, domains, or URLs.
Configuring Local or LDAP Users and Groups
You can either manually add local users and groups, or synchronize your LDAP / AD services with the BCS service – this enables you to apply policies by users and / or groups. If you have a configured LDAP server, you can connect to your LDAP per instructions in LDAP Active Directory and BCS. For manual entry, see Manually Configure Local Users and Groups.
Creating Rules
See Best Practices for Creating Rules/Policies below. Before you create policies, make a list of the most important policies, and try to keep the policy compact – too many rules can render the entire policy almost useless and result in slower performance of the BCS agent. If you can, choose category policies over domain and URL-based rules.
- From the ACCOUNTS page, click Manage in the table for the account for which you want to configure rules/policies.
- Click on Advanced Filtering in the left pane.
- On the Advanced Filtering page you can either:
- Click ADD RULE. Click in the text box at the top of the popup to select one or more users or groups. OR
- Scroll down to an existing user or group in the table and, in the More column, click on the 3 dots (
 ) and click Create Rule.
- Select an Action of Block or Allow.
- Select a rule Type of either Categories, Domains, or URLs.
- Check each category for which you want the rule to apply, or enter the target domain or URL in the pop-up. When you enter a domain name, a wild card is automatically applied to include subdomains and the TLD (for example, .com, .org, .net, . us, .de., etc.) BCS validates domain or URL inputs is as follows:
- For domain-based rules, you cannot add a URL. For example, you could enter
redfin.com, buthttps://www.redfin.com/zipcode/95123would not be accepted. - You cannot enter and save an IP address for a domain/URL based rule.
- Wild card masks are not accepted when entering a domain/URL based rule, e.g.
*.microsoft.com, because wildcards are automatically included as stated above.
- For domain-based rules, you cannot add a URL. For example, you could enter
- Click Save.
Best Practices for Creating Rules/Policies
- Pay attention to policy precedence when you create user and group policies: policies above others in the table take precedence.
- Barracuda Networks recommends beginning by creating a baseline policy for Everyone with a default action of Allow. This prevents you from accidentally blocking newly discovered websites that may be important to people in your organization, such as new competitors, local government alerts, or breaking weather events. You can later add exception policies as needed. This policy would end up at the bottom of the table, so all policies created after that, or placed above it in the table, would take precedence and/or be exceptions to the Everyone policy.
- The next policy you create should be an Everyone policy that blocks a broad set of categories. You can start with the default categories that are set up in the account at activation, or check categories or supercategories you want to block. Important: Be sure NOT to block the Content Delivery Networks & Infrastructure (CDNs) category under the Security super-category, because thousands of websites rely on CDNs to deliver critical website content.
After you create these two policies, you'll see the second policy you created above the first policy in the table. This means that the higher level policy (block) takes precedence over the one(s) below it. See How Rules Are Applied (Order of Precedence) below for more information.
- Finally, create your group and user specific policies. These should be in the table above the first general Everyone policies you created, and represent exceptions to those policies. Barracuda Networks recommends placing user polices at the top of the list (table) and group policies near the bottom for easy policy precedence.
- When changing an AD group policy, restart the agent to make sure it gets the latest policy updates.
To create this set of policies:
Step 1: Create an Allow policy for Everyone.
- On the Advanced Filtering page, click ADD RULE.
- In the Select one or more users or groups this rule should apply to drop-down, select Everyone.
- In the Action drop-down, select Allow.
- In the Type drop-down, select Categories.
- Check the box for each supercategory you want to allow (recommended: check all of them, and then create your block policy).
- Click CREATE to save the policy.
Step 2: Create a Block policy for Everyone, as needed.
- On the Advanced Filtering page, click ADD RULE.
- In the Select one or more users or groups this rule should apply to drop-down, select Everyone.
- In the Action drop-down, select Block.
- In the Type drop-down, select Categories.
- Check the box for each supercategory and/or category you want to block. As noted above, be sure NOT to block the Content Delivery Networks & Infrastructure (CDNs) category under the Security super-category, because thousands of websites rely on CDNs to deliver critical website content.
- Click CREATE to save the policy.
Step 3: Create exceptions to the policy for specific users and/or groups.
In the following example, say you have blocked the Commerce and Shopping supercategory, but you want staff in the Finance department to be able to visit domains categorized under Financial Products in that supercategory.
- Click ADD RULE.
- In the Select one or more users or groups this rule should apply to drop-down, select the Finance group.
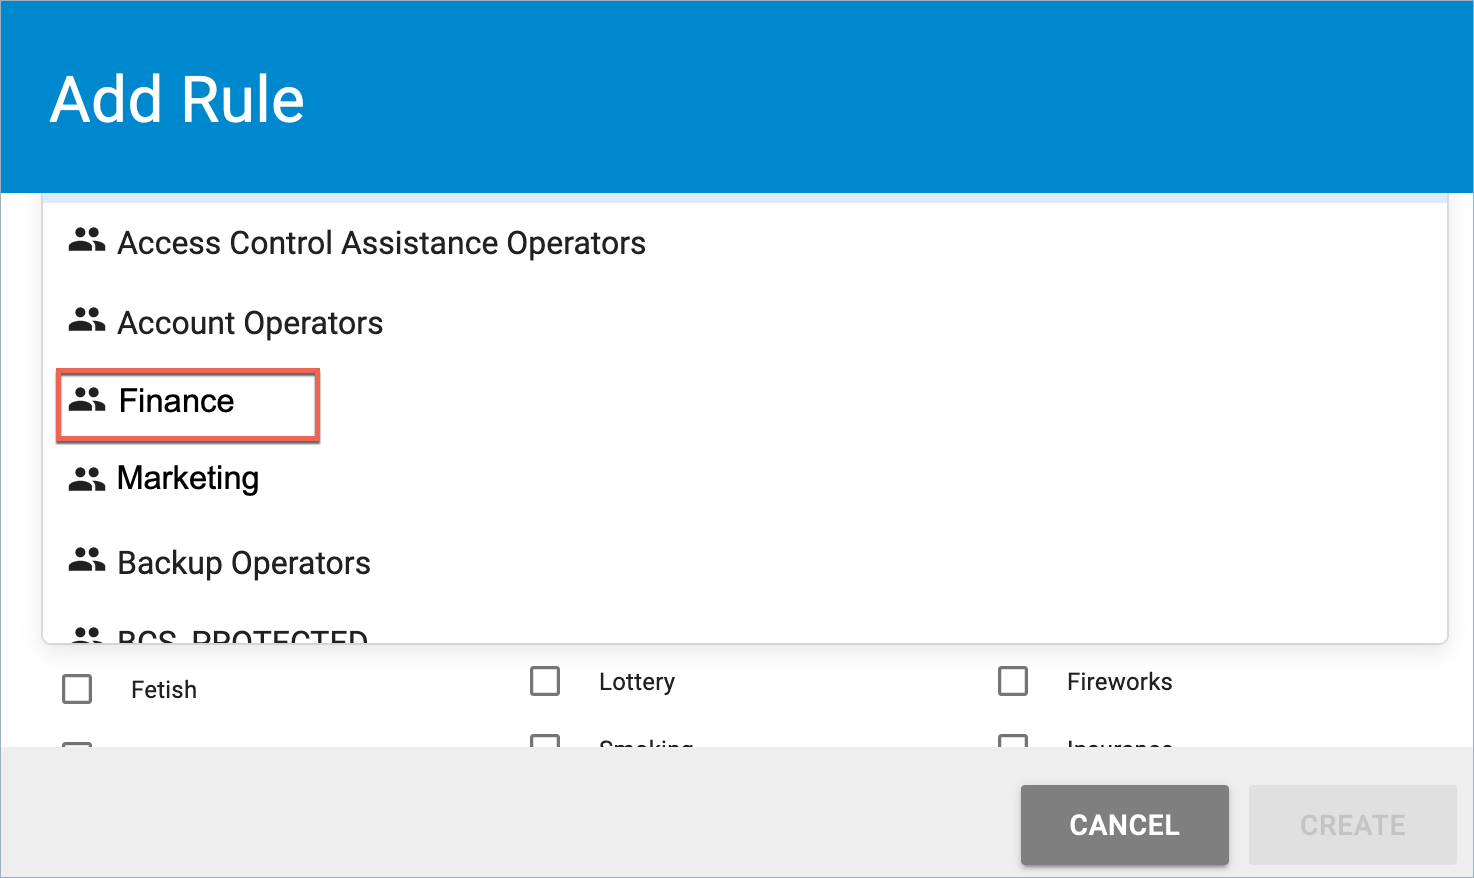
- In the Action drop-down, select Allow.
- In the Type drop-down, select Categories.
- In the Commerce and Shopping supercategory, check Financial Products. Domains in this category will be allowed for members of the Finance Department.
- Click CREATE.
You could do the same for a specific user, or by domain or URL. Make sure that this new rule is placed ABOVE the Everyone policies in the table so that it takes precedence.
Syntax for policies by domains and subdomains
When entering a domain for a policy, do not use wildcards ('*'), or include protocols, such as http:// or https://. When you enter a domain name, a wild card is automatically applied to include subdomains and the TLD.
| Correct | Incorrect |
|---|---|
| mydomain.net | https://www.mydomain.net |
| www.mail.barracuda.com | *.mail.barracuda.com |
| google.com, www.google.com | http://www.google.com |
| yourdomain.org | *.yourdomain.org |
All subdomains of the domain you enter are automatically included; in other words, subdomains inherit policies applied for a domain, UNLESS you create an exception. If you want to create an exception for a particular subdomain, you must specify that subdomain explicitly. For example, if you create a Block Traffic exception for google.com, all subdomains are included and blocked. If you want to allow subdomain mail.google.com, create an Allow Traffic exception for the subdomain mail.google.com. Here are more examples of how exceptions work with domains and subdomains:
| Policy | Results |
|---|---|
BLOCK google.com ALLOW mail.google.com BLOCK server1.mail.google.com
| http://google.com/ BLOCKED (matches google.com) http://inbox.google.com/ BLOCKED (matches google.com) http://mail.google.com/ ALLOWED (matches mail.google.com) http://server1.mail.google.com/ BLOCKED (matches server1.mail.google.com) http://server2.mail.google.com/ ALLOWED (matches mail.google.com) |
BLOCK www.abc.com | http://abc.com ALLOWED (doesn't match www.abc.com) |
| BLOCK abc.com | http://www.abc.com BLOCKED (inherits policy from abc.com domain) |
| ALLOW abc.com BLOCK z.abc.com | http://z.abc.com BLOCKED (matches z.abc.com) http://y.abc.com ALLOWED (inherits policy from abc.com) |
How Rules Are Applied (Order of Precedence)
Rules are applied in the order in which they appear in the table. Each rule takes precedence over the rule(s) listed below that rule. For example, you may create a group rule that blocks YouTube.com for Everyone or for a specific group of users. If you want to create a separate policy allowing one user to access YouTube.com, and that user is part of the group for which you created the block rule, you must place the rule for the user above the rule for the group. If you place the policy for that user below the group policy, then YouTube.com would be blocked for that user as well.
After you have created rules for users and/or groups, you can create a new rule:
- By clicking More Options (
 ) in the table row for a user or group, and then clicking Create Rule in the drop-down. This adds another rule for that user or group.
 - By clicking ADD RULE to create a new rule for a different user or group.
Traffic that is affected by advanced filtering policies is logged in the Web Filtering Logs.
How Domains Are Categorized
Barracuda Networks uses one of the most extensive web content definition databases, covering some of the highest risk websites on the Internet. The websites in the Barracuda Networks database are organized into content categories (subcategories) which are grouped by supercategories. When you create rules that block categories of websites, you can choose a supercategory to block, or you can drill down and block websites at the subcategory level. See Web Use Categories for a list of content categories.
Viewing Configured Filtering Policies
If you have already configured Advanced Filtering policies by user or group, the following displays in a table on the Advanced Filtering page in a separate section for each user or group. You can click the blue chevron to expand or hide the policies for each user or group.
- Order – The order in which the rule is applied, relative to other rules you have created. (0=first, 1=second, etc.). You can click More Options () in the table and select Move to Top or Move to Bottom to change the order in which the rules are applied.
- Action – Block or Allow
- Type – How the rule is defined; either by categories, domains, or URLs
- Rule – Lists values included in the rule
Modifying, Moving or Deleting a Group or a User Policy
The policy includes a set of one or more rules, and the policy is assigned to a user, a group, or to Everyone.
- To edit a policy: At the right of a table row for a policy, click More Options () for a drop-down and click Edit. You can then change the name of that policy to be under some other group, user, or set to Everyone.
- To edit a rule within a policy: Below the bar in the table with the user or group policy name, click in a row to select a rule and click More Options () for a drop-down. Click Edit to change the Action, Type and Domain, Categories or URLs.
- To delete a user or group policy: At the right of a table row for a particular policy, click More Options () for a drop-down and click Delete.
- To delete a rule: In a row inside the policy, c lick More Options () for a drop-down and click Delete.
- To MOVE a policy up or down in the table to change order of precedence: You can do this for a user/group policy to move above or below other user/group policies in the table to change the order of precedence. Use the More Options () for a drop-down and click Move To Top or Move To Bottom.
- To MOVE a rule row up or down within a policy to change order of precedence: In a row inside the policy, c lick More Options () for a drop-down and click Move To Top or Move To Bottom. This moves rules above or below other rules so that one takes precedence over the other(s). So, for example, you may have an overall Allow rule for certain social media sites, but a Block rule for just Instagram.com. You would want the Block rule to be above the Allow rule so that it takes precedence.
Adjusting Policies for Users and Groups
After you have created and tested Advanced Filtering policies, you may need to adjust settings according to the needs of your organization based on the following (or other) reasons:
- Changes in browsing or business policies of your organization
- Need for access to some domains that are included in a category that you need to block, in general
See also: