

This article refers to the following Barracuda Networks devices: Additional Resources: When Barracuda Networks Technical Support needs to troubleshoot and diagnose a potential issue with a Barracuda Networks appliance, the technician uses a support tunnel to remotely connect to that appliance. Go to the ADVANCED > Troubleshooting page in the web interface, and click the Establish Connection to Barracuda Networks Support Center button to create a secure troubleshooting connection from your Barracuda Networks appliance to the Barracuda Networks Technical Support servers. You should see a screen update similar to Figure 1 below. Barracuda Networks appliances connect to the Barracuda Networks Support Server located at this address: When opening the support tunnel, the Barracuda Networks appliance attempts to connect directly to the Barracuda Networks Support Server term.cuda-support.com on port 22. Open your network to allow the Barracuda Networks appliance outbound access to ALL on port 22. To test the connection to the support tunnel, complete the following steps: If you cannot connect to the support tunnel, there is a block on your network that must be resolved. For additional troubleshooting options, click Help on the ADVANCED > Troubleshooting page in the web interface.
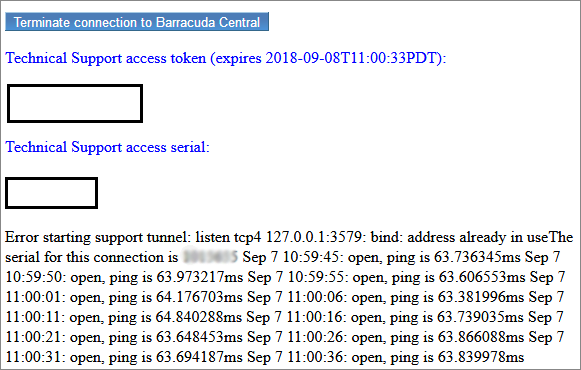
Figure 1. Secure Troubleshooting Connection
Test Your Network
term.cuda-support.com 22
Barracuda Support Services