

Barracuda WAF-as-a-Service integrates with certificate authorities to automate the issuance and renewal of SSL/TLS certificates. When Automatic Certificate Management is enabled for a domain, the Barracuda WAF-as-a-Service securely authenticates with the configured certificate authority, provisions or renews the certificate, and associates it with the specified domain.
By default, Barracuda WAF-as-a-Service uses Let’s Encrypt through Barracuda’s certificate authority credentials to issue and renew certificates automatically. If you prefer to use a different certificate authority, you can add the CA details on the Certificate authority credentials page and select the CA on the Endpoints page. Once configured, the system manages all interactions with the certificate authority, including certificate issuance, renewal, and deployment to the associated domains, without requiring manual intervention.
Supported Certificate Authorities
Barracuda WAF-as-a-Service currently supports the following Certificate Authorities (CAs):
Let’s Encrypt (default)
Sectigo
ZeroSSL
Google Trust Services
Adding Certificate Authority Details
In the WAF-as-a-Service web interface, click Resources > Certificate Management > Certificate authority credentials.
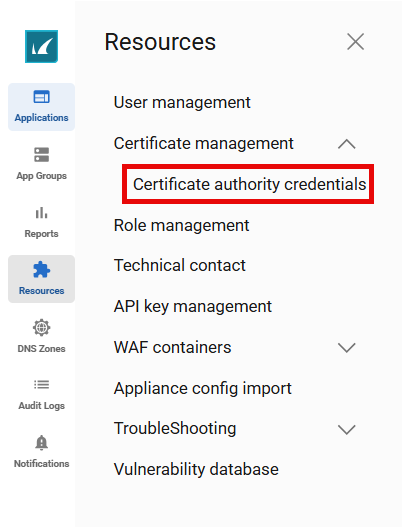
On the Certificate authority credentials page, click Add new credential.

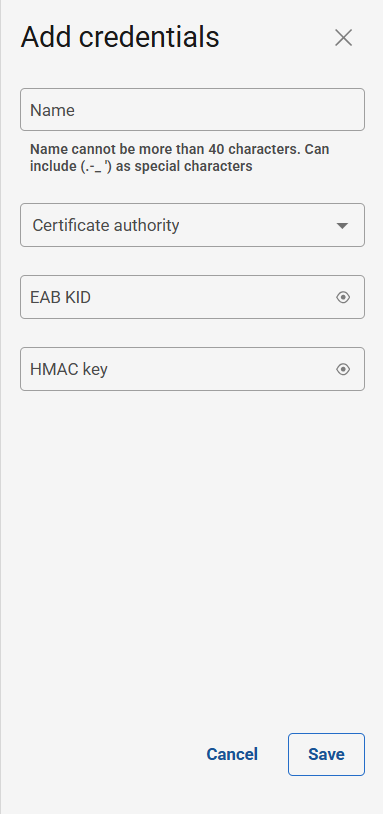
In the Add credentials section, configure the following:
Name: Enter a name to identify the CA account on the Barracuda WAF-as-a-Service.
Certificate authority: Select the CA from the drop-down list.
EAB KID: Enter the External Account Binding (EAB) Key ID (KID) for authentication.
HMAC Key: Specify the Hash-based Message Authentication Code (HMAC) key for authentication.
Click Save.
After configuring certificate authority details, navigate to the Endpoints page to associate the CA with the domain.
Associating the Certificate Authority with a Domain
In the WAF-as-a-Service web interface, click Applications in the left panel.
On the Applications page, click on the application to which you want to associate with the CA.
In the left panel, click Endpoints.
On the Endpoints page:
Modify an existing endpoint configured for HTTPS or click Add Endpoint to add a new endpoint with Service Type set to HTTPS.
On the Edit Endpoint or New Endpoint window:
Scroll down and enable Automatic Certificate Management.
Select the certificate authority from the Certificate drop‑down list.
Click Save to apply the configuration.
Certificate Renewal Behavior
For endpoints using the default Let’s Encrypt certificate:
If Certificate Authority (CA) details are added on the Certificate Authority Credentials page and the new CA is associated to the endpoint on the Endpoints page, the Barracuda WAF-as-a-Service will continue to use the existing Let’s Encrypt certificate until it expires.
After the Let’s Encrypt certificate expires, a new certificate from the selected CA will be automatically generated and applied to the endpoint.
To replace an active certificate with a new CA certificate before expiration:
Add CA details on the Certificate Authority Credentials page.
Associate the new CA with the endpoint on the Endpoints page.
Contact Barracuda Technical Support for guidance and assistance.