

This article refers to Barracuda ArchiveOne Enterprise versions 6.0 and higher.
Use the following steps to configure ArchiveOne Enterprise (Compliance):
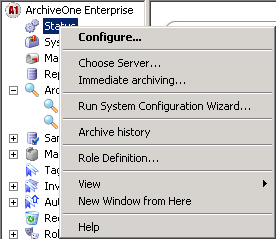
- Open the ArchiveOne Compliance Admin console.
- Right-click the Status node, and click Choose Server:
- Enter the NETBIOS name of the Configuration server specified during installation:
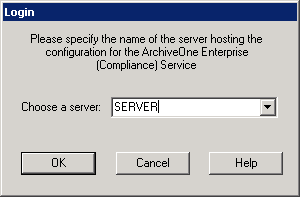
- Click OK. The Repository Configuration wizard launches:
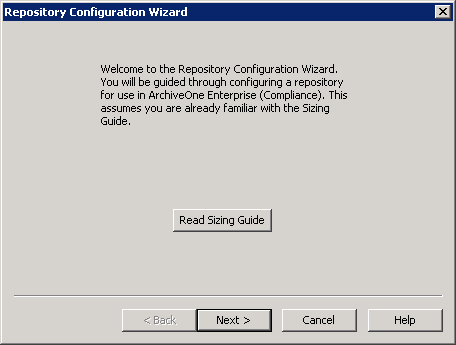
- You are prompted to configure a repository. Once you have configured the first repository, the System Configuration Wizard launches:
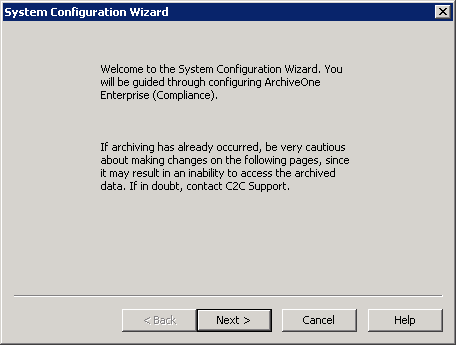
Click Next. The License page displays:
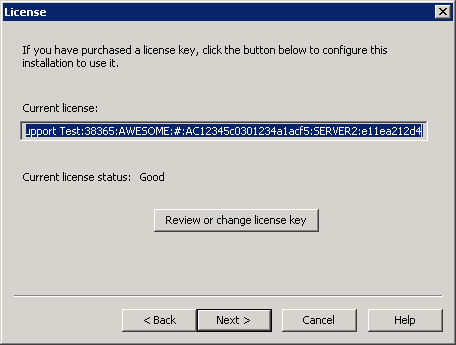
- Click Next. The Journals page displays:
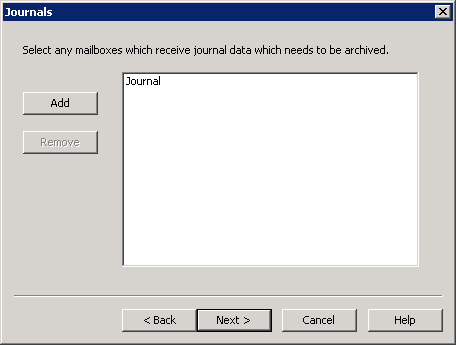
- Click Add to open the Global Address List (GAL). choose the designated Exchange Journal mailboxes you want to archive, and then click Add.
- Click Next. The Journal Cleanup Behaviour page displays:
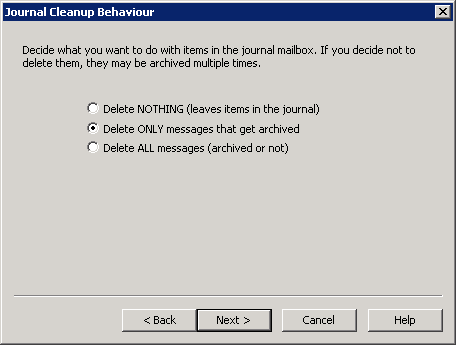
- Select the desired cleanup option; Delete ONLY messages that get archived is recommended to avoid inadvertently deleting data.
- Click Next. The Retrieval Folder page displays:
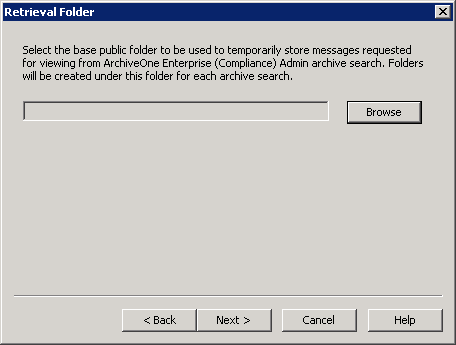
- Click Browse to select a base Public Folder for retrievals, and then click Next. The Configuration Wizard displays:
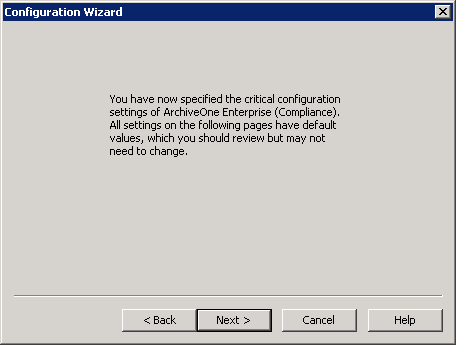
- Click Next. The Frequency page displays:
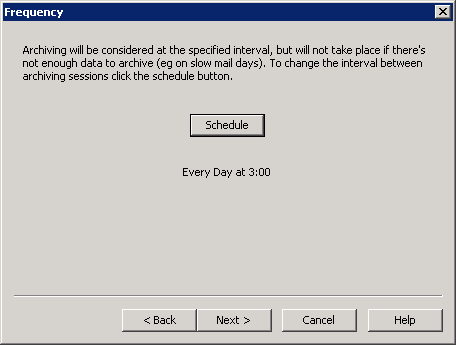
- If required, click Schedule to modify the scheduled archiving frequency, and then click Next. The Settings page displays:
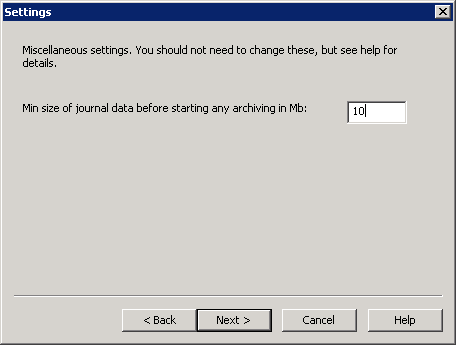
- Min size of journal data should be set to 10Mb; do not change the value unless advised to change it by your Barracuda Networks support representative. Click Next. The Server Data Location page displays:
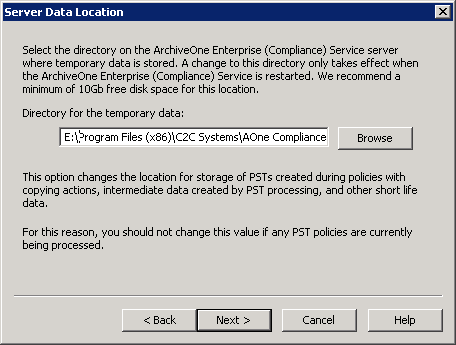
- The Server Data Location is a directory for temporary data with at least 10Gb free disk space. Click Browse to select a different location. Click Next. The Audit Server page displays:
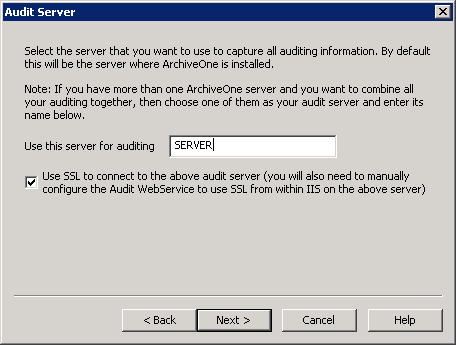
- Enter the NETBIOS name of the Audit server, and select Use SSL if required for the named server, and then click Next. The System Health Mail Details page displays:
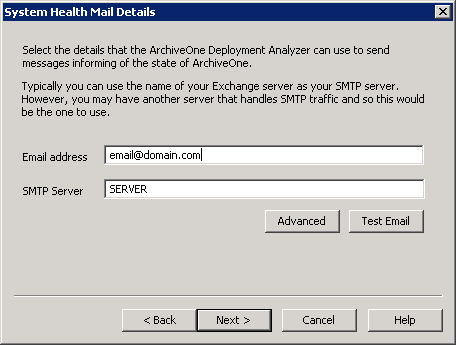
- Enter an Email address and SMTP Server, and then click Test Email. Click Next. The configuration is now complete:
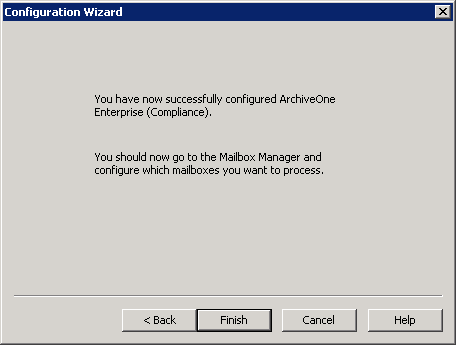
- Click Finish.
Add the required mailboxes for processing to the Mailbox Manager.