

This article refers to Barracuda ArchiveOne Enterprise versions between 6.0 and 6.5.3.
Before Getting Started
Verify:
- You have proper file permissions on the new repository location;
- You have proper user permissions to run ArchiveOne Enterprise (Compliance);
- The ArchiveOne service account has full control over the repository's parent directory;
- Repositories never share base directories(Index/Data/Temp).
Create a Repository
Use the following steps to create a repository. Create the parent directory for the Repositories on your file system, e.g., C:\Repositories. Each repository consists of an Index location and a Data location. Generally, both folders should be stored within a single parent directory with names that correspond with the repository name, for example: C:\Repositories\Compliance _Repository_Year_2013
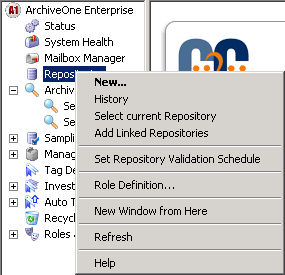
- Open the ArchiveOne Compliance Admin console.
- Right-click the Repositories node, and click New:
The Repository Configuration wizard launches:
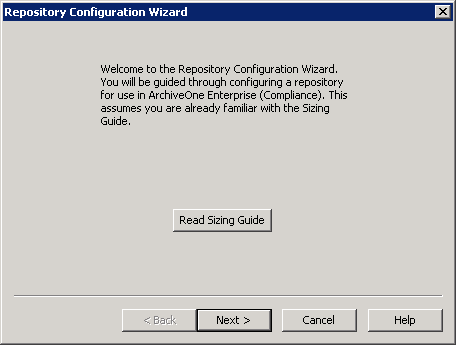
Click Next. The Repository Name page displays. Enter a name for the repository:
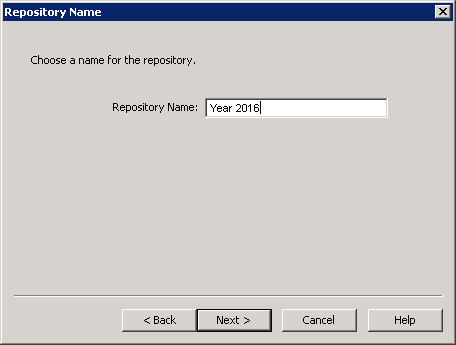
Click Next. The Storage Manager page displays:
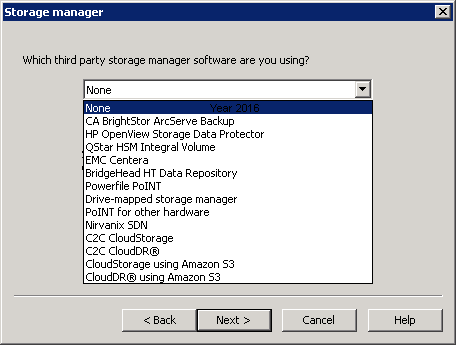
- Select None if you are using a local or mapped network drive, or select the appropriate Storage Manager from the list if you are using one of the specified devices to hold your archived data.
- Click Next. The Index Location page displays:
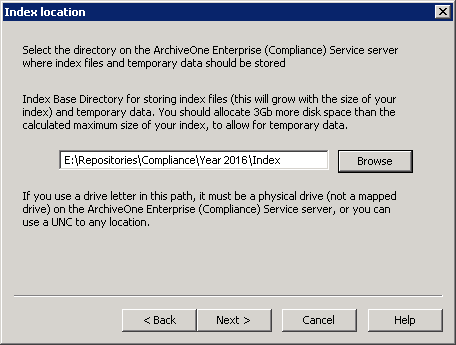
- Click Browse and navigate to the Index folder, and then click Next. The Rate Control page displays:
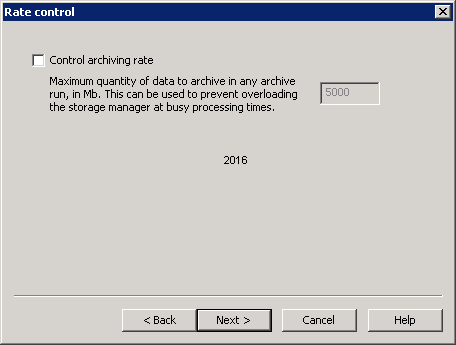
- To optionally set a maximum quantity of data to archive, turn on Control archiving rate. Click Next. The Retention page displays:
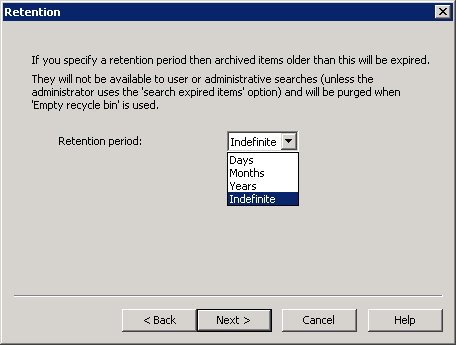
- Select a period of time to keep messages before expiring them if you have a mandated amount of time to keep messages, and then click Next. The repository has been created:
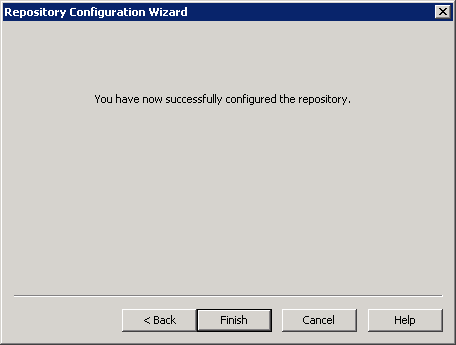
- Click Finish.