This article refers to the Barracuda ArchiveOne for Files version 7.2.0 and higher.
See Investigations Node for additional information.
You can group selected items together using tags. This allows you to easily recall tagged items in subsequent searchers. Additionally, you can use Legal Hold tags to prevent items from deletion or expiration.
Example 1. Standard Audit Investigation.
You have a legal request to identify a number of items as part of a standard audit. You use a search query to find the items of interest. Once you identify the items, you mark them with a predefined investigation tag. You can now easily recall these items in the future be referring to the tag rather than repeating the search process.
In this article:
Tag Definitions
Before you can mark items with a tag, you must first define your tags; you must define the tag name and description. There are two types of tags:
- Search tags – Used to mark items that you may want to recall at a later date
- Hold tags – Similar to search tags but can also prevent items from deletion or expiration
Create Tags
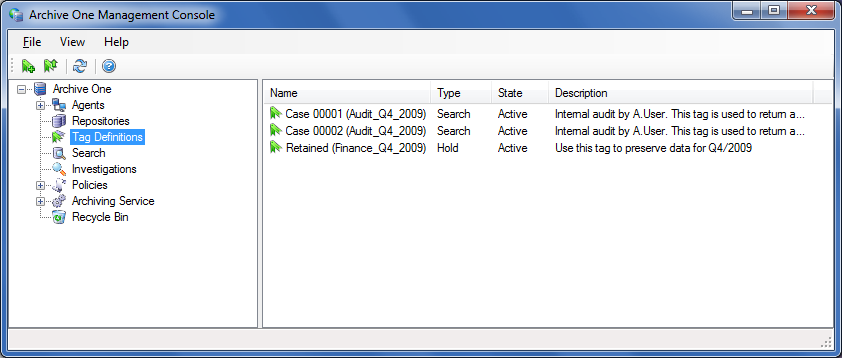
You can create tags either from the Tag Definitions node within the Management Console, or create tags on-the-fly while performing searches via the Investigations node. Figure 1 shows an example of the Tag Definitions node populated with two Search tags, and one Hold tag.
Figure 1. Tag Definitions Node.
Use a Tag
To use a tag, you must first perform a search through the Investigations node in the Management Console. This node is similar to the standard Search node, but additionally you can add/remove tags to/from items and include tags in the search criteria. First run a search from within the Investigations node, select the items of interest, and then right-click and select Tag Actions to access the Tag Actions dialog, as shown in Figure 2.
Figure 2. Tag Actions.
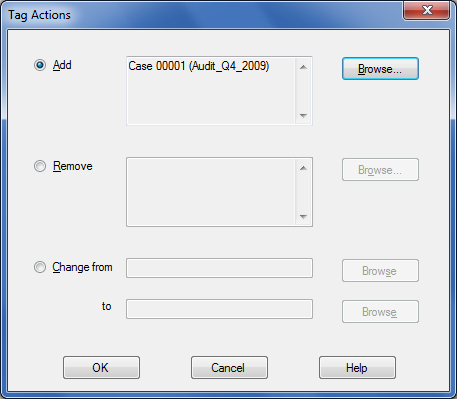
There are three actions you can perform on the selected items from the Tag Actions dialog box:
- Add – Associate an item with the selected tag
- Remove – Remove the selected tags from each item
Change from – For each item tagged with the from type, it changes to the to type
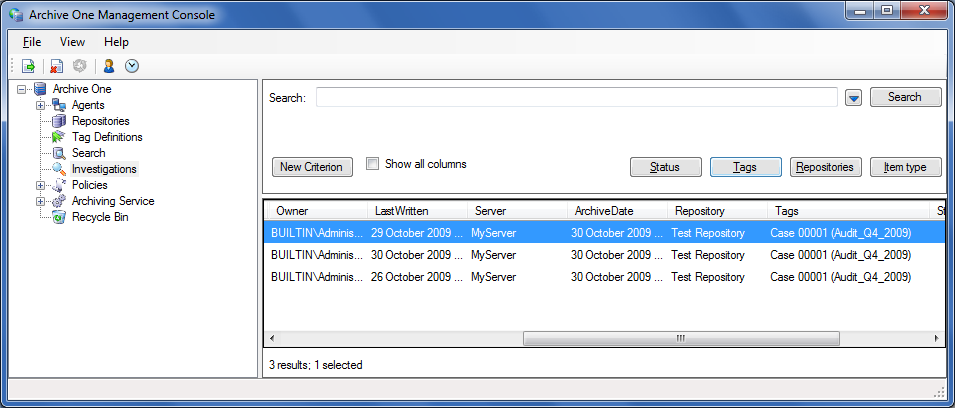
An item can contain any number of search and hold tags. The tag displays in the Tags column in the Investigations node, as shown in Figure 3.
Figure 3. Tagged Items.
The tagged items in Figure 3 with the tag Case 00001 (Audit_Q4_2009) can be recalled at any time using the tag. In Figure 4, the Investigations node is used to construct a simple query for the tag Case 00001 (Audit_Q4_2009).
Figure 4. Tag Query.
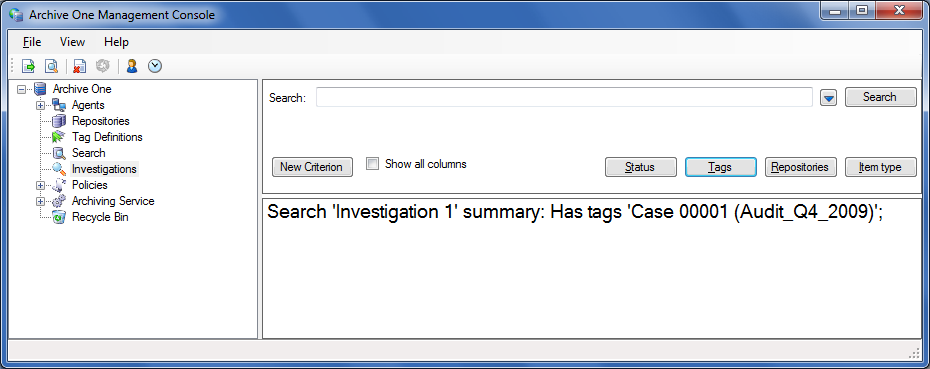
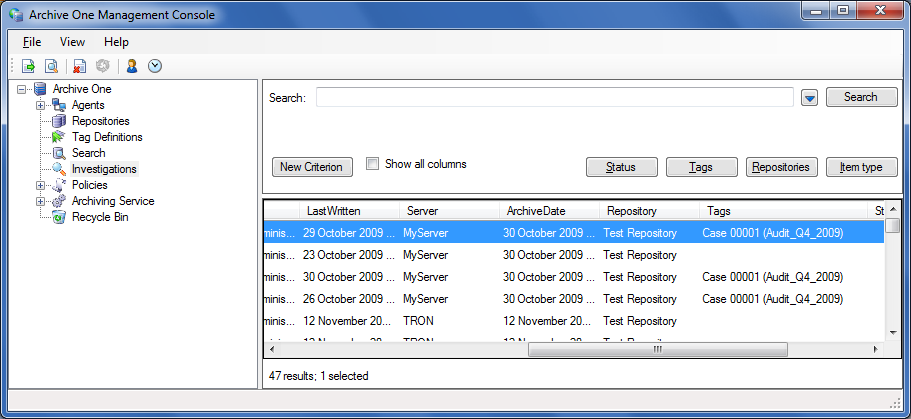
The tag query shown in Figure 4 would return only results for the three items previously tagged as Case 00001 (Audit_Q4_2009), as shown in Figure 5.
Figure 5. Tagged Search Result.