

This article refers to the Barracuda ArchiveOne for Files version 7.2.0 and higher.
Select the Policies Node to view currently defined policies. For example:
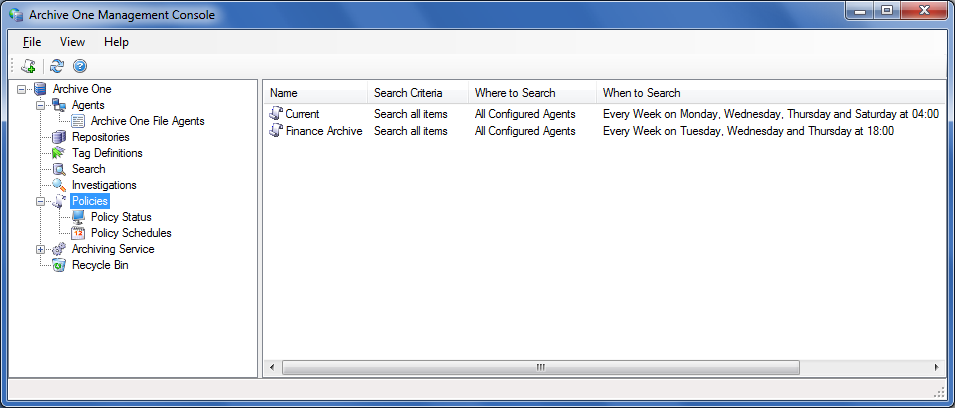
To create a new policy, right-click the Policies Node and click New Policy. Use the Wizard to create a new policy. To edit an existing policy, right-click on the policy, and click Properties. Use the Wizard to edit the selected policy.
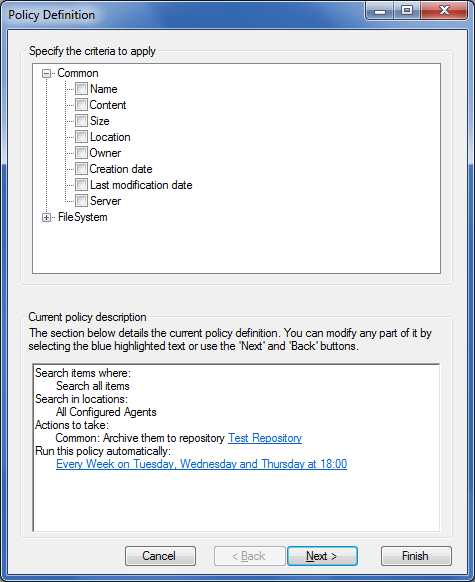
- Policy Definition – Specify the criteria used to match items to be processed by this policy. For each selected criteria, the lower portion of the dialog provides hyperlinks that allow you to specify details for that setting.
- Specify the criteria to apply – Select the criteria you wish to use for this policy. For each selected criterion, click on the hyperlinks in the lower portion of the dialog to enter details for each property.
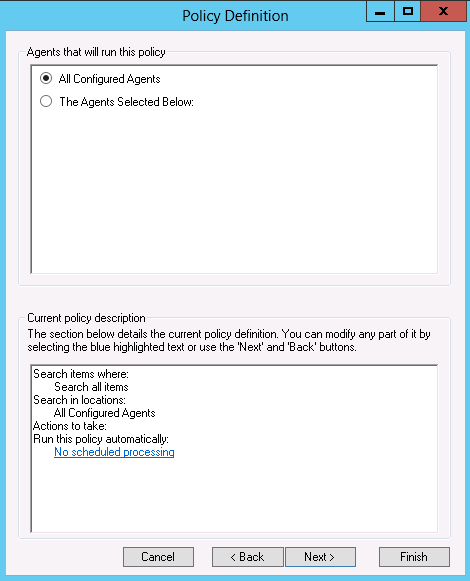
- Agents that will run this policy – Specify the File Agent(s) that will action this policy. You can select all File Agents, or specify only individual File Agents. If you select individual File Agents, you can then specify whether to search everywhere the agent can process or limit the Area of Interest.
- Actions that this policy is to take – Specify the action the policy is to perform. Depending on the type of action, you may have to provide additional information via the policy description panel in the bottom portion of the dialog box:
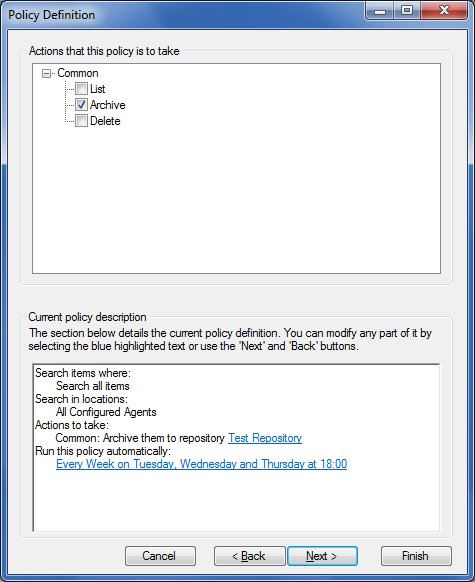
Select the actions you wish to use for your policy. For Archive actions, provide the repository details where you wish to store archived data. Click the Repository hyperlink in the lower panel to select a repository to which archive data: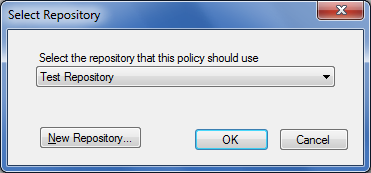
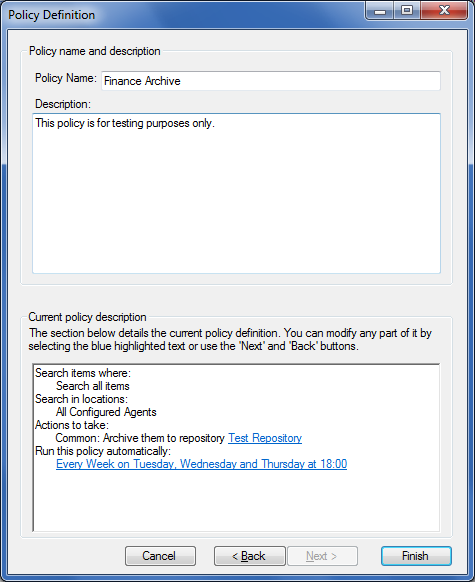
- Policy name and description – Specify a name and description to represent the policy; the name does not have to be unique but it is good practice to use a unique name so it can easily be identified. the description is optional:
Schedule Policy – If you click the Schedule Policy hyperlink in the bottom portion of the policy, the Schedule Policy dialog box displays:
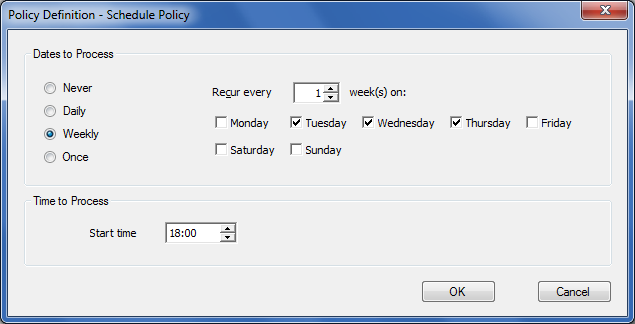
Never (default) – Disables scheduling for this policy.
Daily – Schedule this policy to run every N days or just weekdays.
Weekly – Select which day of the week you wish to run the policy. You can also specify a weekly recurrence (default is on Monday of every week).
Once – Run the policy once on a date you specify.
Time to Process – Specify the time of day that the policy is to start.
- Specify the criteria to apply – Select the criteria you wish to use for this policy. For each selected criterion, click on the hyperlinks in the lower portion of the dialog to enter details for each property.
To enable email notifications for when policies complete, see the Notifications tab in Understanding the ArchiveOne Node.