

This section refers to the Barracuda ArchiveOne for Files version 7.2.0 and higher.
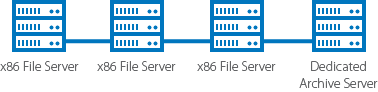
Use this installation if you have multiple x86-based file servers and wish to install the Agent on a separate Archive Server:
For other installation options, see ArchiveOne for Files Installation Options.
Step 1. Install Main Application
Complete the following steps on each file server in your environment.
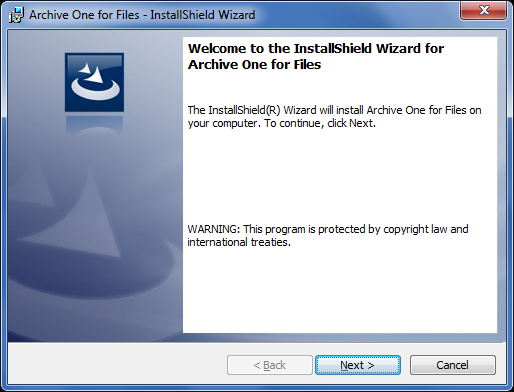
- Log in to the Archive Server as the administrator, and run ArchiveOneForFiles.exe; the installation wizard displays:
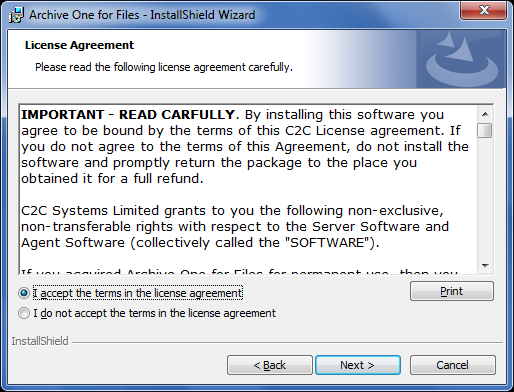
- Click Next. Read and accept the License Agreement:

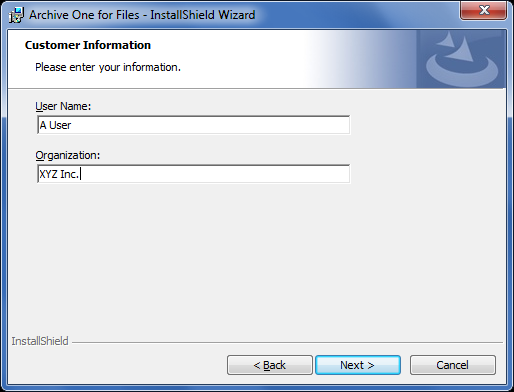
- Click Next. In the Customer Information page, enter the User Name and Organization name:

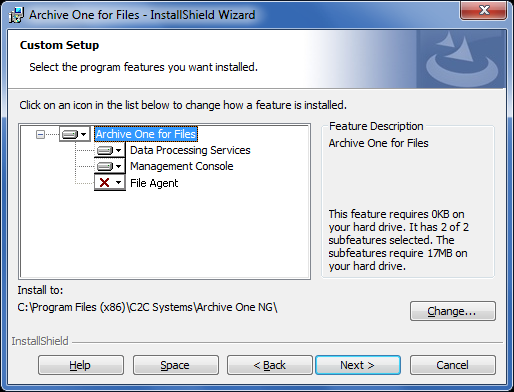
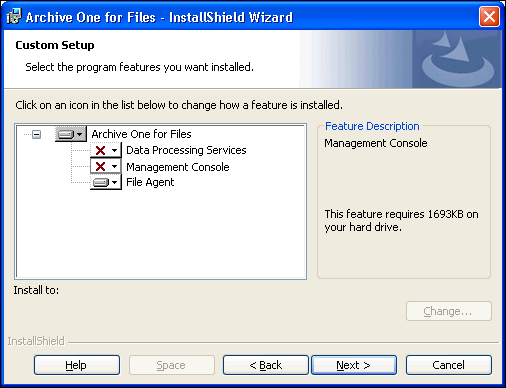
- Click Next. The Custom Setup page displays. Clear the File Agent component so that only the Data Processing Services and Management Console components are selected:
- Click Next. The Read to Install the Program page displays:
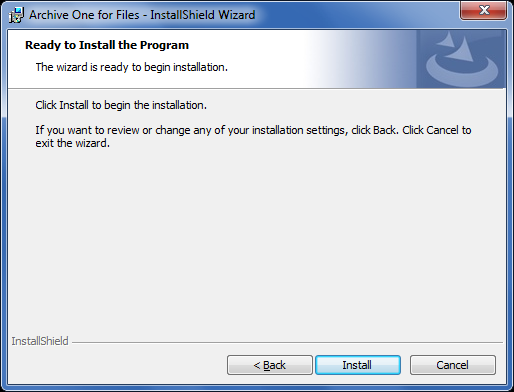
- Click Install to begin the installation. Once the installation is complete, click Finish:

Step 2. Install Agent on x86-Based File Server


Continue with Step 2 - Configure ArchiveOne for Files Licensing.