

The Exchange Message-Level backup is a secondary backup method that should be used in addition to the server/database backup that is done using the Barracuda Backup Agent. The primary use case for the Exchange Message-Level backup is to recovery deleted or lost email messages from a specific point in time. Since the Exchange Message-Level backup is a separate backup method from the BBA backup, more backup data will be added to your Barracuda Backup device.
The Exchange Message-Level backup protects and allows for the recovery of the following:
- Email messages in each user mailbox;
- User mailbox folder structure; and
- Email attachments to each email message
The Exchange Message-Level backup does not protect or allow for the recovery of the following:
- The entire user mailbox (including metadata) that can be restored back into the Exchange database;
- Contacts;
- Calendars;
- Tasks; or
- Any other non-email message data
Requirements
All of the following configuration sections for Exchange Message-Level backup take place on the Exchange Client Access Server (CAS). In some cases, like a standalone Exchange Server, the database server and CAS are the same system.
You must have the following configured:
- Outlook Web Access;
- The Primary and Secondary DNS setting on the Barracuda Backup device must the DNS servers which participate in Active Directory (AD); and
- The service account (will be created below) must have an Exchange mailbox and SMTP address
For Exchange Message-Level backups to work properly, DNS must be set up correctly. DNS servers on the Barracuda Backup device must be DNS servers that participate in AD. The simplest way to determine which DNS servers to use is to use the IP addresses of your AD Domain Controllers.
Creating a Service Account
It is strongly recommended that you use a service-type account and not your administrator account to prevent inherited deny permissions from causing issues. This service account requires an Exchange mailbox and SMTP address and must be a member of the Domain Users group; adding the service account to any administrative groups may cause issues with access to user mailboxes.
As a best practice, use a unique account for this integration point and grant it the least level of privileges required, coordinating with the system administrator. This account requires administrative privileges to the Exchange server. For additional information, see Security for Integrating with Other Systems - Best Practices.
Use the following steps to create a service account to be used by Barracuda Backup:
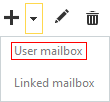
- Log into the Exchange Admin Center, click the down arrow next to the plus + symbol, and click User mailbox:
- In the new user mailbox window, enter the required fields to create the new mailbox to be used by Barracuda Backup:
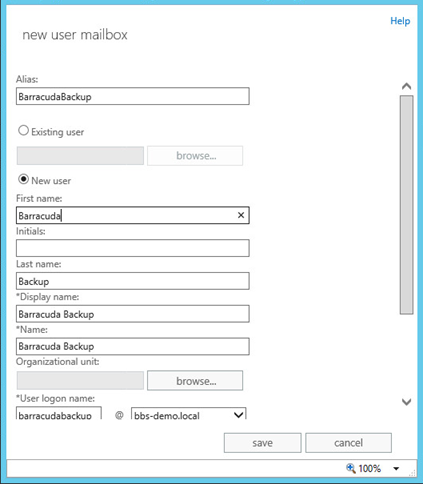
- Click save.
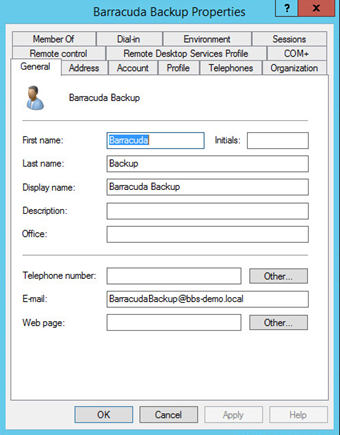
- Open Active Directory Users and Computers, locate the new user created in step 2, and open Properties:
- Click the Member Of tab, add the new user as a member of the Domain Users group, and remove any other groups listed here (required):
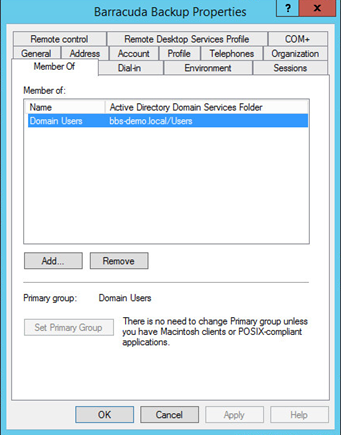
- Click Apply, and click OK to close the Properties dialog box.
Impersonation Rights
In order for the Barracuda Backup service account to access other mailboxes within the Exchange environment, you must give the account impersonation rights. To assign impersonation rights:
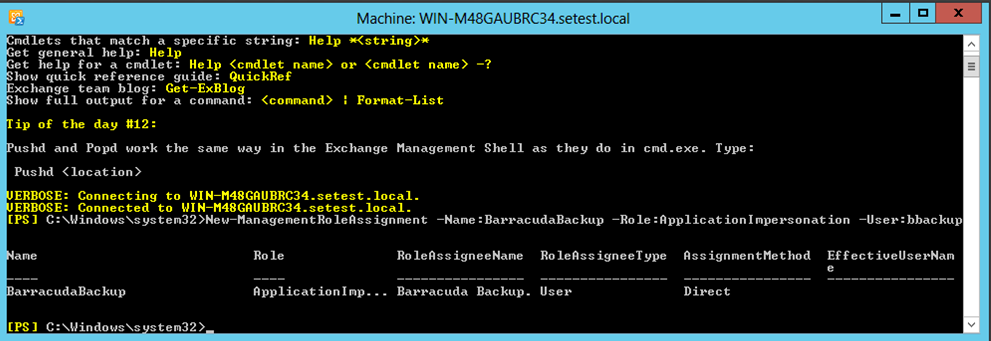
- Open the Exchange Management Shell and run the following command, replacing
ServiceAccountwith the Service Account username created in the previous section:
New-ManagementRoleAssignment -Name:BarracudaBackup -Role:ApplicationImpersonation -User: ServiceAccount
- (Optional) It is good practice to perform a group policy update on the Exchange Server to replicate permissions. Run the following command either using PowerShell or at a command line:
gpupdate /force
Create the Exchange Message-Level Data Source
You can add the Exchange Message-Level data source as a standalone data source or as an add-on to an already configured Barracuda Backup Agent data source. The steps below demonstrate how to add the data source from scratch. If the agent data source already exists, you can skip to step 6.
- Log into Barracuda Backup and select the associated Barracuda Backup device in the left pane or in the devices table (for customers with multiple Barracuda Backup devices).
- Go to the Backup > Sources page, and click Add a Computer.
- Complete the following information on the Add a Computer page:
Computer description
Computer name
In the Computer type drop-down menu, select Microsoft Windows.
Once the Exchange data source is configured, click Save.
- The Add Data Source page displays. Type in a Data Description, and from the Data Type drop-down menu, select Message-Level Backup (Exchange).
- In the Message-Level Backup (Exchange) section, complete the following:
- Exchange Version – Version of Microsoft Exchange in the environment
- Username – Username of the service account created in the previous section
- Password – Password for the service account created in the previous section
- Windows Domain Name – Fully qualified domain name (FQDN), for example,
domain.local Base DN (Optional) – LDAP Base Distinguished Name of your AD, for example,
DC=domain,DC=local
- Click Test Exchange Connectivity to verify Barracuda Backup can connect to the Exchange Server using the entered login credentials.
- Finish configuring the backup schedule name, the offsite replication destination, and click Save.
- Once the data source is configured, the Schedules page displays. The Exchange Message-Level container should now display under the data source in the selection tree. For more information on backup scheduling, see Backup Scheduling.
Exchange Message-Level Backup for Multiple Domains
If you have multiple domains, you must create a conditional forwarder to configure Exchange Message-Level backup and protect mailboxes across all domains.
Complete the following steps for each domain configured for Exchange Message-Level backup:
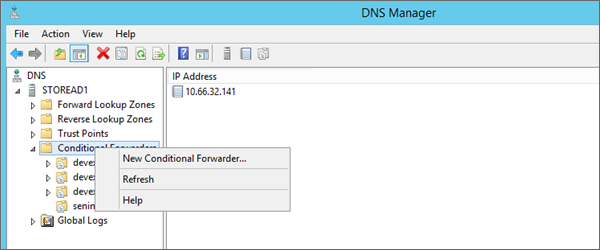
- Log into the original DNS server configured on the Barracuda Backup appliance, and open the DNS Manager.
- Right-click Conditional Forwarder, and click New Conditional Forwarder:
- The Edit Conditional Forwarder dialog box displays; enter the DNS Domain.
- Click in the IP addresses of the master servers section, and enter the IP Address.
- Select Store this conditional forwarder in Active Directory:
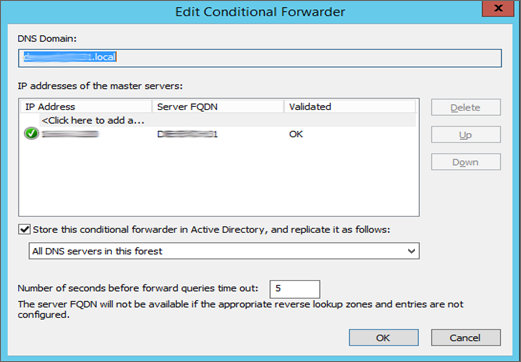
- Click OK.