

When certificate-based authentication is required, you must have three types of X.509 certificates that come with a valid chain of trust:
- The trust anchor is the Certificate Authority (CA) signed root certificate.
- The server certificate for the Barracuda Networks appliance (e.g., Barracuda CloudGen Firewall).
- The client certificate for the VPN device (e.g., Barracuda VPN Client and iOS device).
If CA-signed X.509 certificates are not available, you can use self-signed certificates instead. These certificates must also have a valid chain of trust. Typically, X.509 certificates are created through a Public Key Infrastructure (PKI) that allows creating, signing, or revoking certificates. Examples of PKIs that you can use include Microsoft's PKI with Active Directory and XCA - X Certificate and key management. This article provides instructions on how to create certificates required for a complete chain of trust with XCA version 0.9.3 (September 2013).
Download and Install XCA
- Download XCA from http://sourceforge.net/projects/xca/.
- Install XCA. You must have administrative rights.
Create an XCA Database
Each CA is stored in an XCA database file (*.xdb). Use one XCA database for every PKI that you want to create.
- Click File > New Database.
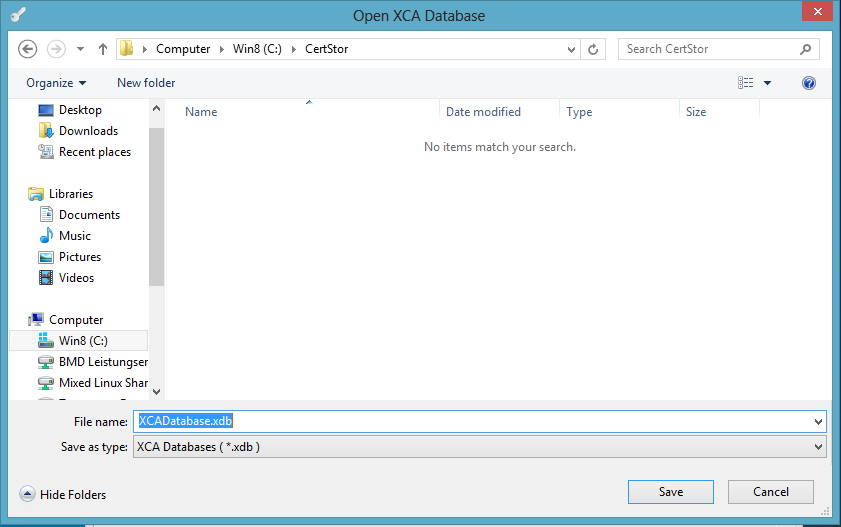
- In the Open XCA Database window, enter the name for the XCA database and then click Save.
- In the New Password window, enter a password to encrypt the private keys in the database file. You must enter this password whenever you open the XCA database.
Create the Root Certificate
The root certificate or CA is the trust anchor in the chain-of-trust. To create the root certificate:
- Click the Certificates tab, and then click New Certificate. The Create X509 Certificate window opens.
- Configure the identifying information.
- Click the Subject tab.
- Configure the settings in the Distinguished name section.
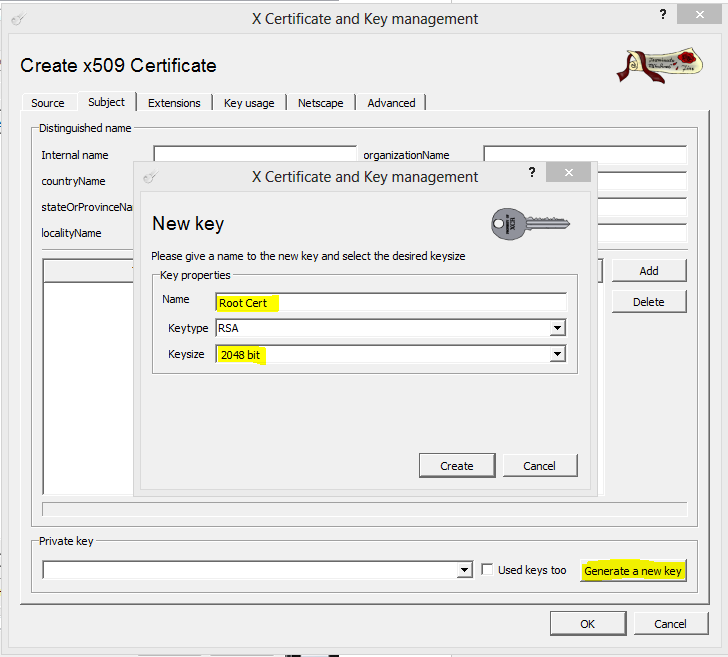
- Click Generate a new key.
- In the New Key window, enter a name for the certificate, select a key size, and then click Create.
- Configure the X.509 extensions.
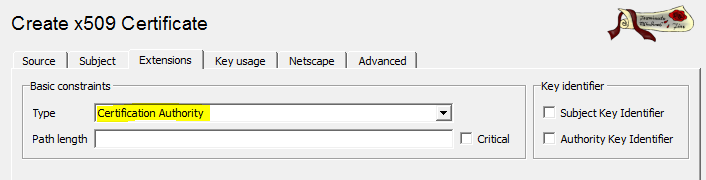
- Click the Extensions tab.
- From the Type list, select Certification Authority.
- (Optional) Modify the Validity dates for the certificate. Usually, certificates are valid from five to ten years.
- Configure the key usage.
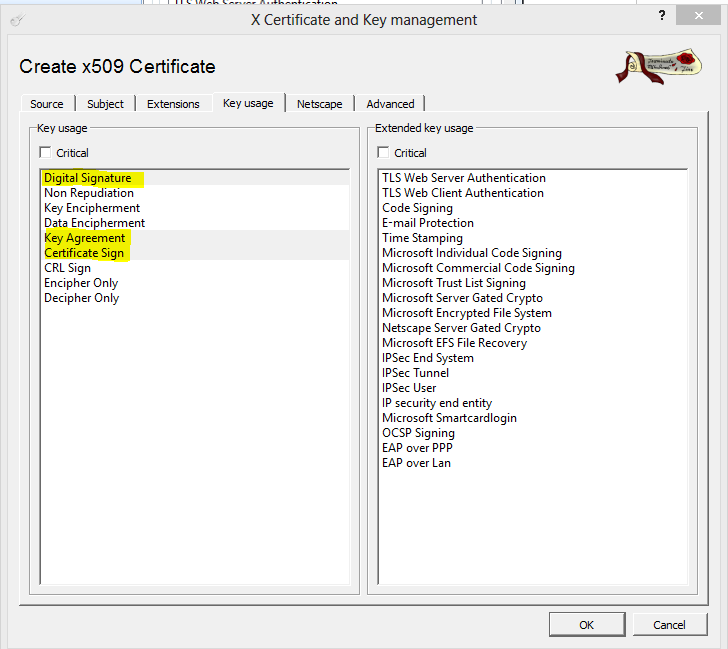
- Click the Key usage tab.
- From the left pane, select the following items:
- Digital Signature
- Key Agreement
- Certificate Sign
Click OK to create the certificate. It then appears under the Certificates tab.
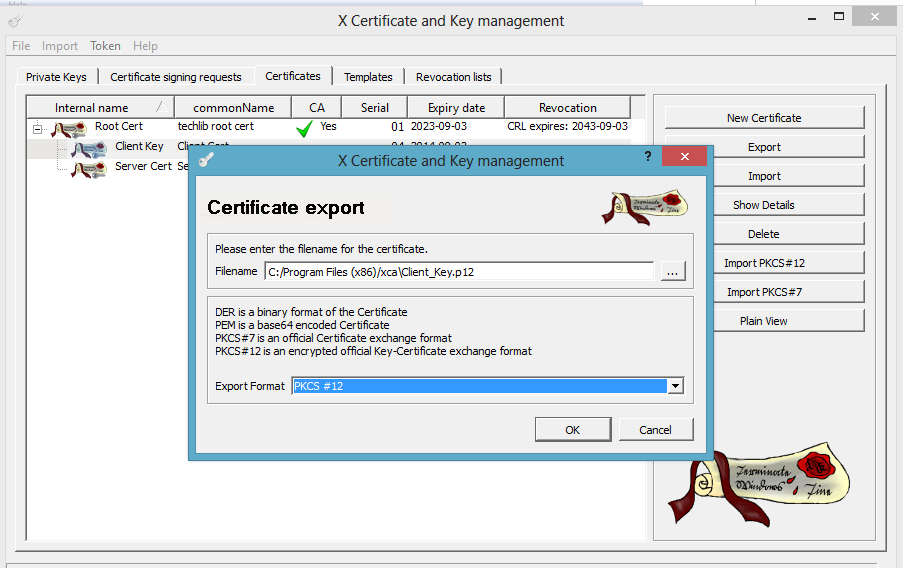
Export the Root Certificate
You must export the root certificate as a PEM file.
- Click the Certificates tab.
- Select the root certificate and then click Export.
- In the Certificate Export window, select PEM from the Export Format list and then click OK.
Next Steps
Create the certificates that are required by services for X.509 authentication. For instructions on how to create certificates for specific services, see the following table:
| Service | Instructions |
|---|---|
| Client-to-Site VPN | To create certificates for a client-to-site VPN, go to How to Create Certificates for a Client-to-Site VPN. |
| SIP Proxy | To create a SSL certificate to encrypt SIP data, go to How to Create Certificates for the SIP Proxy. |