

The Barracuda Campus Help Center space provides instructions on how to log into Barracuda Campus and set up your Customer, Partner, or MSP Partner account correctly.
You will also find useful information regarding courses, exams, and certification.
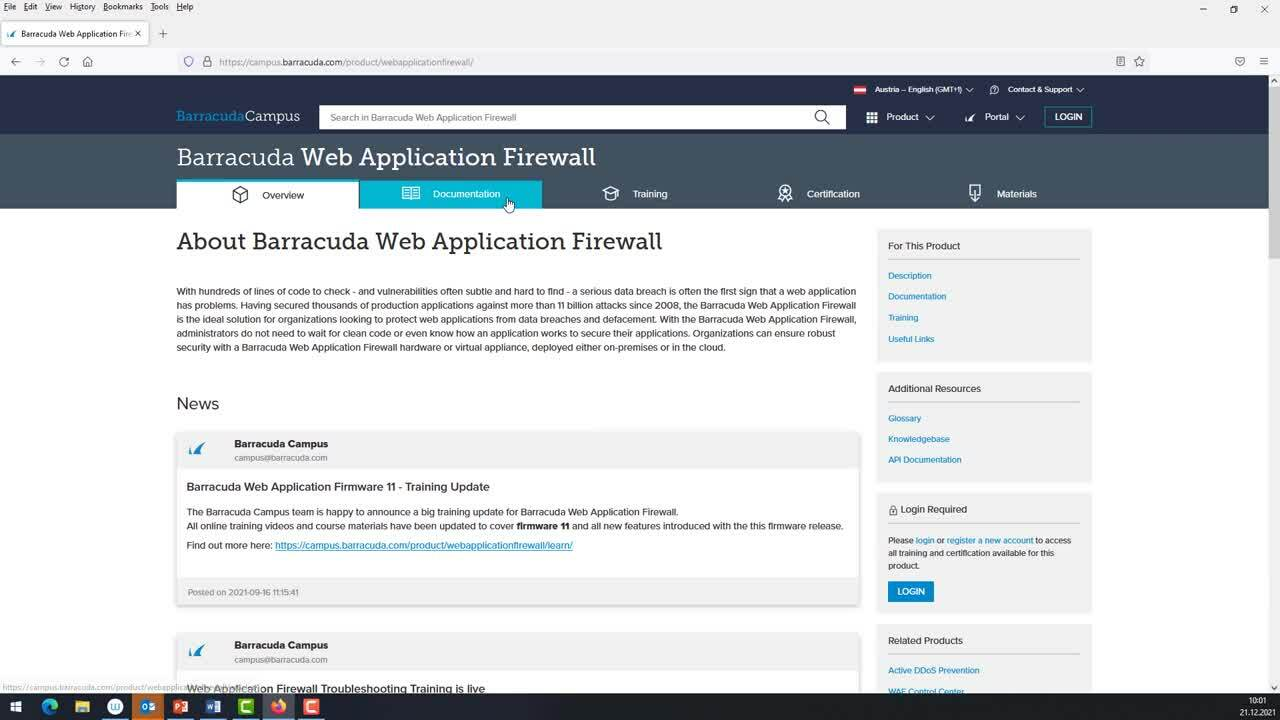
Videolink:
https://campus.barracuda.com/