

Step 1. Add a Remote Domain and Connector
- Log into Microsoft 365 Exchange admin center.
- Navigate to mail flow > remote domains.
- Select Add a remote domain.
- Complete the following:
- Name – Type Barracuda Cloud Archiving Service
Remote domain – Type your region-specific MAS hostname, for example:
mas.barracudanetworks.com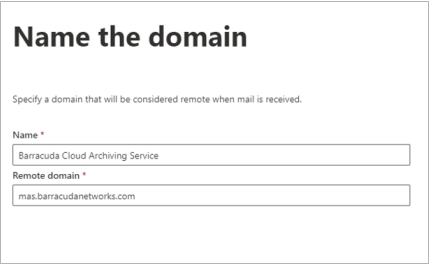
- Click Next.
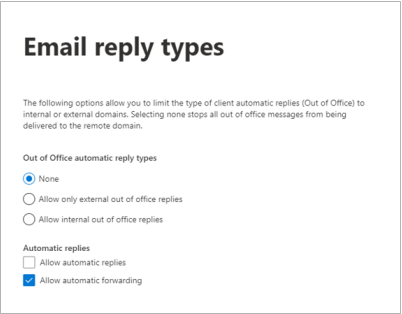
- Define the following settings:
- In the Out of Office automatic reply types section, click None.
- In the Automatic replies section, select Allow automatic forwarding and uncheck Allow automatic replies. Click Next.
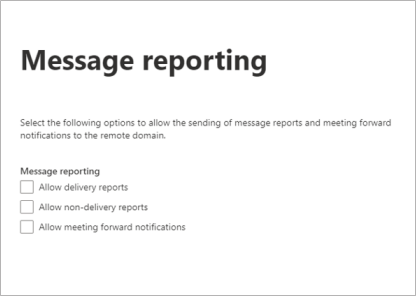
- In the Message reporting section, uncheck Allow delivery reports and Allow non-delivery reports. Click Next.
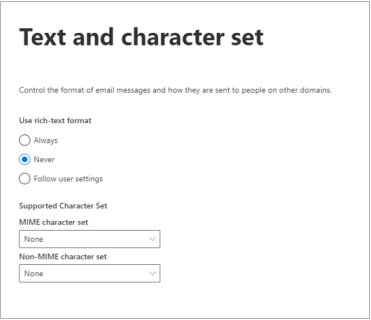
In the Use rich-text format section, select Never. Click Next.
- Review your settings, and then click Save.
- Navigate to Mail flow > Connectors.
- Click Add a connector.
- Define the following settings:
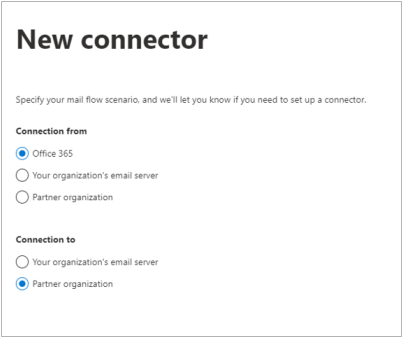
- In the Connection from section, select Office 365.
- In the Connection to section, select Partner organization. Click Next.
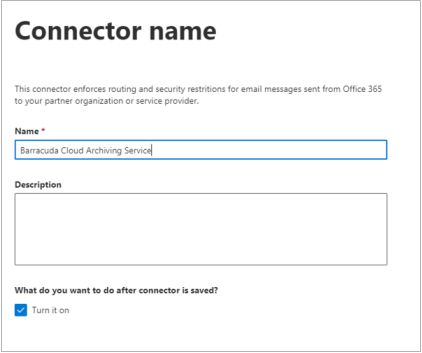
- Enter a Name for the connector. Click Next.
- Define the following settings:
- Select Only when email messages are sent to these domains.
- Type your region-specific MAS hostname, for example:
mas.barracudanetworks.com. Then, click the blue +. Click Next.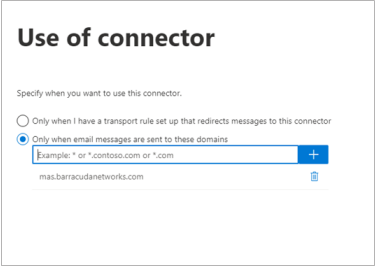
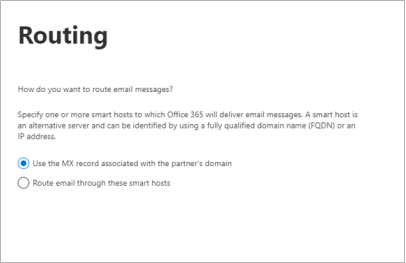
Select Use the MX record associated with the partner's domain. (Recommended) Click Next.
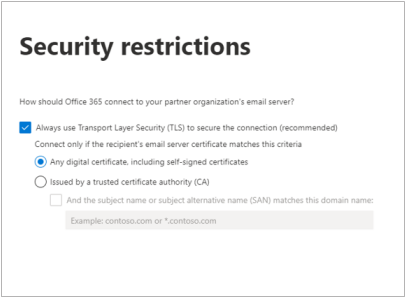
Select Always use Transport Layer Security (TLS) to secure the connection (recommended) > Any digital certificate, including self-signed certificates . Click Next .
- Go to the Mail Sources > SMTP Journaling page in the Barracuda Cloud Archiving Service, and copy the email address from the SMTP Journaling Info section, for example:
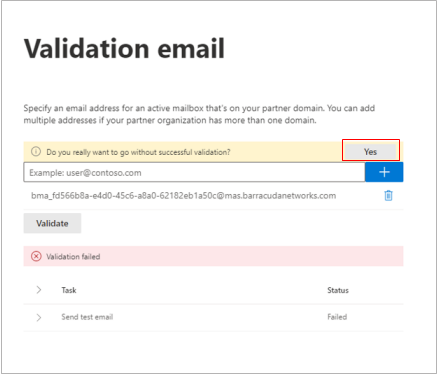
bma_mycompany@mas.barracudanetworks.com. In Microsoft 365, paste this email address into the provided field in the Verification page. Click the blue +, and then click Validate. The connector validation process starts.

Note that the validation might fail. If the validation fails, click Next. You will see a yellow banner to confirm that you want to continue without successful validation. Click Yes.
- Click Next. Review your settings and click Create Connector.

The connector is created.
Step 2. Create a Non-Delivery Report Recipient
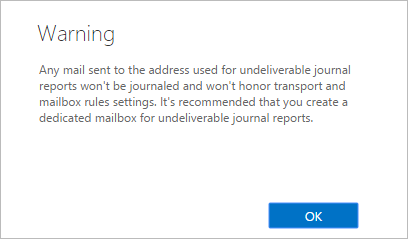
Before creating journal rules, specify a journal recipient for non-delivery reports (NDRs) to reduce the risk of losing journal reports:
To create an NDR recipient:
- Navigate to https://purview.microsoft.com/settings/application-settings/datalifecyclemanagement.
- Select Exchange (legacy).
Enter the email address of a valid user account. Note that the mailbox must be a mail user, mail contact, or external user, not an Exchange Online Mailbox.
Click Save.
Step 3. Configure Microsoft 365 to Send Journal Mail
- Navigate to https://purview.microsoft.com/datalifecyclemanagement/exchange/journalrules.
- Select + New rule.
- On the Define journal rule settings page, provide a name for the journal rule and then configure the following options:
Send journal reports to – Enter the journaling address from the Mail Sources > SMTP Journaling page in the Barracuda Cloud Archiving web interface. This is called the journaling mailbox.
Journal rule name – Type Barracuda Cloud Archiving Service.
Journal messages sent or received from – Select Apply to all Messages.
Type of message to journal – Select All Messages.
Select Next, review the settings, and then click Submit to create the journal rule.
Once you complete your deployment configuration, mail begins forwarding to the Barracuda Cloud Archiving Service. Log into the web interface as the administrator, and go to the Basic > Dashboard page. Processed mail displays in the Message Statistics table. Note that new Barracuda Cloud Archiving Service journaled messages are indexed upon receipt. Messages are indexed and available in the archive within a few hours after journaling.